
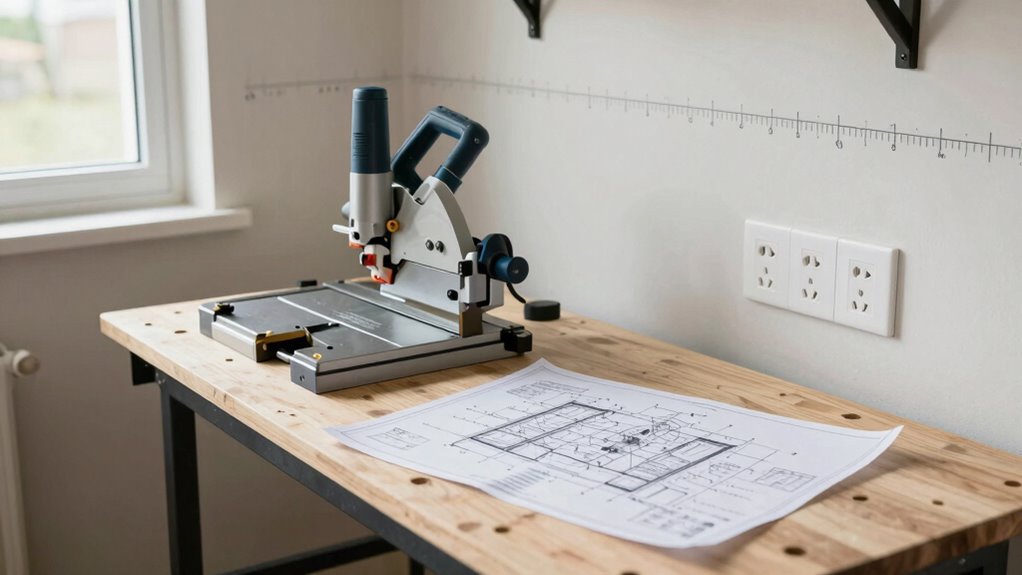
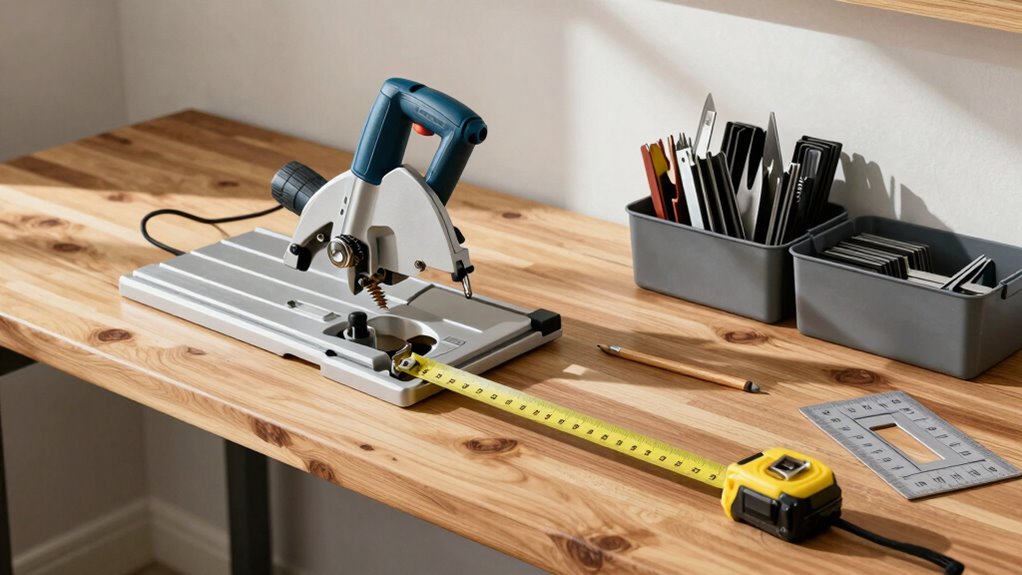
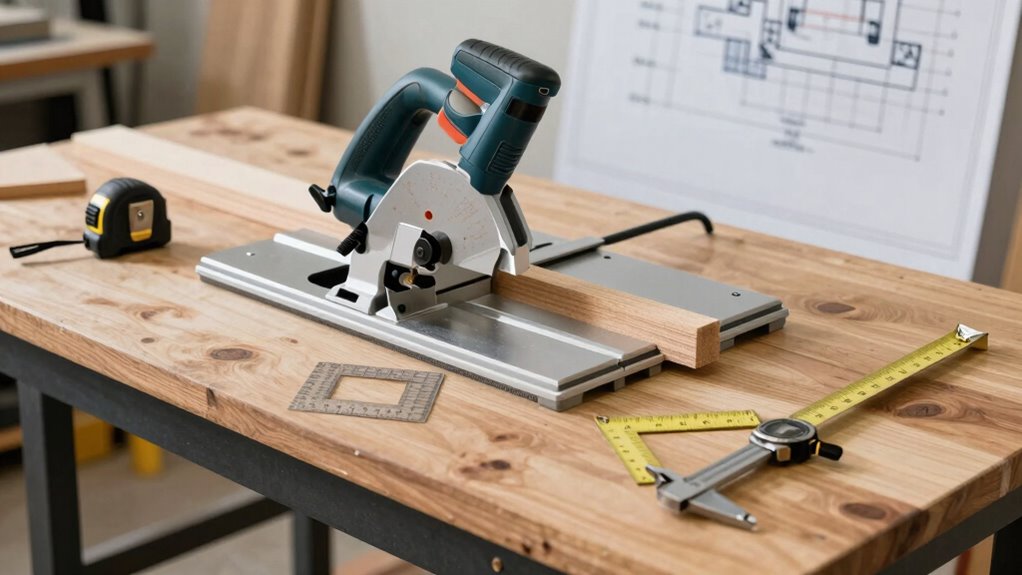
Start by measuring your workspace’s available space, including height, width, and depth. Focus on determining the height for comfortable working posture and support surface depth to guarantee stability. Check the maximum cut capacity and blade clearance to confirm your saw will fit and operate safely. Plan for power outlets and dust collection for efficiency. Proper measurements of storage needs also help keep your workspace organized. Keep these basics in mind to create an efficient, safe layout, and you’ll find out more as you continue.
Key Takeaways
- Measure the available workspace dimensions to determine overall layout and clearance needs.
- Identify the optimal work surface height for ergonomic comfort during cutting tasks.
- Determine the maximum width and height of materials to be cut for proper saw clearance.
- Check power outlet locations to ensure accessible and safe power supply for the saw.
- Assess natural and artificial lighting placement to minimize shadows and improve visibility.
miter saw station work surface height
As an affiliate, we earn on qualifying purchases.
As an affiliate, we earn on qualifying purchases.
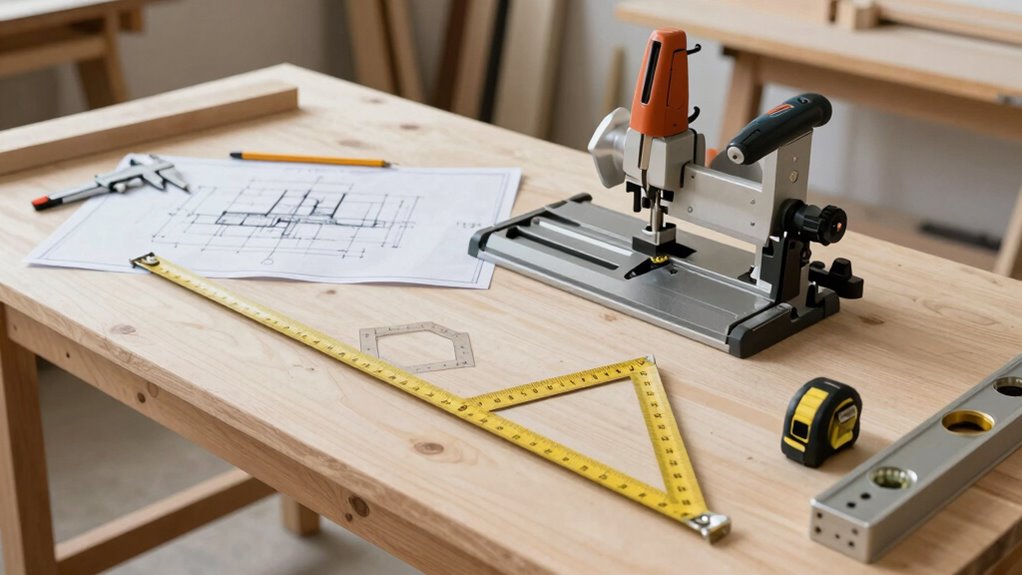
Determine the Overall Size of Your Miter Saw Station
Before building your miter saw station, it’s essential to determine its overall size. Start by considering the space available and how much room you need for comfortable work. Think about your preferred color scheme to create a cohesive look that matches your workshop’s style. When selecting materials, choose durable options like hardwood or heavy-duty plywood that can withstand wear and tear. The material selection influences the station’s stability and longevity, so pick ones that suit your needs. Measure the dimensions carefully, factoring in clearance for saw operation and storage. Keep in mind that a well-sized station improves workflow and safety. By planning the size, color scheme, and material selection, you set a solid foundation for your project. Additionally, understanding ergonomics can help you create a workspace that promotes comfort and reduces fatigue during long work sessions. Considering space optimization techniques can further maximize your limited workshop area. Incorporating proper measurement methods ensures accuracy, which is crucial for a functional and efficient station.
dust collection for miter saw station
As an affiliate, we earn on qualifying purchases.
As an affiliate, we earn on qualifying purchases.
Why Measure Your Workspace’s Height First

Measuring your workspace’s height first guarantees your miter saw station fits comfortably within the area and allows for safe, efficient operation. Proper height ensures ergonomic comfort, reducing strain during long cuts and preventing fatigue. It also plays a vital role in safety considerations, helping you avoid awkward postures that could lead to accidents or injuries. By starting with height, you can determine a comfortable working level that minimizes bending or reaching, making your workflow smoother. This initial measurement acts as a foundation for planning other aspects of your station. Confirming the right height promotes better control over your cuts and creates a safer, more comfortable environment for every project. Prioritizing height sets the stage for a well-designed, functional workspace. Incorporating workstation ergonomics into your planning ensures long-term comfort and safety. Additionally, understanding space planning helps optimize your entire workshop layout for efficiency and safety. Taking accurate measurements early in the process ensures your entire setup is tailored to your specific needs, enhancing overall workflow. Including capacity considerations from the start can also help you choose the most suitable tools and equipment for your workspace.
As an affiliate, we earn on qualifying purchases.
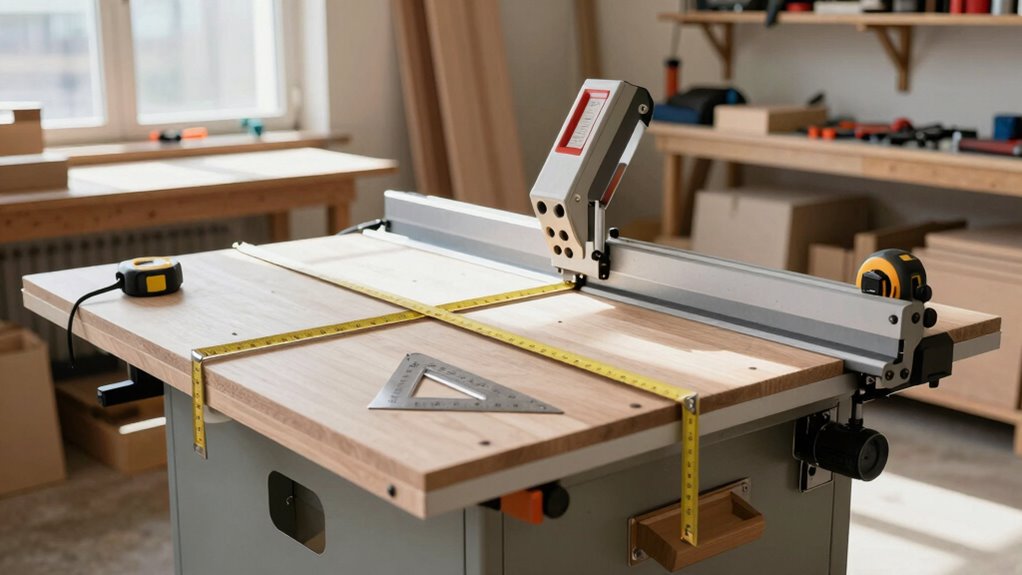
How to Measure Support Surface Depth and Material Support Distance
After establishing the most suitable height for your miter saw station, it’s time to focus on the support surface depth and material support distance. Measure the support surface depth by determining how much space you need for your saw’s base and any additional workspace behind it. This ensures you have enough room for comfortable operation and safety. For material support distance, consider the maximum length of material you plan to cut. Place supports at intervals that prevent sagging or binding, typically extending a few inches beyond the saw’s capacity. Make certain the support surface is sturdy enough to handle your workload, and the material support provides continuous, even support during cuts. Accurate measurements here will make your miter saw station safer and more efficient. Paying attention to support surface stability and material support considerations can help optimize your setup for different types of projects. Additionally, understanding support surface material can enhance the overall durability and safety of your workstation. Ensuring your support surface is made from appropriate materials will help maintain a stable and long-lasting workstation.
hardwood plywood for workshop furniture
As an affiliate, we earn on qualifying purchases.
As an affiliate, we earn on qualifying purchases.
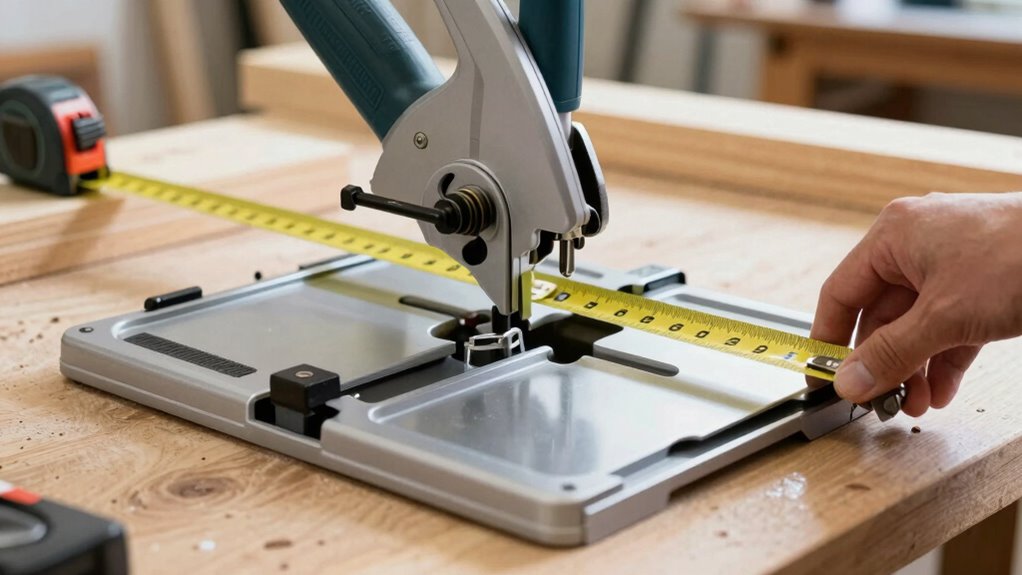
Check Saw Clearance and Cut Capacity to Ensure Proper Fit
Ensuring your saw has enough clearance and cut capacity is essential for a safe and functional miter saw station. You need to verify that the saw blade can cut through your material thickness comfortably without hitting the supports or frame. Measure the maximum width and height of materials you plan to cut, considering the saw’s bevel and tilt angles. Check the saw’s cut capacity and compare it to your typical project sizes. Use the table below to compare saw specifications:
| Material Thickness | Saw Blade Diameter | Max Cut Width |
|---|---|---|
| 3 inches | 10 inches | 12 inches |
| 4 inches | 12 inches | 14 inches |
| 2 inches | 8 inches | 8 inches |
| 1.5 inches | 7 inches | 6 inches |
This ensures your saw can handle the types of cuts you’ll make. Additionally, understanding nail biology/hygiene can help maintain your workspace by avoiding damage from hidden nails or staples in reclaimed wood, which could affect your saw’s operation. Being aware of potential hidden hazards like nails can also prevent costly repairs and safety issues. Regularly inspecting your materials for hidden nails can save you time and protect your equipment over the long term.
Plan Your Power Outlets and Dust Collection Placement
Planning the placement of your power outlets and dust collection system is essential for a safe and efficient miter saw station. Start by identifying where your tools will be used most often to determine the best power outlet planning. Position outlets near the saw and work surface to minimize extension cords, reducing tripping hazards. For dust collection placement, guarantee the port is close enough to effectively capture sawdust at the source. Consider installing a dedicated dust port that connects directly to your dust collector, which improves airflow and keeps your workspace cleaner. Incorporating safety tips and ergonomic principles into your workspace design can also promote a healthier environment. Proper placement of power outlets and dust collection points, along with workspace organization, streamlines your workflow, enhances safety, and keeps your workspace organized. Take your time to plan these elements carefully before proceeding with other station setup steps.
Assess Lighting and Accessibility for a Comfortable Workspace

To create a comfortable workspace, you should focus on ideal lighting placement that reduces shadows and glare. Make sure your tools are easily accessible without stretching or bending, so your workflow stays smooth. Incorporating natural light can also boost visibility and make your station more inviting. Proper lighting placement can significantly improve your overall workspace comfort and efficiency. Additionally, considering the ergonomics of your setup can help prevent fatigue and strain during long projects. Being aware of early warning signs related to your workspace setup can further enhance your safety and comfort. Paying attention to cabling solutions can help prevent clutter and potential hazards, contributing to a safer and more organized environment. Recognizing how contrast ratio affects image quality can also inform your lighting choices to optimize visibility and reduce eye strain.
Optimal Lighting Placement
Proper lighting is essential to creating a safe and efficient miter saw station. To achieve ideal placement, consider the positioning of lighting fixtures to minimize shadows on your work surface. Place fixtures overhead and slightly in front of your workspace, guaranteeing even illumination without glare. When choosing bulb types, opt for LED bulbs for energy efficiency and consistent brightness. LED bulbs also produce less heat, keeping your workspace comfortable. Avoid placing fixtures directly above the saw blade to prevent shadows that could impair visibility. Confirm that light levels are adjustable to suit different tasks and times of day. Properly positioned lighting enhances safety, accuracy, and comfort, making your miter saw station more productive and enjoyable to use. Additionally, ensuring adequate lighting placement can help prevent accidents and improve overall safety in your workspace.
Accessibility of Tools
Ensuring tools are easily accessible and well-lit is essential for a safe and efficient miter saw station. An ergonomic design allows you to reach tools comfortably, minimizing strain and maximizing productivity. Place frequently used tools within arm’s reach and avoid clutter that could cause accidents. Proper lighting highlights your tools and workspace, reducing errors and safety hazards. Safety considerations should guide your layout, ensuring pathways are clear and tools are stored securely. Incorporate adjustable lighting if possible, so you can customize brightness for detailed tasks. A well-thought-out setup enhances both safety and efficiency, preventing unnecessary movement and fatigue. By focusing on accessibility and lighting, you create a workspace that’s comfortable, safe, and optimized for precise, hassle-free cuts.
Natural Light Integration
Incorporating natural light into your miter saw station can considerably improve visibility and comfort during long work sessions. To maximize this benefit, carefully consider window placement. Position windows to allow natural light to flood the workspace without causing glare on your saw or work surface. South or east-facing windows often provide consistent, bright daylight, but be mindful of direct sunlight that can create harsh shadows. Use adjustable window coverings or shades to control light levels as needed. Additionally, guarantee the workspace remains accessible and safe, avoiding obstructions around windows. Proper natural light integration helps reduce eye strain, enhances precision, and creates a more inviting environment. Planning window placement thoughtfully ensures you get the best possible lighting for your DIY projects.
Measure for Storage and Organizational Needs
Before finalizing your miter saw station, it’s essential to measure your storage and organizational needs carefully. Think about the types of tools, accessories, and materials you’ll store regularly. Consider storage solutions that keep everything accessible yet tidy, such as drawers, shelves, or bins. Measure the space needed for these storage options, ensuring they fit comfortably without crowding your workspace. Organizational strategies should prioritize ease of access and workflow efficiency. Identify where you’ll place frequently used items versus seldom-used tools. By accurately measuring your storage needs upfront, you’ll create a station that promotes productivity, minimizes clutter, and makes your woodworking projects smoother and more enjoyable.
Decide Between a Mobile or Fixed Miter Saw Station
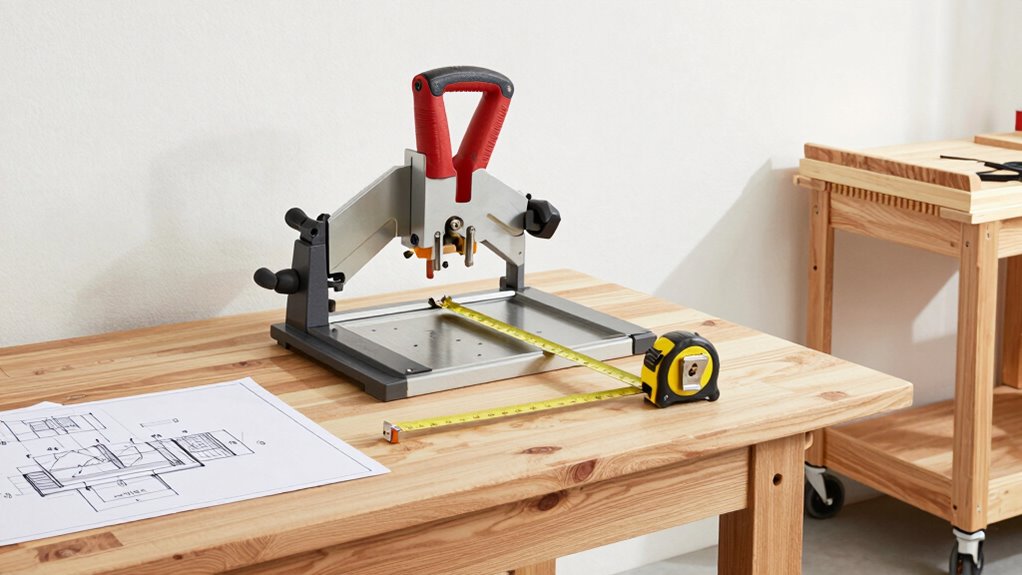
Deciding between a mobile or fixed miter saw station depends on how you work and the space you have available. If you need flexibility to move around your workspace or transport your saw often, a mobile station with durable casters is ideal. Consider your material selection; heavier materials may require a sturdy, fixed setup for stability. Safety precautions are essential regardless of your choice—ensure your station provides secure support and easy access to safety gear. A fixed station offers stability for precise cuts and larger projects, while a mobile setup offers convenience for small spaces or multi-purpose rooms. Think about your workflow and storage needs, and select a design that promotes safe operation and efficient material handling.
Use Your Measurements to Design an Efficient Workflow
By measuring your space carefully, you can plan where to place your tools for maximum efficiency. Focus on optimizing tool placement so everything you need is within easy reach, reducing unnecessary movement. Also, create clear pathways to keep your workflow smooth and safe.
Optimize Tool Placement
Using your measurements, you can strategically place your tools to create a smooth and efficient workflow. Prioritize tool ergonomics by positioning frequently used items within easy reach, reducing unnecessary movement. Keep the miter saw and related equipment aligned to streamline cutting and assembly tasks. Consider safety considerations, ensuring sharp tools and power supplies are placed away from walkways and clutter. Place storage for tools and materials nearby but not obstructing your working space, minimizing the risk of accidents. An organized layout helps you work faster and safer, preventing fatigue and injury. Adjust tool placement based on your typical projects, ensuring everything you need is accessible without compromising safety or efficiency. Proper positioning ultimately enhances your workflow and creates a safer, more productive workspace.
Create Clear Pathways
Creating clear pathways in your miter saw station is essential to maintaining an efficient and safe workspace. When designing your layout, prioritize unobstructed routes that support ergonomic comfort, reducing strain during long tasks. Position tools and materials so they don’t block your movement, allowing you to work smoothly from one area to another. Safety considerations include keeping cords and debris out of walkways to prevent trips and falls. Use your measurements to plan for enough space around the saw for easy access and safe operation. Clear pathways not only improve workflow but also minimize hazards, making your station more comfortable and safer to use. With thoughtful planning, you create an environment that promotes productivity and reduces the risk of accidents.
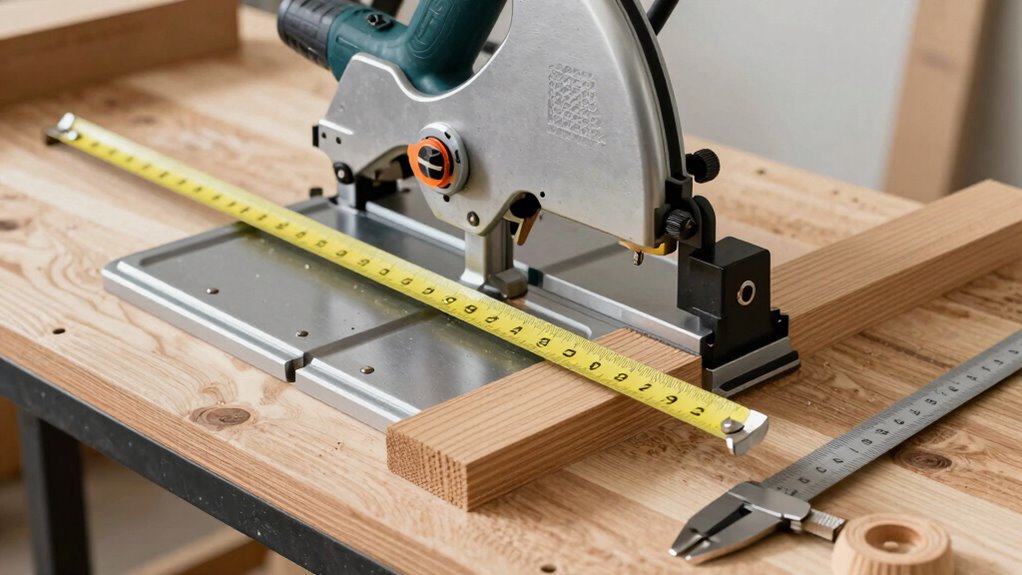
Double-Check All Measurements Before Building
Before you start cutting, it is crucial to double-check all your measurements to guarantee your miter saw station is accurate and safe. Carefully review each dimension, ensuring your material selection aligns with your space and budget considerations. Confirm the height, width, and depth match your initial plans, and account for clearance around the saw for safe operation. Re-measure critical points like the saw’s cutting capacity and work surface height. Double-checking prevents costly mistakes and ensures your station fits comfortably. Don’t assume measurements are correct—measure twice, cut once. Taking this step now saves time and money later, especially if you need to adjust your material selection or budget considerations. Accuracy at this stage ensures your entire project will be safe, functional, and built to last.
Frequently Asked Questions
How Do I Account for Future Tool Upgrades in My Measurements?
You should add extra space in your measurements for future tool upgrades by considering tool storage needs and electrical considerations. Allocate room for larger or additional tools, ensuring you leave enough clearance for easy access. Plan for extra electrical outlets or wiring to accommodate upgraded or new tools. This foresight prevents the need for major reconfigurations later, keeping your workspace functional and safe as your tools evolve.
What Safety Clearance Should I Include in My Measurements?
You should include a safety zone of at least 3 feet around your miter saw to guarantee safe operation. Add clearance space in front of the blade for material handling and behind for dust collection or tool adjustments. This safety clearance helps prevent accidents and provides enough room for you to work comfortably. Always tailor the safety zone to your specific workspace and tool size for maximum safety and efficiency.
How Can I Measure for Ergonomic Comfort Effectively?
Imagine your workspace as a partner in your craft—how well you work depends on your comfort. To measure for ergonomic comfort, focus on your ideal ergonomic posture, ensuring your work surface height promotes natural arm movement. Use precise measurement accuracy to set your station at a height that reduces strain on your back and shoulders. Regularly test and adjust until your setup feels effortless, turning your workspace into a sanctuary of productivity and ease.
What Are Common Mistakes in Measuring for a Miter Saw Station?
A common mistake is rushing measurements, which compromises woodworking precision and measurement accuracy. You might forget to account for workspace clearance or misjudge the height needed for comfortable use. Always double-check measurements and include space for safety and movement. Ignoring these details can lead to an inefficient, uncomfortable station. Take your time, use a reliable tape measure, and verify measurements multiple times to guarantee your miter saw station is both precise and functional.
How Do Measurements Vary for Different Types of Miter Saws?
Measurements vary depending on your miter saw type, especially regarding blade alignment and dust collection needs. For sliding saws, you’ll need more space for blade movement, affecting your measurements. Compound saws require precise alignment for accurate cuts, so measure for blade height and angle adjustments. Always consider dust collection ports and guarantee your measurements accommodate the saw’s dust chute and debris management, preventing clutter and ensuring safety.
Conclusion
Getting your measurements right is like laying a solid foundation for a house—you’ll build with confidence and precision. By carefully planning your miter saw station from the start, you’ll create a workspace that’s efficient, comfortable, and perfectly suited to your needs. Take your time, double-check everything, and you’ll avoid surprises down the line. When your station fits just right, woodworking feels as smooth as a well-cut board—ready for your next project.