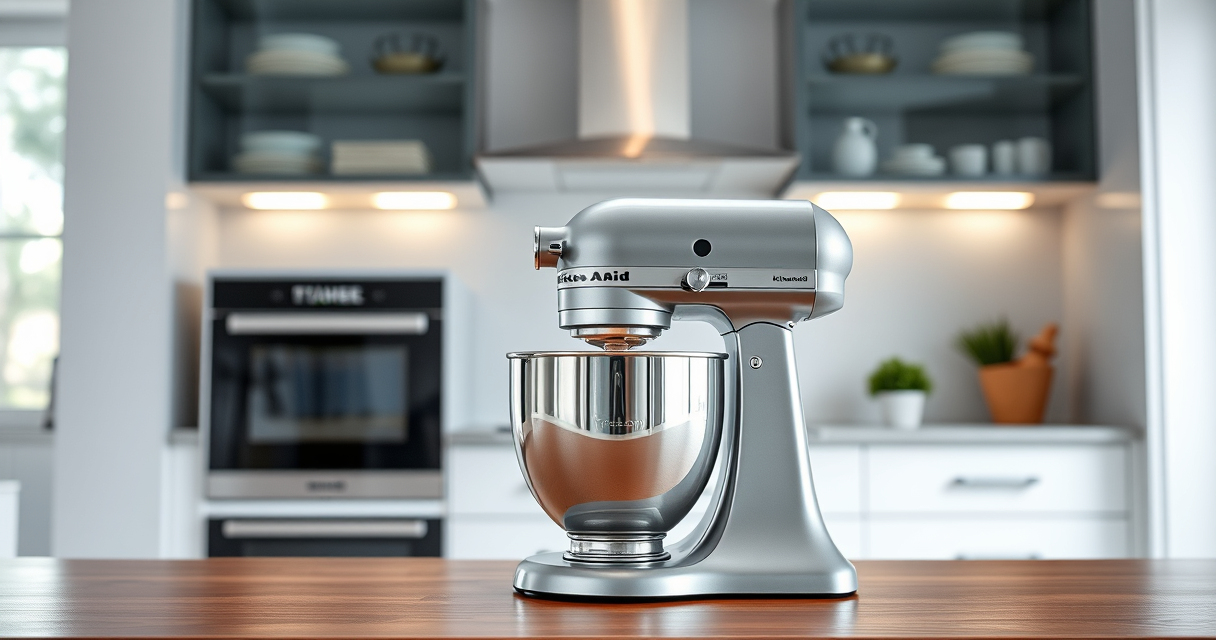

Congratulations on your new KitchenAid Artisan Series 5 Quart Tilt Head Stand Mixer! This versatile kitchen appliance is designed to handle a variety of mixing tasks with durability and precision. Proper setup is essential to ensure safe operation, maximum performance, and longevity of your mixer. In this guide, we’ll walk you through each step to get your mixer ready for use, along with troubleshooting tips for common issues.

Get home appliances delivered free with Prime
- Fast, free delivery on millions of items
- Prime Video, Amazon Music and more included
- Member-only deals all year
Whether you’re a first-time user or upgrading from a previous model, following these clear, practical instructions will help you set up your mixer confidently and safely, so you can start baking and cooking right away.
Key Takeaways
| Assembly Clarity | Follow step-by-step instructions to assemble your mixer safely. |
| Component Handling | Ensure all parts are correctly attached and secure before use. |
| Safety First | Always unplug before cleaning or changing attachments. |
| Optimal Performance | Proper setup extends the life and efficiency of your mixer. |
| Troubleshooting | Identify and resolve common setup issues quickly. |
Unboxing and Inspecting Your Mixer
- Carefully remove the mixer and all accessories from the packaging. Verify that all parts listed in the manual are present: the mixer body, stainless steel bowl, flat beater, wire whip, dough hook, pouring shield, and any included attachments.
- Inspect each component for any damage during transit. If you notice cracks, dents, or missing parts, contact the retailer or KitchenAid customer service before proceeding.
- Lay out all parts on a clean surface to familiarize yourself with them. This helps streamline the assembly process and ensures nothing is overlooked.
Assembling the Mixer
- Position the mixer on a stable, flat surface away from water or heat sources. Plug the power cord into a grounded outlet.
- Lift the tilt-head lock lever and gently tilt the head back until it locks into the upright position.
- Attach the stainless steel bowl onto the base, aligning the notches and turning it clockwise to lock securely.
- Choose your desired attachment (flat beater, wire whip, or dough hook) and insert it into the attachment hub at the center of the mixer head. Turn clockwise until it clicks into place.
- If using attachments like the pouring shield or optional accessories, connect them according to the manual instructions.
Securing and Testing Your Setup
- Once assembled, ensure the tilt-head is securely latched in the upright position before operating. This prevents accidental movement during mixing.
- Turn the mixer to the lowest speed (Speed 1) and gently turn it on to verify stability. Listen for unusual noises or vibrations, which may indicate improper assembly.
- Gradually increase to higher speeds to confirm the mixer runs smoothly and the attachments rotate correctly.
Always keep hands clear of moving parts during testing to avoid injury.
Using and Troubleshooting Common Setup Issues
If your mixer doesn’t start, check that it’s plugged in properly and the power outlet is functioning. Ensure the tilt-head is fully locked in the upright position, as many models won’t operate otherwise.
In case of unusual vibrations or noise, verify the attachments are properly seated and the bowl is securely attached.
If the mixer stalls or doesn’t reach desired speeds, inspect the power cord and switches for damage. Contact customer support if issues persist.
Regular maintenance, such as cleaning attachments and ensuring all parts are dry and free of residue, prolongs your mixer’s lifespan and maintains optimal performance.
Tips and Safety Warnings
- Always unplug the mixer before attaching or removing accessories or cleaning.
- Do not overfill the bowl; the 5-quart capacity is suitable for small to large batches, but overloading can strain the motor.
- Use the correct attachment for each task to avoid damage and ensure best results.
- Keep loose clothing, hair, and utensils away from moving parts during operation.
- Store attachments and accessories in a dry, safe place to prevent damage and loss.
Following these precautions enhances your safety and the longevity of your mixer.
The Products in This Guide

KitchenAid Artisan Series 5 Quart Tilt Head Stand Mixer
- ✔ Weight: 26 lbs
- ✔ Voltage: 120V
- ✔ Warranty: 1 Year

KitchenAid Stand Mixer Attachment
- ✔ Weight: 4.5 lbs
- ✔ Warranty: 1 Year
- ✔ Color: Silver
KitchenAid Artisan Series 5 Quart Tilt Head Stand Mixer
The KitchenAid Artisan Series 5 Quart Tilt Head Stand Mixer is built with durable metal construction and features 59 touchpoints for thorough mixing. Its tilt-head design offers easy access, making it simple to attach accessories and add ingredients. Ideal for small or large batches, it is a reliable and stylish addition to any kitchen.
Pros:
- Durable metal build
- Easy tilt-head access
- Multiple speeds
- Large 5-quart bowl
Cons:
- Heavier than some models
- Requires space for storage
- Attachments sold separately
Best for: Home bakers and cooks needing reliable, versatile mixing power
Not ideal for: Small kitchens with limited space, or those preferring a compact model
Bottom line: A durable, versatile mixer perfect for all your baking needs.
KitchenAid Stand Mixer Attachment
The KitchenAid Stand Mixer Food Grinder attachment transforms your mixer into a powerful food processor, ideal for fresh grinding, sausage stuffing, and more. Its durable metal construction and included grinding plates make it a versatile addition to your kitchen tools.
Pros:
- Powerful grinding capabilities
- Multiple grinding plates
- Easy to attach
- Large food tray
Cons:
- Attachments sold separately
- Requires refrigeration of parts
- Cleaning can be time-consuming
Best for: Making fresh ground meat, sausage, and processed foods
Not ideal for: For users who do not frequently grind ingredients or prefer pre-ground options
Bottom line: A powerful and versatile attachment for fresh food prep.
Frequently Asked Questions
Can I use attachments from other brands with my KitchenAid mixer?
Only attachments specifically designed for KitchenAid stand mixers, like the official attachments listed here, are guaranteed to fit and work properly.
How do I clean the attachments and bowls?
Most attachments and the stainless steel bowl are dishwasher safe. For hand-washing, use warm, soapy water and a soft cloth. Avoid abrasive cleaners to protect the finish.
What should I do if the mixer isn’t starting?
Check that the mixer is plugged in properly, the power outlet works, and the tilt-head is fully locked into the upright position. If problems persist, consult the manual or contact support.
Can I make large batches with this mixer?
Yes, the 5-quart bowl can handle up to 9 dozen cookies or 28g dough per batch with the flat beater, making it suitable for large baking projects.
What safety precautions should I take during setup?
Always unplug the mixer before attaching or removing accessories, keep hands and clothing away from moving parts, and ensure the mixer is on a stable surface during operation.
Your KitchenAid Mixer: Ready to Transform Your Baking
With your new KitchenAid Artisan Series 5 Quart Tilt Head Stand Mixer properly assembled and set up, you’re equipped to take on a variety of recipes with confidence. Proper setup ensures safe operation and optimal performance, so follow each step carefully. Remember to clean and maintain your mixer regularly to enjoy its versatility for years to come. Happy baking!
Affiliate disclosure: As an Amazon Associate we earn from qualifying purchases. Prices and availability are accurate as of the time of publishing.
NFL season / tailgating Picks
team gear
As an affiliate, we earn on qualifying purchases.