
To successfully paint your garage walls, start with thorough surface prep by cleaning, repairing, and lightly sanding the walls. Choose a primer suited to your wall type—bonding or stain-blocking primer works well. For sheen, semi-gloss or gloss offer durability and easy cleaning, while matte helps hide imperfections. Proper preparation guarantees a long-lasting finish, and by following key steps, you’ll create a clean, bright space. Keep going to discover how to perfect each stage for outstanding results.
Key Takeaways
- Properly clean, repair, and sand garage walls before priming to ensure optimal paint adhesion and a smooth finish.
- Select the appropriate primer based on surface type and stain resistance for durable, long-lasting results.
- Choose a paint sheen (matte, eggshell, semi-gloss, or gloss) according to desired appearance, reflectivity, and ease of cleaning.
- Use eco-friendly, low VOC paints and avoid harsh chemicals to maintain indoor air quality and environmental safety.
- Regularly wipe walls with a damp cloth and protect surfaces to preserve paint quality and prevent damage over time.
As an affiliate, we earn on qualifying purchases.
How to Choose the Right Primer for Garage Walls
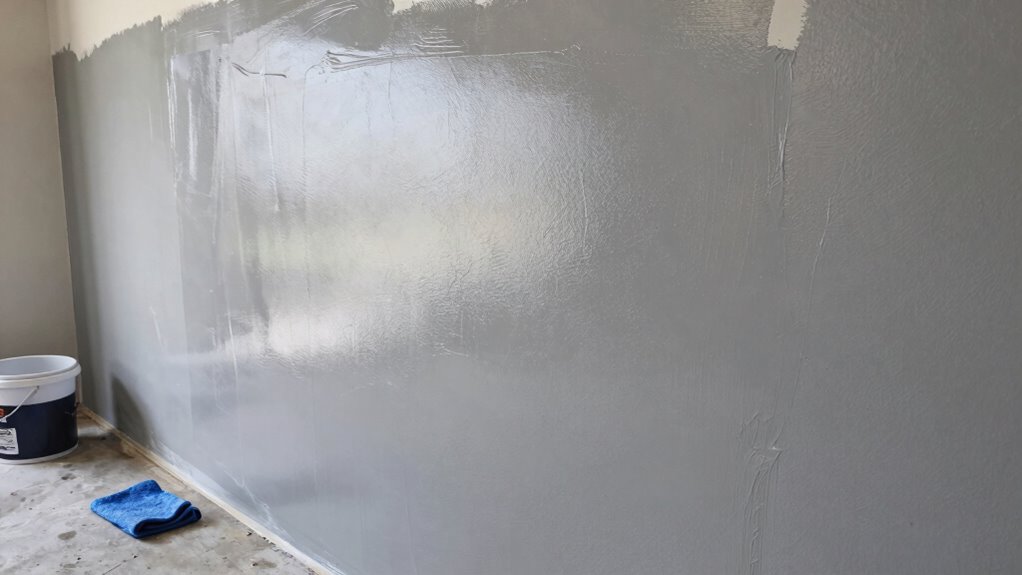
Choosing the right primer is crucial for a successful garage wall paint job because it guarantees better adhesion, durability, and a smooth finish. When selecting a primer, consider primer selection carefully to match your project needs. Look for a primer compatible with your chosen paint to prevent issues like peeling or uneven coverage. For example, if you’re painting over bare concrete or drywall, opt for a bonding primer designed for those surfaces. If walls have stains or previous coatings, a stain-blocking primer is essential. Always read labels to ensure paint compatibility, especially if you’re switching paint types or brands. Proper primer selection creates a strong foundation, promotes long-lasting results, and ensures your garage walls look professional and well-finished. Additionally, understanding digital content formats can help you choose the most effective primers and finishes for your specific project. Selecting the appropriate primer also involves understanding surface preparation, which is vital for achieving the best results. Incorporating knowledge about surface compatibility can further help in choosing primers that adhere better to various materials, ensuring a more durable and uniform finish. Being aware of environmental conditions such as humidity and temperature can also influence primer effectiveness and application quality. Having a good grasp of application techniques will also help you achieve a smooth and even coat, enhancing the overall look of your garage walls.
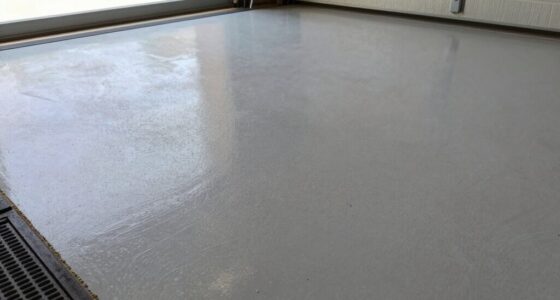
stain-blocking primer for concrete
As an affiliate, we earn on qualifying purchases.
As an affiliate, we earn on qualifying purchases.
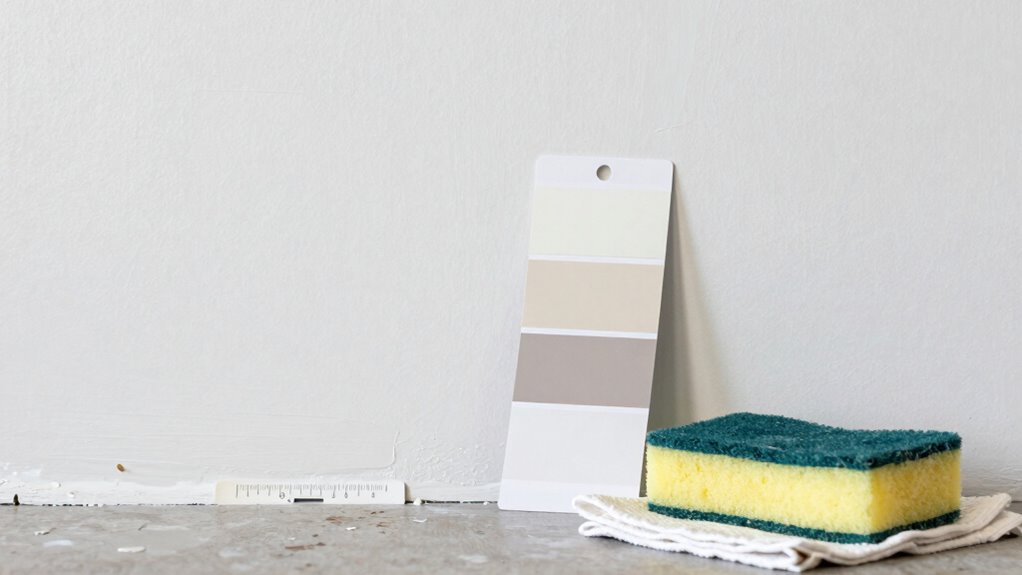
Which Sheen Works Best for Garage Walls?
Choosing the right sheen affects how your garage walls look and hold up over time. Consider how much light you want reflected, how tough the surface needs to be, and the style you prefer. These factors help determine which finish will work best for your space.
Reflectivity and Light Diffusion
When selecting the right paint sheen for your garage walls, understanding reflectivity and light diffusion is essential. Reflectivity effects determine how much light bounces off the surface, influencing brightness and visibility. Higher-sheen paints, like semi-gloss or gloss, reflect more light, making the space feel brighter and more open. This can help illuminate dark corners or shadowed areas. Light diffusion techniques involve spreading light evenly across the walls, reducing glare and harsh shadows. Matte or eggshell finishes diffuse light more effectively, creating a softer, more uniform appearance. Consider your garage’s lighting conditions and how much brightness or softness you desire. By balancing reflectivity effects with light diffusion techniques, you can choose a sheen that enhances both the functionality and aesthetic of your garage space.
Durability and Washability
Since garage walls are exposed to frequent spills, dirt, and potential impacts, durability and washability are crucial factors when selecting a paint sheen. You want a finish that withstands regular cleaning without peeling or fading. Water resistant coatings are essential, especially if you often clean or encounter moisture. Semi-gloss and gloss sheens are typically more durable and easier to wipe down, making them ideal choices. Mold resistant paints add an extra layer of protection against mold and mildew, which thrive in damp environments. These paints are especially useful if your garage tends to stay humid. Choosing a durable, washable finish ensures your garage walls stay looking fresh longer and resist damage from everyday use. Additionally, selecting a soundproofing-friendly paint can help reduce noise transfer and create a quieter workspace. Incorporating eco-friendly paints that are low in volatile organic compounds (VOCs) can also improve indoor air quality and promote a healthier environment. Moreover, using microplastics in dust as a consideration can help you select paints that minimize pollutants and contribute to a cleaner indoor environment. When selecting paints, considering the environmental impact can further support sustainable choices and reduce harmful emissions. In addition, selecting paints with high adhesion can improve the longevity of the coating on garage surfaces.
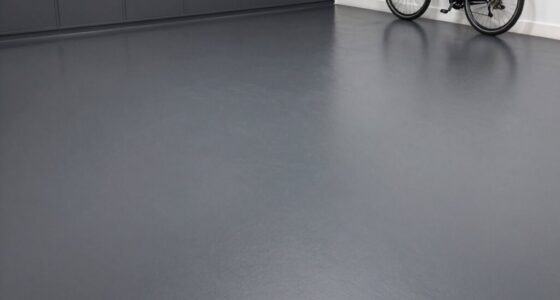
Finish Aesthetic and Style
The sheen you select can dramatically influence the overall look of your garage walls, balancing practicality with style. A semi-gloss finish offers a subtle shine that enhances decorative accents like shelving or artwork, making them stand out. It also reflects light, brightening the space and creating a clean, modern aesthetic. If you prefer a more subdued, matte appearance, flat or eggshell finishes provide a smooth, understated background that hides imperfections well. When choosing a sheen, consider your color coordination—glossy finishes amplify bold hues, while matte tones soften softer shades. Think about how your garage’s style and function intertwine; a well-selected sheen helps you achieve the desired decorative effect while maintaining easy cleaning and durability.
As an affiliate, we earn on qualifying purchases.
How to Prepare Garage Walls for Painting
Before you start painting, clear your workspace to make the job easier and safer. Next, clean your walls thoroughly and repair any cracks or holes to guarantee a smooth surface. Additionally, consider using eco-friendly painting supplies to reduce environmental impact. Finally, sand the walls lightly and apply a primer to help the paint adhere properly. Incorporating the right flavors and pairings can also enhance your overall experience with the project. Additionally, if you’re concerned about eco-friendly practices, consider using recyclable paint containers and environmentally safe cleaning products during preparation. Using eco-friendly painting supplies can further reduce your environmental impact. Remember, understanding emotional well-being can help you stay motivated and reduce stress throughout your painting project.
Clear the Workspace
Clearing the workspace is an essential first step to guarantee a smooth painting process. You need a clutter-free area to work efficiently and avoid accidents. Start by organizing your tools so everything is within reach, reducing the time spent searching. Clearing clutter means removing any items that could get in the way or get damaged during painting. Move large objects, excess supplies, and furniture to a different room or corner. Protect the floor and nearby surfaces with drop cloths or plastic sheeting. This creates a safe, clean environment, making your job easier and more effective. Additionally, inspecting your surfaces for stains or grime prior to painting can help ensure a better finish. Being aware of surface preparation techniques can further improve your results. Using proper cleaning methods can also help remove dirt and grease, leading to a more durable paint job. Proper surface priming is important to ensure the paint adheres well and lasts longer. For optimal results, consider using quality painting supplies to achieve a professional look.
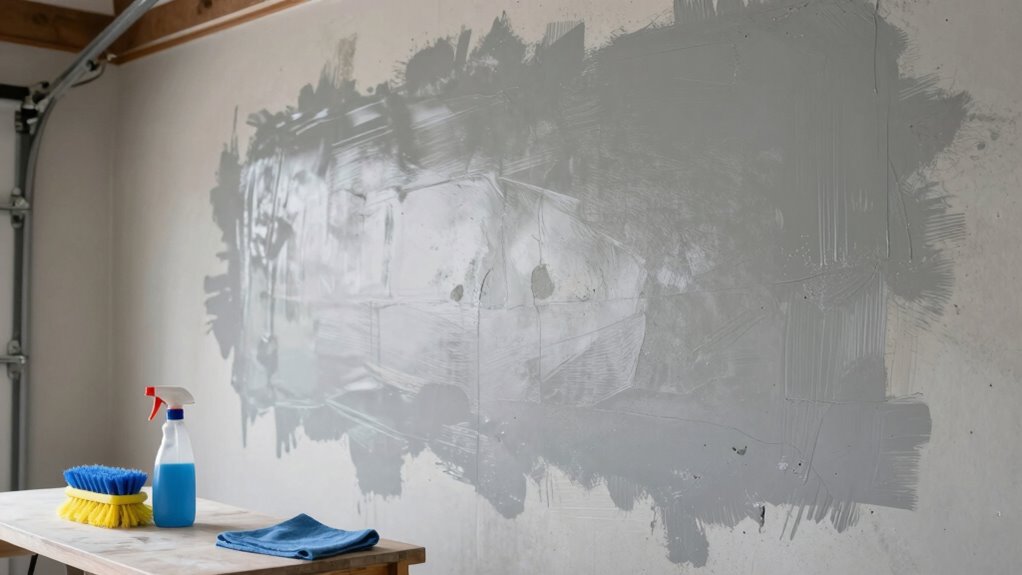
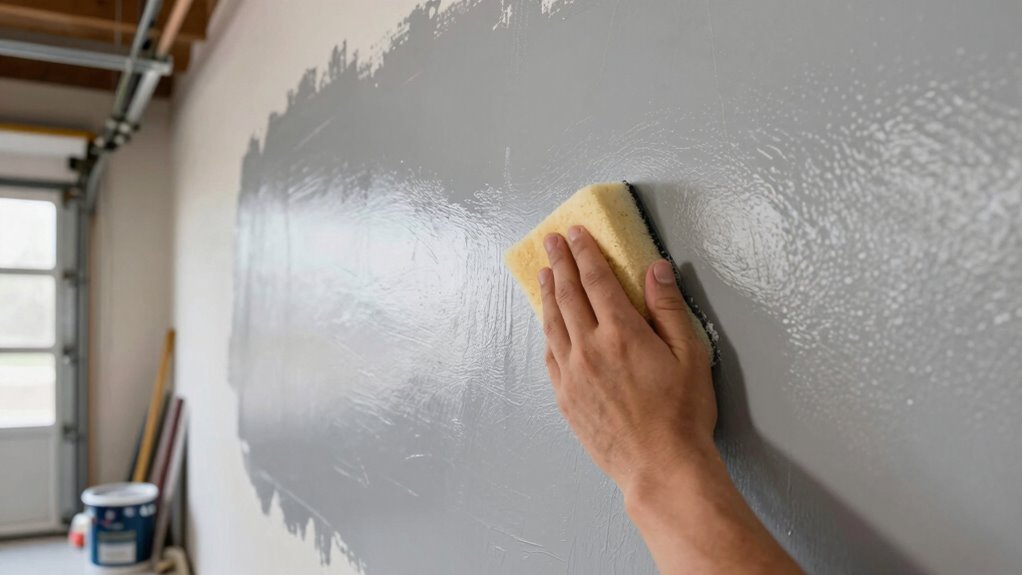
Clean and Repair Walls
Have you thoroughly examined your garage walls for dirt, grease, or peeling paint? Clean walls are essential for a smooth finish. Start by removing dust and grime with a damp cloth, focusing on areas with wall texture that trap dirt. For grease spots, use a mild degreaser. Check for signs of moisture, like stains or mold, which can hinder paint adhesion. Repair any damaged drywall or holes with spackle, then sand smooth. Pay special attention to moisture control, as excessive humidity can cause peeling or mold growth later. Keep the surface dry before painting. Here’s a quick guide:
| Step | Task | Tips |
|---|---|---|
| 1 | Remove dust | Use a damp cloth for textured surfaces |
| 2 | Clean grease | Mild degreaser on affected spots |
| 3 | Check moisture | Look for stains/mold |
| 4 | Repair drywall | Fill holes, sand smooth |
| 5 | Dry walls | Ensure moisture is managed |
Additionally, understanding paint adhesion principles can help ensure your finished job lasts longer. Proper surface preparation and moisture control are crucial to prevent issues like peeling or mold growth after painting. Ensuring proper surface preparation can significantly improve the durability of your paint job. Properly managing moisture levels is especially important in garages where humidity often fluctuates. To achieve optimal results, consider testing your walls for moisture content before painting to identify hidden issues that could compromise your work.
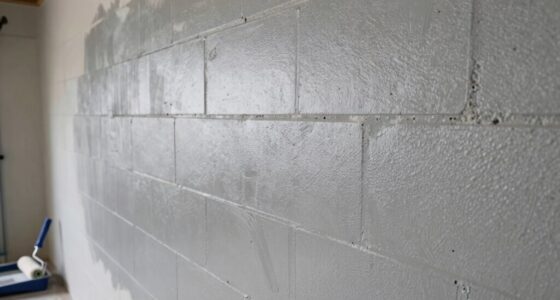
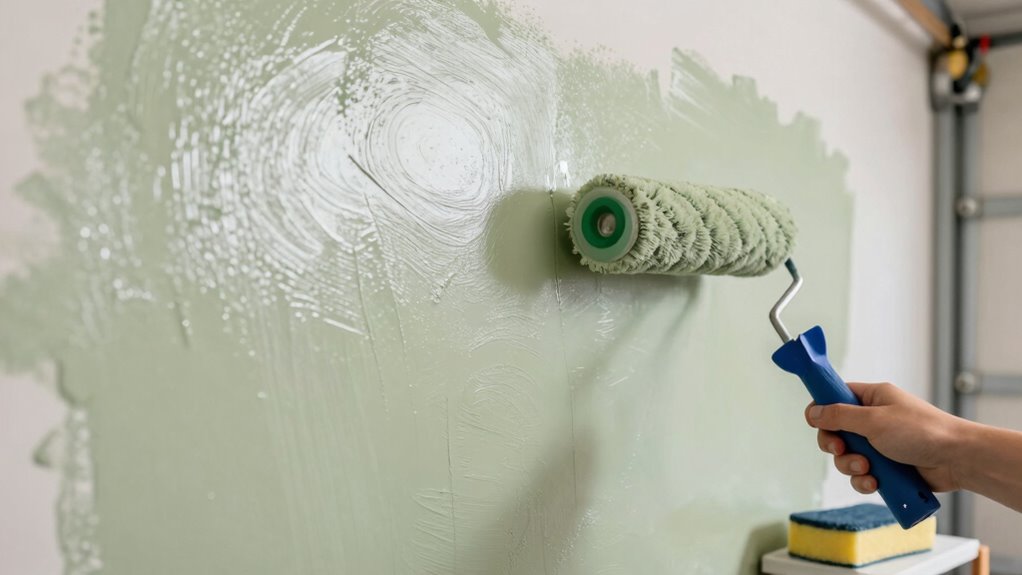
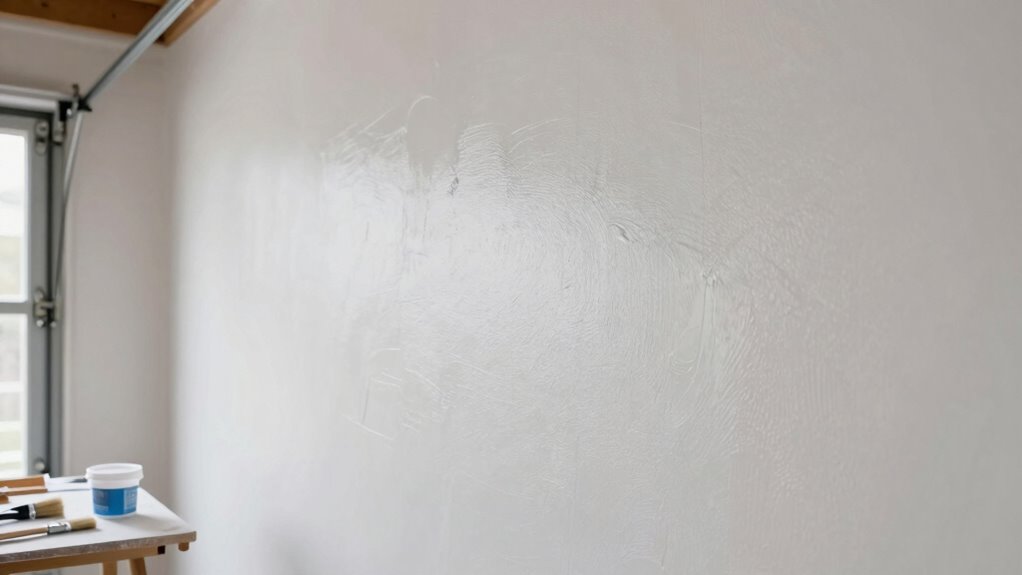
Sand and Prime Surface
To guarantee your garage walls are ready for a fresh coat of paint, you need to sand and prime the surface thoroughly. Sanding smooths surface texture, removes rough spots, and creates a uniform base, ensuring better paint adhesion. Priming enhances paint compatibility, sealing porous surfaces and preventing uneven absorption. Proper preparation helps achieve a professional finish and prolongs paint life.
- Use fine-grit sandpaper for a smooth surface without damaging the wall
- Wipe away dust with a damp cloth before priming
- Apply a high-quality primer suited to your wall type
- Allow primer to dry completely before painting for optimal results
As an affiliate, we earn on qualifying purchases.
Common Mistakes to Avoid When Painting Garage Walls
Painting garage walls can transform the space, but overlooking common mistakes can lead to frustrating results. One mistake is ignoring color coordination; choosing colors that clash or don’t complement your overall design can detract from your effort. Another is neglecting paint texture; using inconsistent finishes or incompatible sheens can make walls look uneven or unprofessional. Also, rushing the job often results in streaks, drips, and uneven coverage. To avoid these issues, plan your color scheme carefully and select appropriate sheens for durability. Proper preparation and patience pay off in a polished look. Here’s a quick guide:
| Mistake | Consequence | Tip |
|---|---|---|
| Poor color coordination | Clashing, unbalanced design | Test colors beforehand |
| Ignoring paint texture | Uneven, unprofessional finish | Use consistent sheens |
| Rushing application | Drips, streaks | Take time and apply multiple coats |
| Skipping prep work | Poor adhesion, peeling | Clean and prime thoroughly |
Step-by-Step Guide to Painting Your Garage Walls
Before you start applying paint to your garage walls, making sure the space is properly prepared is vital. Begin by cleaning the walls thoroughly and repairing any holes or cracks. Next, choose your paint color carefully, considering color matching to guarantee it complements your space. Use painter’s tape to protect trim and edges. When it’s time to paint, work in manageable sections, starting from the top and working downward. Keep your paint organized and protected by using proper paint storage methods, preventing spills and drying out. Always stir your paint well before use to maintain consistency. Applying multiple thin coats yields better coverage than one thick coat. Let each coat dry completely before adding the next for a smooth, professional finish.
Tips for Maintaining Your Newly Painted Garage Walls
Once your garage walls are freshly painted, maintaining their appearance requires regular attention. Keep the walls clean by wiping them down with a damp cloth to remove dust and dirt. Avoid harsh chemicals that could damage the paint. Proper storage organization prevents clutter that might cause scratches or stains, preserving your paint job. Also, check your garage wall insulation periodically; good insulation helps regulate temperature and prevents moisture buildup, which can damage paint over time. Consider adding wall-mounted storage or shelves to protect the painted surfaces and keep items off the walls. Regular maintenance prolongs your paint’s life and keeps your garage looking fresh and organized.
| Tip | Benefit |
|---|---|
| Clean with a damp cloth | Maintains appearance, removes dirt |
| Organize storage properly | Protects paint, prevents scratches |
Frequently Asked Questions
How Long Should I Wait Before Moving Items Back Into the Garage?
You should wait at least 24 to 48 hours before moving items back into your garage, depending on the paint’s drying time. Make certain proper ventilation tips, like opening windows and using fans, to speed up drying. This helps fumes dissipate and paint cure properly. Check for no sticky spots or strong odors before reintroducing your belongings. Rushing this process could damage your fresh paint job or cause odors to linger.
Can I Paint Over Existing Garage Wall Paint?
Can you imagine transforming your garage with a fresh coat? Yes, you can paint over existing paint, but first, consider whether you need existing paint removal to guarantee proper adhesion. Use color matching techniques to blend new paint seamlessly. Lightly sanding the walls and applying a primer can help improve the finish. Do you want a smooth, professional look? Proper prep makes all the difference in achieving that perfect, lasting result.
What Are the Best Tools for Painting Garage Walls?
You should use a high-quality paint roller and a paintbrush for painting garage walls. The roller is perfect for covering large areas quickly and evenly, while the brush helps reach corners, edges, and detailed spots. Opt for a roller with a nap suitable for your wall surface—smooth or textured. Combining these tools guarantees a smooth, professional-looking finish and makes the painting process easier and more efficient.
How Do I Remove Stains From Garage Walls Before Painting?
Think of your garage wall as a canvas needing a fresh start. To remove stains, start with stain removal techniques like scrubbing with a mixture of mild detergent and warm water. For tougher marks, apply cleaning solutions like vinegar or baking soda paste. Use a soft sponge or brush, gently working on the stain. Rinse with clean water and let it dry completely before painting. This guarantees a smooth, stain-free surface.
Is It Necessary to Wear Protective Gear When Painting Garage Walls?
Yes, you should wear protective gear when painting garage walls. Safety precautions, like gloves, goggles, and a mask, protect you from paint fumes, splatters, and dust. Wearing protective gear minimizes health risks and keeps you safe during the process. Always follow safety guidelines and guarantee good ventilation. Taking these precautions ensures a safer, cleaner, and more comfortable painting experience, especially in enclosed garage spaces.
Conclusion
Now that you know how to choose the right primer, sheen, and prep your garage walls properly, you’re all set to achieve a professional look. Remember, proper preparation and attention to detail make all the difference. Are you ready to transform your garage into a fresh, inviting space? With these tips and a bit of effort, you’ll enjoy your beautifully painted walls for years to come. So, why wait? Start your painting project today!