
Many people skip primer when painting garage walls, but it’s a vital step. Primer helps paint stick better, creates a smooth surface, and makes your finish last longer. Without it, you risk uneven coverage, peeling, and blotchiness. Proper primer application seals tiny pores and fills imperfections, ensuring a professional look. If you want a durable, clean garage finish, understanding the importance of primer is essential — you’ll discover how to do it right below.
Key Takeaways
- Skipping primer leads to poor adhesion, uneven coverage, and increased risk of peeling and blotchiness.
- Primer prepares surfaces for better paint adherence, ensuring a smooth, durable, and professional finish.
- Proper surface cleaning, repair, and priming prevent future issues like cracking and peeling.
- Applying primer in thin, even coats and allowing full drying enhances paint longevity and appearance.
- Using the right primer type for your garage surface ensures optimal adhesion and a lasting paint job.
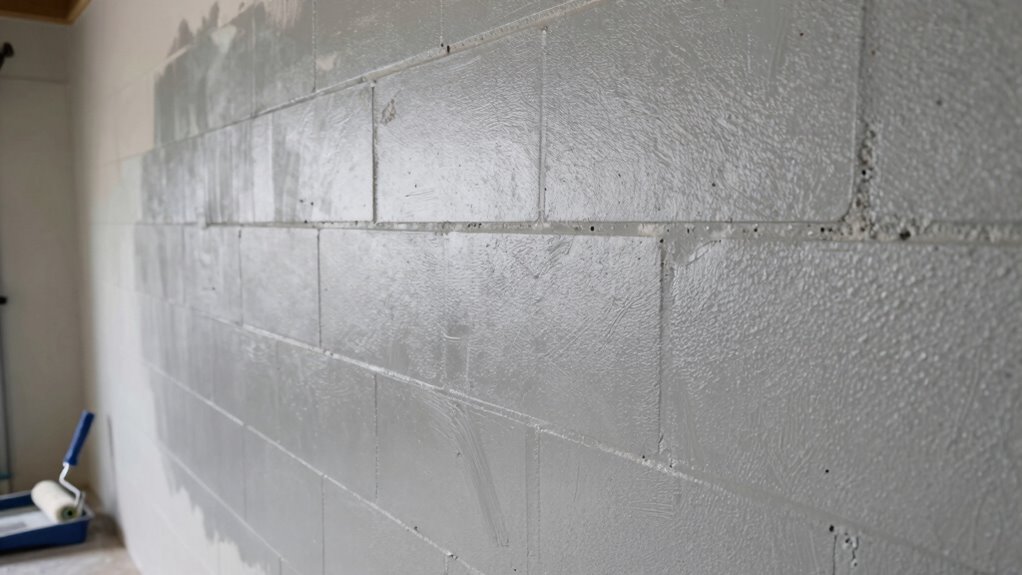
garage wall primer
As an affiliate, we earn on qualifying purchases.
As an affiliate, we earn on qualifying purchases.
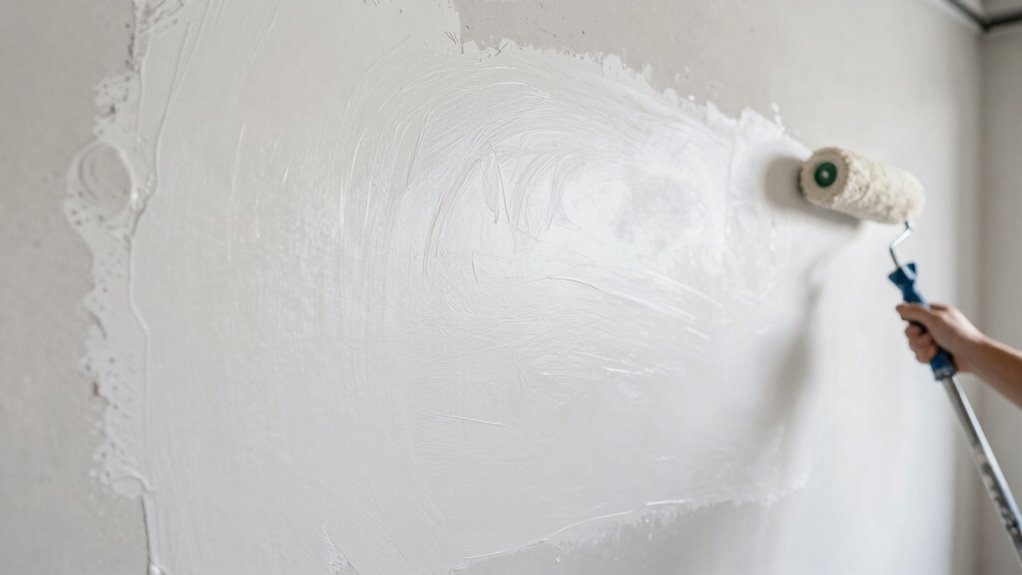
Why Primer Is the Most Important Step in Garage Painting
Before applying paint to your garage walls, you might think skipping primer saves time, but in reality, it can lead to poor adhesion and uneven coverage. Primer is essential because it prepares the surface, ensuring your paint sticks properly. When choosing primer types, consider the surface material—oil-based primers work better for stains, while latex primers suit most drywall surfaces. Color selection is also important; using a tinted primer close to your topcoat color can reduce the number of paint coats needed. Skipping primer or choosing the wrong type can cause peeling, blotchiness, or uneven color. Investing in the right primer and understanding primer types makes your painting project smoother and results more professional-looking, saving you time and effort in the long run. Additionally, understanding basic coating principles from Stoic wisdom can help you approach your project with patience and clarity, ensuring a better outcome. Proper surface preparation, including cleaning and repairing the walls beforehand, can significantly improve the final appearance. Taking the time to research primer selection and understanding how surface preparation affects adhesion can prevent common mistakes and achieve a more durable finish. Being aware of application techniques can also help you ensure a smooth and even coat.
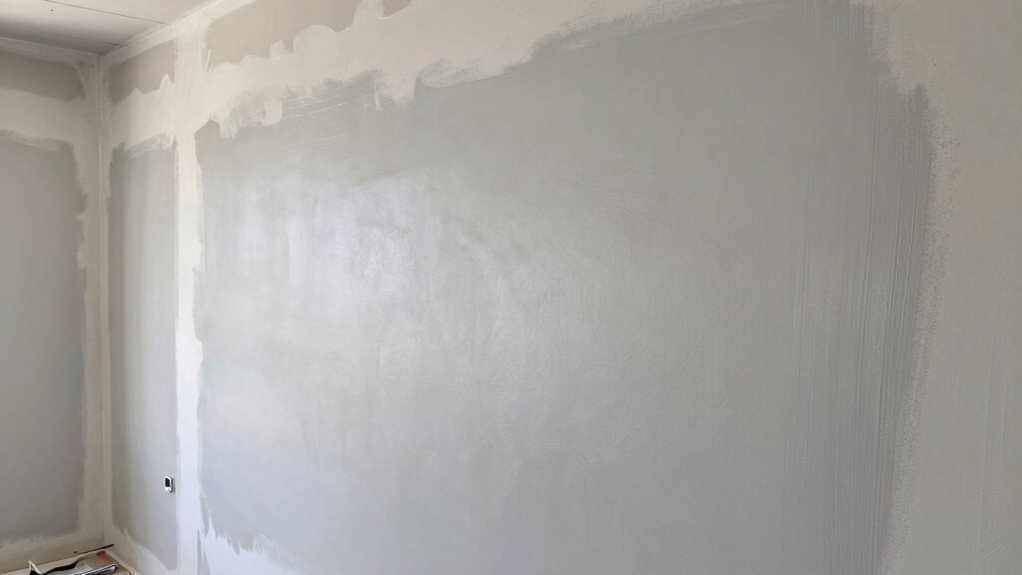
best primer for garage walls
As an affiliate, we earn on qualifying purchases.
As an affiliate, we earn on qualifying purchases.
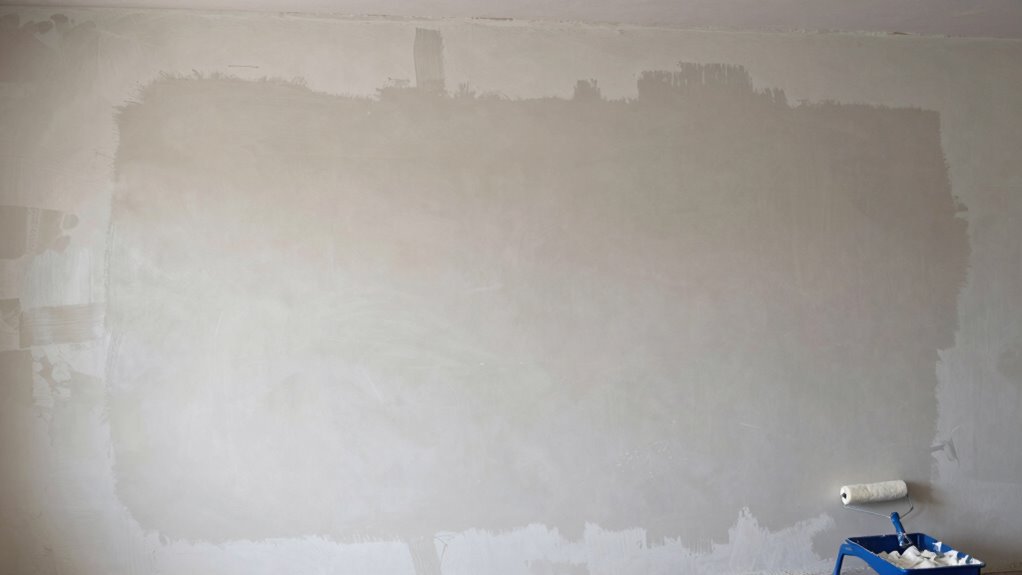
How Proper Primer Application Improves Your Garage Walls
Applying primer properly guarantees your garage walls have a smooth, even surface that enhances paint adhesion and durability. When applied correctly, primer reduces surface porosity, meaning it seals tiny pores that could otherwise absorb paint unevenly. This sealing action not only improves the surface but also prepares it for better paint adhesion, which is crucial for a long-lasting finish. Properly applied primer creates a more uniform surface, which can help in preventing peeling, especially on surfaces with previous damage or uneven textures. This creates a uniform base, preventing paint from peeling or chipping prematurely. Good primer adhesion ensures the paint sticks firmly, reducing the need for touch-ups later. Proper application fills in small imperfections and smooths out rough patches, which results in a professional-looking finish. Additionally, ensuring the surface is clean and dry before primer application is essential, as moisture or debris can compromise adhesion and result in an uneven finish. Taking the time to prepare the surface properly can also help prevent issues caused by microplastics in dust, which can interfere with primer and paint bonding. When you focus on applying primer evenly and thoroughly, you maximize its benefits, helping your paint job last longer and look better. Ultimately, investing time in proper primer application guarantees your garage walls are prepared for a flawless, lasting coat of paint.
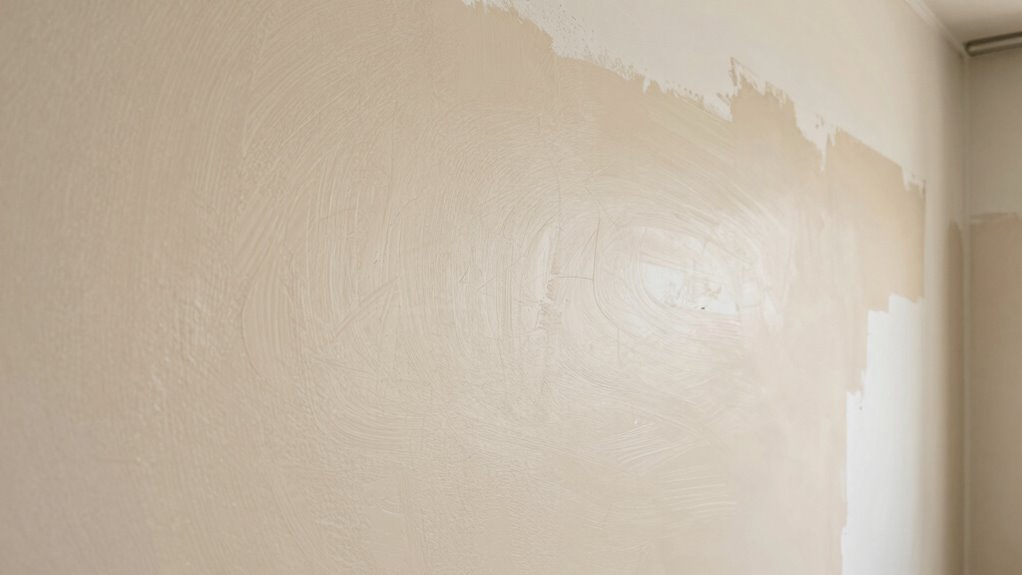
oil-based primer for stains
As an affiliate, we earn on qualifying purchases.
As an affiliate, we earn on qualifying purchases.
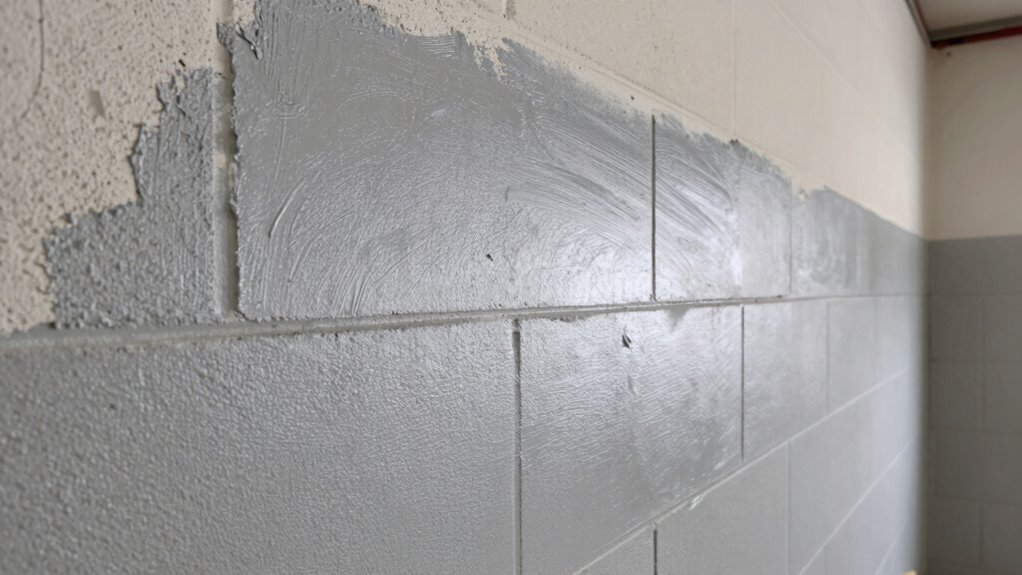
Choosing the Best Primer for Your Garage Walls
Choosing the right primer for your garage walls is essential to guarantee a durable and professional-looking finish. Start with color selection; a tinted primer can help you visualize the final color and improve coverage, especially on dark or stained surfaces. When selecting primer types, consider the wall’s condition and the paint you plan to use. Oil-based primers are ideal for sealing stains and blocking odors, while latex primers are more versatile and easier to clean. If your garage walls have surface imperfections or previous paints, choose a primer designed for adhesion. Matching primer types to your specific needs ensures better paint adherence and longevity. Additionally, understanding the pool terminology associated with certain paints and primers can help you select products that symbolize strength and resilience. By carefully selecting the appropriate primer and color, you’ll set a solid foundation for a flawless, lasting garage wall finish. Knowing the primer’s compatibility with existing surfaces can prevent future adhesion issues and save time during the project. To achieve optimal results, consider the surface preparation process, which is crucial for proper primer adhesion and durability. Proper surface prep can also address issues like uneven textures or surface contaminants that may compromise the primer’s effectiveness.
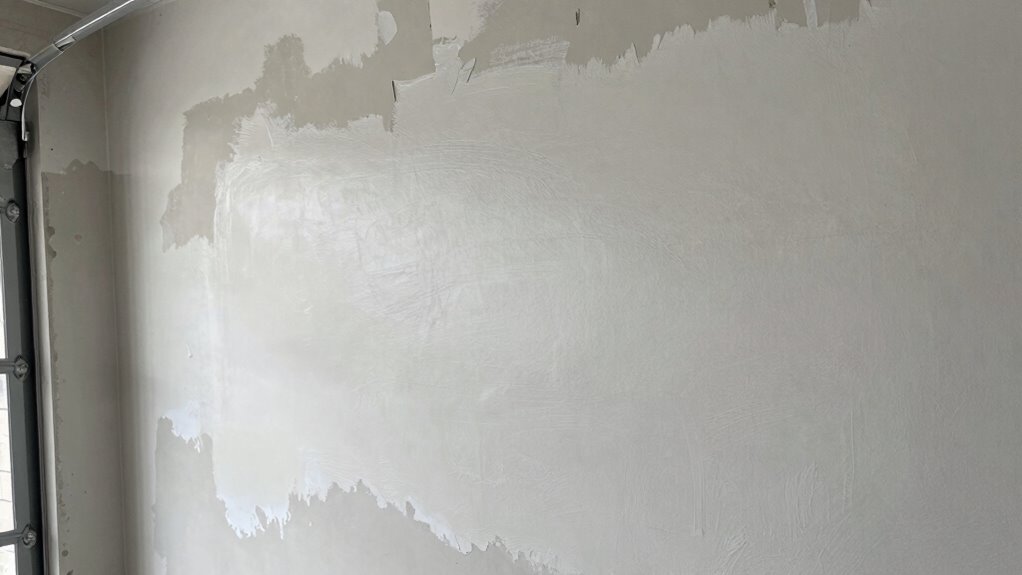
latex primer for drywall
As an affiliate, we earn on qualifying purchases.
As an affiliate, we earn on qualifying purchases.
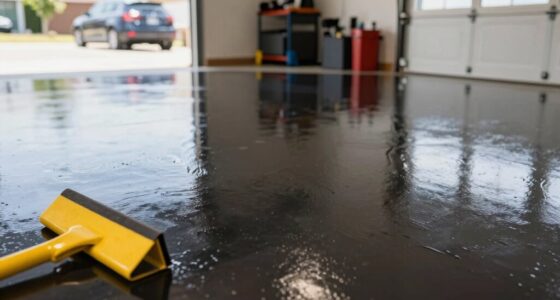
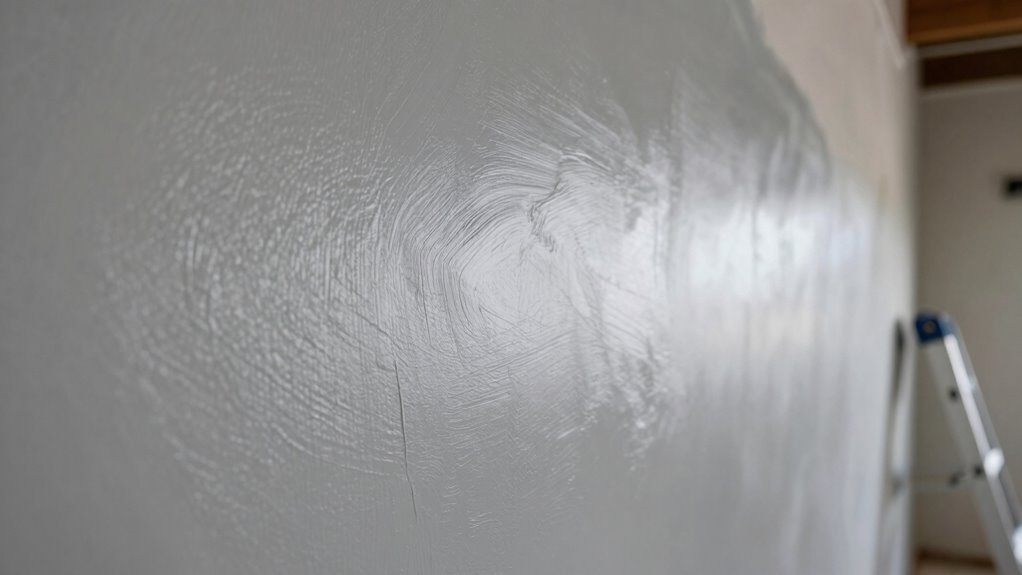
Step-by-Step: Applying Primer Like a Pro
To achieve a smooth, professional finish, you need to apply primer carefully and methodically. Start by stirring the primer thoroughly to guarantee even consistency. Use a high-quality brush or roller, applying primer in thin, even coats to avoid drips and streaks. Focus on primer techniques that promote uniform color coverage, working in small sections and overlapping each stroke slightly. Maintain a wet edge to prevent lap marks. Pay attention to corners, edges, and hard-to-reach areas, ensuring complete coverage. Allow each coat to dry fully before applying the next. Proper application ensures the primer adheres well and creates a uniform base for your paint. Incorporating natural light into your workspace can also help you better see and correct uneven spots during the priming process. Additionally, understanding primer adhesion can help you choose the right type of primer for your specific surface, ensuring long-lasting results. Recognizing the importance of surface preparation can further enhance the primer’s effectiveness and the overall finish, as thorough preparation can prevent issues similar to those seen in zodiac traits and personalities where surface or emotional readiness impacts outcomes. To ensure the primer bonds effectively, it’s also helpful to understand surface porosity and how it influences primer absorption and coverage.
Common Primer Problems and How to Fix Them
Even with careful primer application, problems can still arise that affect the final look of your garage walls. One common issue is color matching; if the primer is uneven or too dark, it can alter the true color of your paint, leading to a mismatched or dull finish. To fix this, make certain you choose a primer that closely matches your topcoat or is tinted appropriately. Another problem is primer texture—if it’s too thick or uneven, it can create an uneven surface that shows through when you paint. To resolve this, sand down rough patches and apply a thinner, even coat. Proper surface prep and using quality primer help avoid these issues, ensuring your garage walls look smooth and vibrant after painting. Additionally, understanding paint compatibility can also prevent issues related to primer and paint adhesion, resulting in a more professional finish. Being aware of surface preparation and the importance of a clean, smooth foundation ensures a better bonding surface for your paint. Incorporating advanced filtration systems can further protect your paint job from contaminants that may cause uneven finishes or adhesion problems.
How Long Does Primer Take to Dry and Ready for Painting?
Understanding how long primer takes to dry is essential for a successful painting project. Generally, primer’s drying time varies based on the type and environmental conditions. Typically, it takes about 1 to 4 hours for primer to dry to touch. However, it’s vital to check if it’s fully cured before applying paint, which can take up to 24 hours. Ensuring the primer is paint-ready is key to a smooth finish.
| Primer Type | Drying Time | Paint Readiness |
|---|---|---|
| Latex Primer | 1-2 hours | After 4 hours |
| Oil-Based Primer | 2-4 hours | After 24 hours |
| Fast-Dry Primer | 1 hour | After 2-4 hours |
Final Tips for a Durable, Professional Garage Finish
To achieve a durable, professional finish, start with proper surface preparation—clean, sand, and repair any imperfections. Always choose high-quality paint to guarantee better coverage and longevity. These steps make a significant difference in how your garage walls look and last over time.
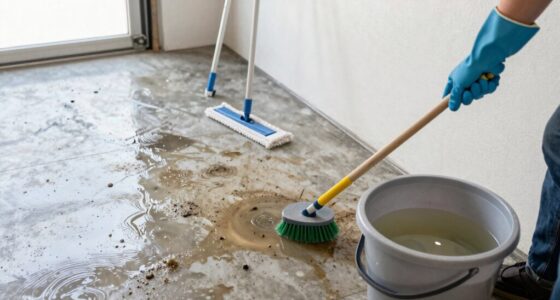
Proper Surface Preparation
Before applying paint to your garage walls, you need to make certain the surface is properly prepared. This ensures a long-lasting, professional finish. Start with surface cleaning—remove dirt, grease, and cobwebs using a cleaner or a mixture of water and mild detergent. Next, check for moisture issues; damp walls can cause paint to peel or mold to develop. Use a moisture meter if needed, and fix leaks or humidity problems before painting. Here are some final tips:
- Allow walls to dry completely after cleaning.
- Repair cracks or holes with patching compound.
- Sand rough areas for a smooth surface.
- Control moisture by improving ventilation or applying a moisture barrier.
Proper preparation is key to a durable, flawless garage paint job.
Use Quality Paint
Choosing high-quality paint is essential for achieving a durable, professional-looking garage finish that lasts. Good paint provides better coverage, adhesion, and resistance to wear and moisture. It also allows you to select colors that coordinate well with your overall space, creating a cohesive look. When choosing your paint, consider how lighting will affect the appearance; a quality paint can enhance lighting and make your garage feel brighter and more inviting. Investing in top-tier paint might cost a bit more upfront, but it pays off in longevity and finish quality. Plus, it reduces the need for frequent touch-ups or repainting. Remember, a well-selected, high-quality paint makes your garage walls stand out, giving your space a polished, professional feel for years to come.
Frequently Asked Questions
Can I Skip Primer if My Garage Walls Are New?
You can skip primer on new garage walls if they’re smooth and have good adhesion. However, consider garage wall textures—if your walls are rough or porous, primer helps even out surface absorption. Also, think about primer color options; using a tinted primer can improve color coverage, reducing paint coats. Ultimately, applying primer guarantees better paint adhesion and a smoother finish, especially on textured or uneven surfaces.
Is Primer Necessary for Painted or Sealed Garage Surfaces?
Think of primer as the handshake that welcomes your paint, ensuring it bonds firmly. For painted or sealed garage surfaces, primer isn’t just optional—it’s essential for surface preparation. Different primer types target specific needs, like sealing stains or enhancing adhesion. Skipping primer risks uneven paint, peeling, or reduced durability. So, invest in the right primer to protect your effort, making your garage walls truly stand the test of time.
How Do I Choose the Right Primer for Different Wall Materials?
When choosing the right primer, consider your wall material and the primer types available. For drywall, opt for a latex or acrylic primer that offers good adhesion and coverage. Concrete or masonry walls need a bonding or specialized primer to seal porous surfaces. Proper wall preparation, like cleaning and repairing holes, guarantees the primer adheres well. Match the primer to your surface for a smooth, lasting finish that resists peeling and stains.
What Tools Are Best for Applying Primer Evenly?
Did you know that using the right tools can reduce primer application time by up to 30%? To apply primer evenly, choose a high-quality roller suited for your wall texture, and use brush techniques like light, consistent strokes for edges. Rollers with a medium nap work best on smooth surfaces, while thicker naps handle rougher textures. Combining these tools guarantees a smooth, even coat that prepares your garage walls perfectly.
How Does Weather Affect Primer Drying Times?
Weather conditions greatly influence the drying process of primer. In hot, dry weather, primer dries rapidly, so you should work efficiently. Conversely, high humidity or low temperatures decelerate drying, increasing the risk of smudges or uneven finish. Rain or moisture can even prevent proper drying altogether. To guarantee a smooth, durable coat, check the weather forecast and plan your painting when conditions are ideal.
Conclusion
Think of primer as the foundation of your garage’s new look—without it, your paint can’t truly shine. Skipping this essential step is like building on shaky ground, risking cracks and peeling. When you give your walls the proper primer, you’re planting a sturdy seed for a lasting, professional finish. Embrace this step and watch your garage transform into a resilient canvas, where each brushstroke symbolizes the promise of quality and durability.