Getting your new Keurig K-Mini up and running is straightforward, but following proper setup steps ensures optimal performance and safety. This guide provides clear instructions to help you prepare your coffee maker, troubleshoot common issues, and enjoy your favorite brews with ease.
Whether you’re a first-time Keurig user or looking to ensure your device is correctly set up, these practical steps will guide you from unboxing to your first brew.
Key Takeaways
| Compact & Space-Saving | Fits in small spaces with less than 5 inches width. |
| Customizable Brew Sizes | Brew between 6-12 oz for your preferred strength. |
| Easy Water Refill | Single cup reservoir for fresh water each brew. |
| Quick & Fresh Coffee | Brew in minutes with auto shut-off for safety. |
| Compatible Accessories | Works with My K-Cup reusable filter for ground coffee. |
Unboxing and Initial Setup
- Remove the Keurig K-Mini from its packaging and ensure all included components are present.
- Place the unit on a stable, flat surface near an outlet, and keep it away from water or heat sources.
- Fill the water reservoir with fresh, clean water. Do not overfill beyond the maximum fill line.
Powering On and Preparing for Use
- Plug in the coffee maker, and press the power button if applicable.
- Ensure the removable drip tray is in place and the water reservoir is correctly seated.
- Place a mug on the drip tray, ensuring it is stable and within the travel mug height limit (up to 7 inches tall).
Brew Your First Cup
- Lift the brew lid and insert a K-Cup pod of your choice.
- Select your desired brew size (6-12 oz) using the side button or dial.
- Press the brew button to start brewing. Wait until the process completes before removing the mug.
Cleaning and Maintenance Tips
- Clean the removable parts, like the drip tray and water reservoir, regularly with mild soap and water.
- Descale the machine every 3-6 months using a descaling solution to prevent mineral buildup.
- Use the auto-off feature to save energy and reduce safety hazards.
Troubleshooting Common Issues
- If the machine isn’t brewing, check the water reservoir is filled correctly and seated properly.
- For weak or inconsistent coffee, descale the brewer and clean the needle and pod holder.
- If the machine doesn’t turn on, verify the outlet is functioning and the power cord is securely connected.
The Products in This Guide

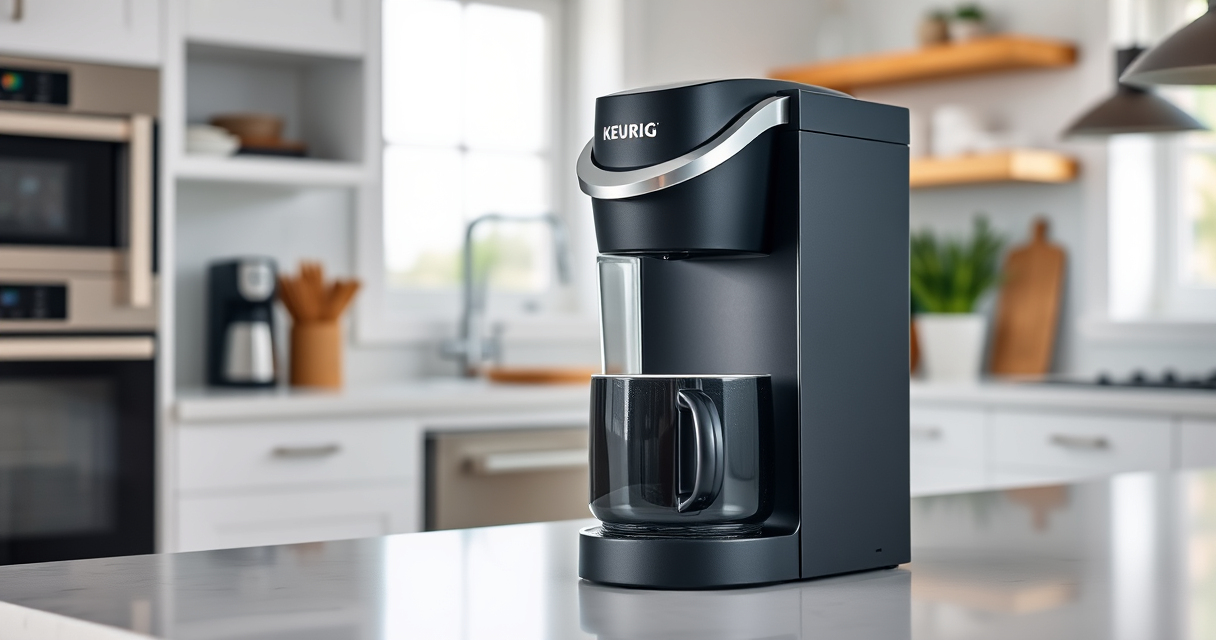
Keurig K-Mini Single Serve K-Cup Pod Coffee Maker
- ✔ Cord Storage: Yes
- ✔ Travel Mug Friendly: Yes, up to 7 inches tall
- ✔ Auto Off: Yes

My K-Cup® Reusable Coffee Filter
- ✔ Reusable: Yes
- ✔ Dishwasher Safe: Yes
- ✔ Material: Plastic
Keurig K-Mini Single Serve K-Cup Pod Coffee Maker
The Keurig K-Mini is perfect for small spaces, offering quick, fresh coffee at the push of a button. Its simple design makes setup and maintenance hassle-free.
Pros:
- Fits in tight spaces
- Brews multiple cup sizes
- Removable drip tray
- Auto off feature
Cons:
- Limited water reservoir capacity
- No strong brew setting
- No water filter included
Best for: Small apartments, dorm rooms, offices
Not ideal for: Large households needing multiple cups at once
Bottom line: A compact, reliable coffee maker perfect for small spaces and quick brews.
My K-Cup® Reusable Coffee Filter
The My K-Cup reusable filter makes it easy to brew your favorite ground coffee with your Keurig K-Mini, offering more customization and cost savings.
Pros:
- Use your own ground coffee
- Compatible with Keurig K-Mini
- Eco-friendly
- Easy to clean
Cons:
- Requires separate purchase
- May need thorough cleaning
- Not compatible with all models
Best for: Ground coffee enthusiasts, eco-conscious users
Not ideal for: Those preferring pre-filled K-Cups
Bottom line: A versatile accessory for brewing ground coffee efficiently.
Frequently Asked Questions
Can I use ground coffee with my Keurig K-Mini?
Yes, with the My K-Cup reusable filter, you can brew your own ground coffee.
How often should I descale my Keurig K-Mini?
It is recommended to descale every 3 to 6 months to prevent mineral buildup and maintain optimal performance.
Why is my coffee brewing weak or cold?
Check the water reservoir is filled properly and the machine is not descaled recently. Descaling may improve brewing quality.
What should I do if my Keurig doesn’t turn on?
Ensure the power cord is securely plugged into a working outlet. Try resetting the circuit breaker if necessary.
Enjoy Your Perfect Brew with Ease
Setting up your Keurig K-Mini is quick and simple, allowing you to enjoy fresh coffee in minutes. Regular maintenance and troubleshooting ensure your machine stays in top condition, delivering great-tasting beverages every time. Follow these steps and tips to maximize your coffee experience.
Affiliate disclosure: As an Amazon Associate we earn from qualifying purchases. Prices and availability are accurate as of the time of publishing.