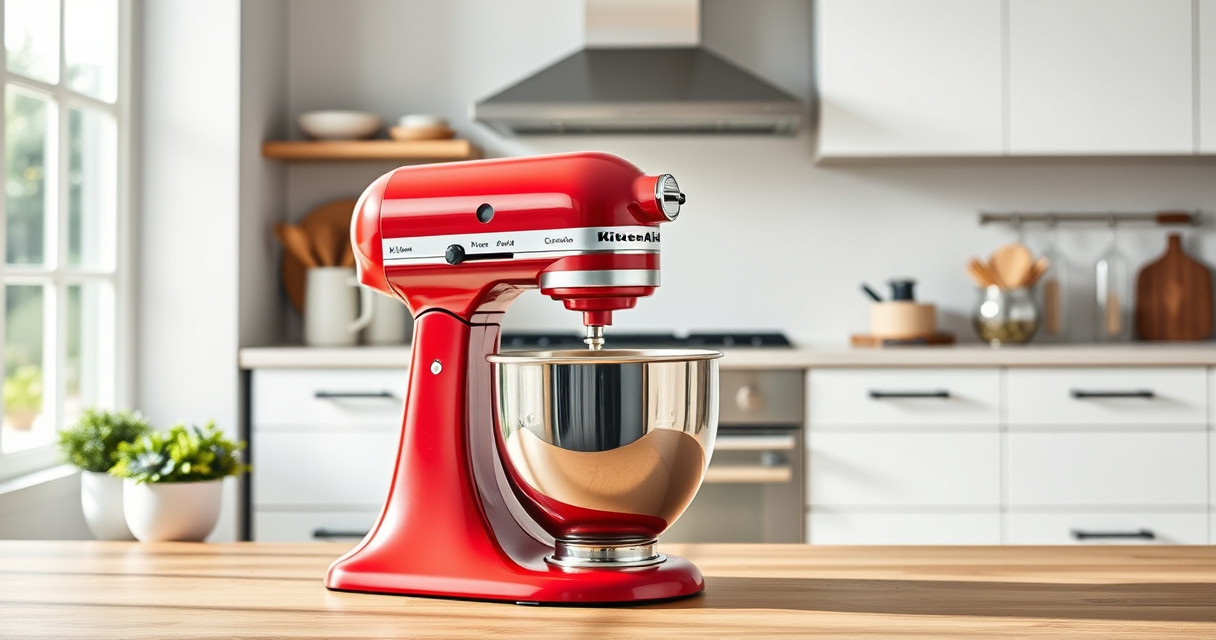

Regular cleaning of your KitchenAid Professional 600 mixer is essential for maintaining its performance and longevity. Whether you’re dealing with flour, batter, or grease, proper cleaning ensures your appliance stays in peak condition and food-safe.
Follow this simple, step-by-step guide to clean your mixer safely and thoroughly, using the right tools and techniques.
Key Takeaways
| Essential Tools | Use soft cloths, warm water, mild detergent, and a brush for cleaning. |
| Disassembly | Always unplug before disassembling parts for cleaning. |
| Cleaning Process | Clean the beaters, bowl, and exterior regularly to prevent buildup. |
| Avoid Damage | Never immerse the motor housing or electrical components in water. |
| Routine Maintenance | Clean after each use to keep your mixer in optimal condition. |
Amazon Product B0GWH5HGS6
As an affiliate, we earn on qualifying purchases.
Unplug and Disassemble
- Always unplug the mixer from the power outlet before cleaning.
- Remove the flat beater, dough hook, or wire whip by turning the beater lever to unlock and gently lifting the attachment.
- Take out the mixing bowl for cleaning separately.
Amazon Product B07GK7XKJK
As an affiliate, we earn on qualifying purchases.
Clean the Attachments and Bowl
- Wash the stainless steel flat beater, bowl, and other attachments with warm water and mild dish soap.
- Use a soft brush or non-abrasive sponge to remove any stuck-on residues.
- Rinse thoroughly and dry completely with a clean towel.
Clean the Exterior and Motor Housing
Wipe the exterior of the mixer with a damp cloth. Avoid using abrasive cleaners or immersing the motor housing in water. For stubborn spots, use a small amount of mild detergent on the cloth.
Reassemble and Maintain
- Ensure all parts are dry before reassembling.
- Attach the cleaned beater, dough hook, or wire whip back onto the mixer securely.
- Store the attachments in a dry place to prevent rusting.
Tips and Warnings
- Always unplug the mixer before cleaning or disassembly.
- Do not immerse the motor housing or electrical components in water.
- Use only non-abrasive cleaners to prevent scratching or damage.
- Periodically check for loose attachments or wear and replace as needed.
The Products in This Guide

Stainless Steel Flat Beater
- ✔ Weight: 1.2 lbs
- ✔ Dimensions: 6 x 3 x 1 inches
- ✔ Warranty: Limited one-year

KitchenAid Stand Mixer Attachment
- ✔ Weight: 3.5 lbs
- ✔ Length: 7 inches
- ✔ Color: Metal Silver
Stainless Steel Flat Beater
The stainless steel flat beater is engineered for superior strength, resisting bending and breaking under pressure. It fits seamlessly with KitchenAid 4.5-5 Qt tilt-head mixers, making it ideal for frequent, heavy-duty use.
Pros:
- Heavy-duty durability for tough mixing tasks
- Made of stainless steel for longevity
- Dishwasher safe for easy cleaning
- No paint chipping or coating issues
Cons:
- Requires disassembly for cleaning
- Not suitable for immersion in water beyond attachments
- Only compatible with specific models
Best for: Heavy doughs, thick batters, and mashing
Not ideal for: Light whipping or delicate mixing
Bottom line: A durable, heavy-duty beater that enhances your mixer’s performance.
KitchenAid Stand Mixer Attachment
This metal food grinder attachment connects easily to your KitchenAid mixer, allowing you to grind meat, vegetables, and more with adjustable plates for different textures. Its sturdy construction and included sausage stuffer tubes make it a versatile addition.
Pros:
- Produces fresh, flavorful ground foods
- Includes multiple grinding plates
- Easy to attach and operate
- Organized storage case included
Cons:
- Requires pre-chilling for best results
- Cleaning can be time-consuming
- Additional attachments sold separately
Best for: Homemade ground meats and vegetables
Not ideal for: Grinding large quantities frequently
Bottom line: A reliable attachment for fresh, homemade ground foods.
Frequently Asked Questions
Can I put the mixer in the dishwasher?
Only the attachments like the flat beater and bowl are dishwasher safe. The motor housing should never be submerged in water.
How often should I clean my mixer?
It’s best to clean your mixer after each use to prevent buildup and ensure optimal performance.
What should I do if the beater doesn’t detach?
Ensure the beater lever is fully unlocked and gently twist or lift the attachment. If it’s stuck, avoid forcing it and consult the manual or a professional.
Can I use abrasive cleaners?
No, abrasive cleaners can scratch the surface. Use soft cloths and mild detergents for safe cleaning.
Keep Your KitchenAid Mixer in Prime Condition
Regular cleaning and proper maintenance of your KitchenAid Professional 600 extend its lifespan and ensure it performs at its best. Use the right tools and techniques to keep all parts in top shape, and enjoy years of reliable service in your kitchen.
Affiliate disclosure: As an Amazon Associate we earn from qualifying purchases. Prices and availability are accurate as of the time of publishing.