
To plan fixture spacing based on ceiling height, consider how taller ceilings need wider spacing and higher wattage fixtures to guarantee even light distribution, while lower ceilings require closer placement with smaller lights for a cozy feel. Use calculation formulas or lighting layout tools to visualize your setup, and avoid common mistakes like ignoring architectural features. If you want to learn more about optimizing your lighting design for different ceiling heights, keep exploring these strategies.
Key Takeaways
- Use ceiling height to determine appropriate fixture spacing for uniform light distribution and to avoid dark spots or glare.
- Higher ceilings require larger fixtures and wider spacing to ensure even illumination and prevent shadows.
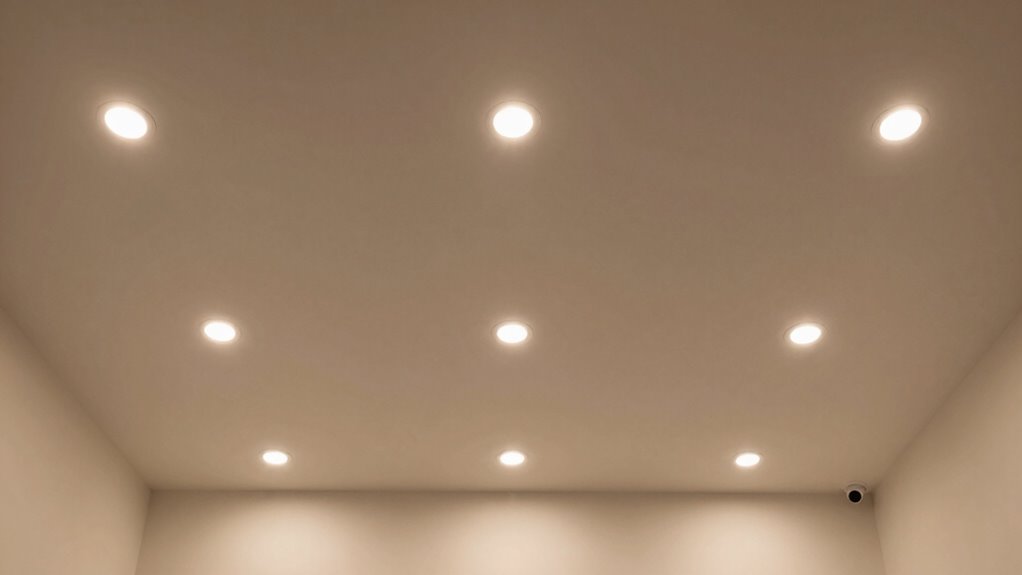
- Lower ceilings benefit from closer fixture placement to create a cozy ambiance and consistent brightness.
- Incorporate lighting calculation formulas that factor in ceiling height for precise fixture placement planning.
- Consider architectural features and room function when adjusting fixture spacing relative to ceiling height.
adjustable ceiling light fixtures
As an affiliate, we earn on qualifying purchases.
As an affiliate, we earn on qualifying purchases.
Why Ceiling Height Matters for Lighting Design

Have you ever wondered how ceiling height impacts your lighting design? The ceiling material plays a vital role because it affects how light reflects and spreads across the space. For instance, smooth, glossy surfaces can bounce light further, reducing the need for additional fixtures, while textured or matte ceilings absorb light, requiring more lighting to achieve the same brightness. Acoustic treatments also influence your design; suspended ceilings with sound-absorbing panels can alter light distribution by creating shadows or diffusing light differently. When planning your lighting layout, consider both the ceiling material and acoustic treatments, as they directly impact light reflection, distribution, and ambiance. Additionally, understanding lighting reflection can help you optimize fixture placement and improve overall illumination quality. Recognizing how ceiling height interacts with these elements is crucial for achieving the desired lighting effect. Being aware of how ceiling material affects light behavior can further refine your lighting strategy for better efficiency and aesthetics. Adjusting fixture placement based on these factors helps you create a well-lit, comfortable environment. Properly accounting for lighting zones can also enhance functionality and mood within different areas of your space.
As an affiliate, we earn on qualifying purchases.
How Ceiling Height Affects Light Distribution and Atmosphere
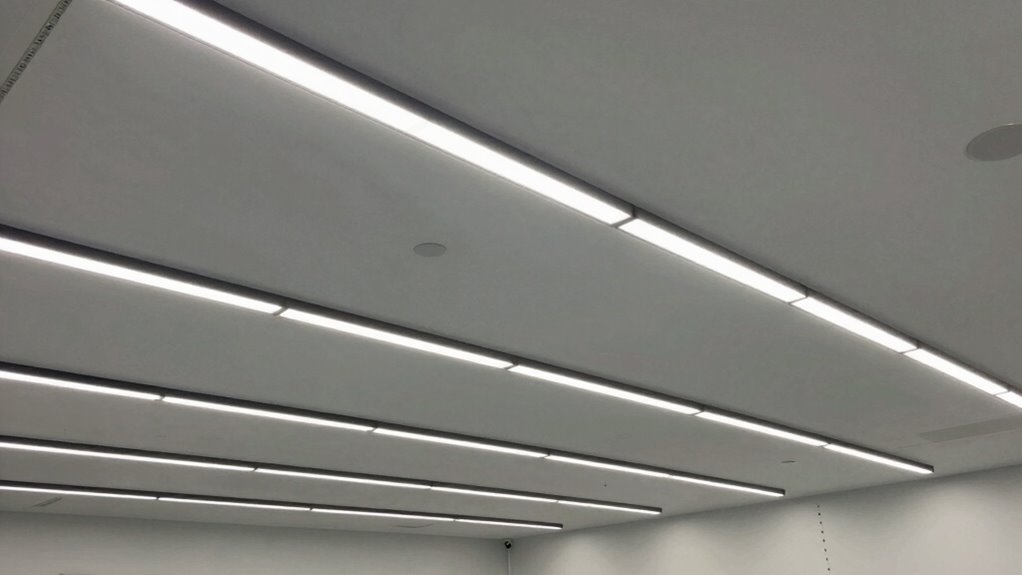
Ceiling height considerably influences how light is distributed and the overall atmosphere of a space. Higher ceilings create a more expansive, airy feel, often requiring more powerful fixtures to achieve an even ambient glow. Conversely, lower ceilings produce a cozy, intimate lighting ambiance but can cause uneven light spread if not properly planned. Your choice of fixtures impacts the quality of light and mood, making spaces feel welcoming or dramatic. Properly managed, lighting enhances architectural features and controls shadows. Keep in mind:
Ceiling height shapes light distribution and mood, requiring thoughtful fixture choices for optimal ambiance and architectural enhancement.
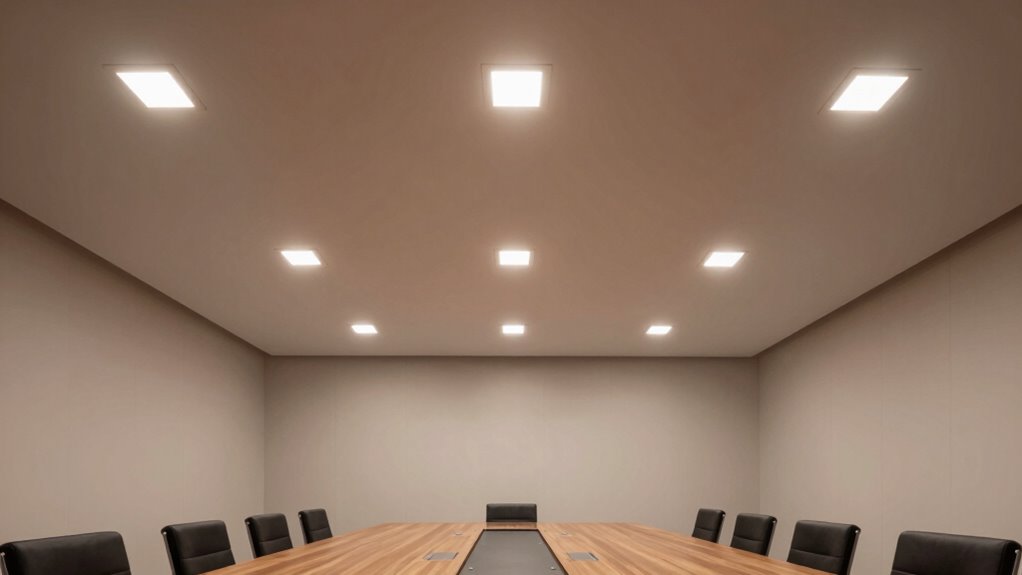
- Taller ceilings need wider fixture spacing for even distribution
- Ambient glow becomes softer with higher ceilings
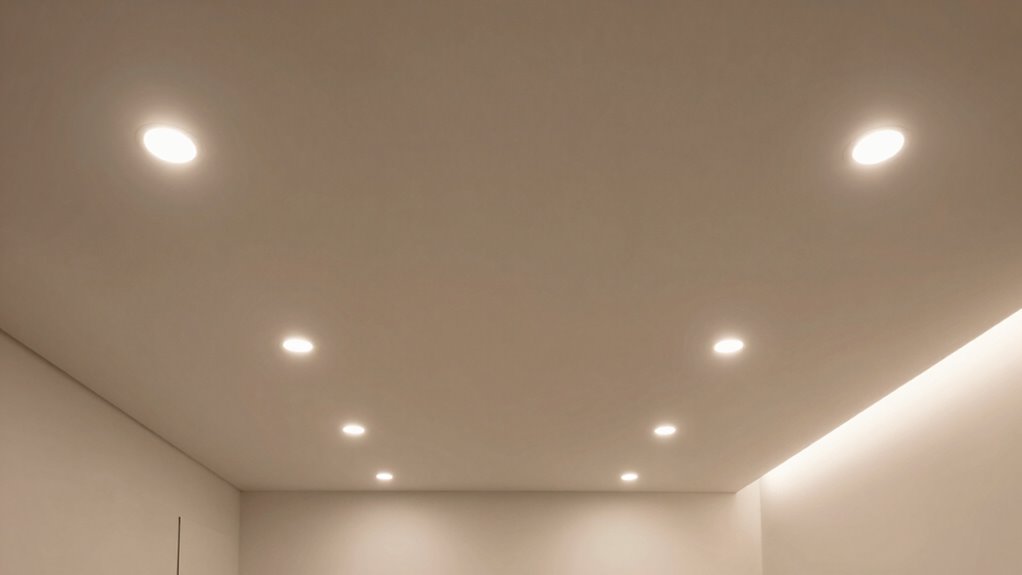
- Lower ceilings benefit from focused lighting to prevent harshness
- Light diffusion varies with ceiling height, affecting mood
- Fixture selection influences overall lighting ambiance
- Lighting design principles can help optimize fixture placement and achieve the desired atmosphere. Additionally, understanding how light diffusion interacts with ceiling height is crucial for creating balanced illumination, especially when considering different ceiling heights and their impact on light spread.
As an affiliate, we earn on qualifying purchases.
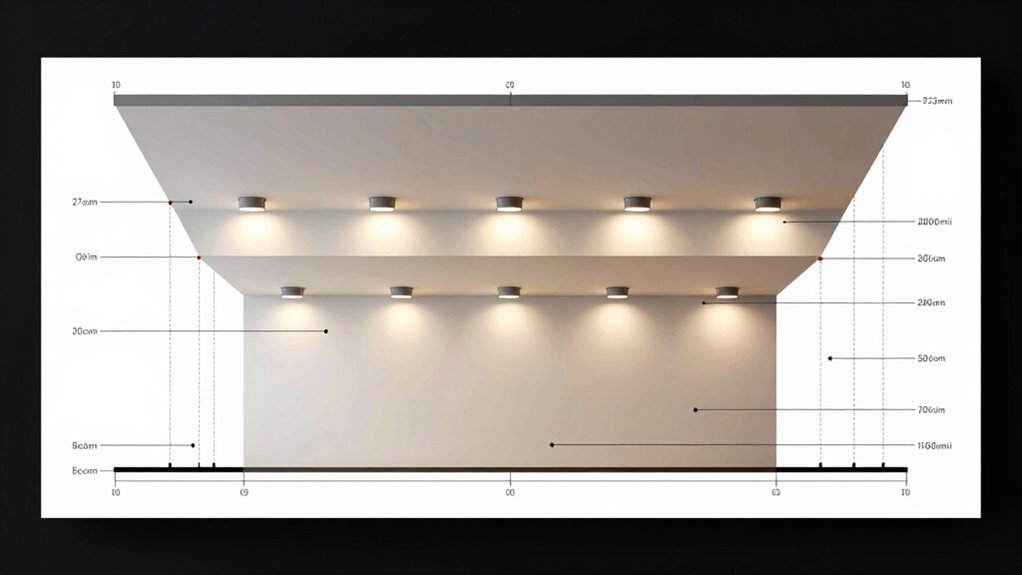
How to Calculate Fixture Spacing Based on Ceiling Height
Determining the right fixture spacing starts with understanding how ceiling height impacts light distribution. As ceiling height increases, you’ll need to space fixtures further apart to maintain uniform illumination and avoid dark spots. Use lighting calculation formulas that factor in ceiling height, aiming for even light coverage. Keep in mind, the choice of fixtures with appropriate color temperature influences how the space feels; warmer temperatures create cozy atmospheres, while cooler temperatures boost alertness. Additionally, selecting energy-efficient fixtures allows you to maximize light output without wasting power, especially important at higher ceilings. By calculating spacing based on ceiling height, you optimize both light quality and energy use, creating a balanced environment that’s visually comfortable and cost-effective.
As an affiliate, we earn on qualifying purchases.
Common Spacing Mistakes When Designing for Different Ceiling Heights
Are you aware of the common pitfalls that can occur when spacing fixtures for varying ceiling heights? One mistake is ignoring the impact on decorative accents, which can be lost if fixtures are too far apart or unevenly spaced. Another is neglecting appropriate color temperature choices, leading to inconsistent lighting ambiance. Overlooking fixture height adjustments can cause uneven light distribution, creating shadows or glare. Relying solely on uniform spacing, regardless of ceiling height differences, often results in poor illumination. Additionally, failing to contemplate fixture placement relative to artwork or architectural features can diminish visual interest. Proper planning involves considering lighting uniformity, which is essential for achieving balanced illumination across the entire space. Recognizing the Twin Flame connection can serve as a metaphor for harmonizing fixture placement and spacing to create a cohesive and balanced lighting environment. Understanding fixture spacing in relation to ceiling height is crucial for avoiding these common errors and achieving a harmonious design. Incorporating adaptive lighting techniques can also help address these challenges and ensure a well-balanced setup, especially in dynamic or multi-use spaces.
Using Lighting Layout Tools to Plan Fixture Placement
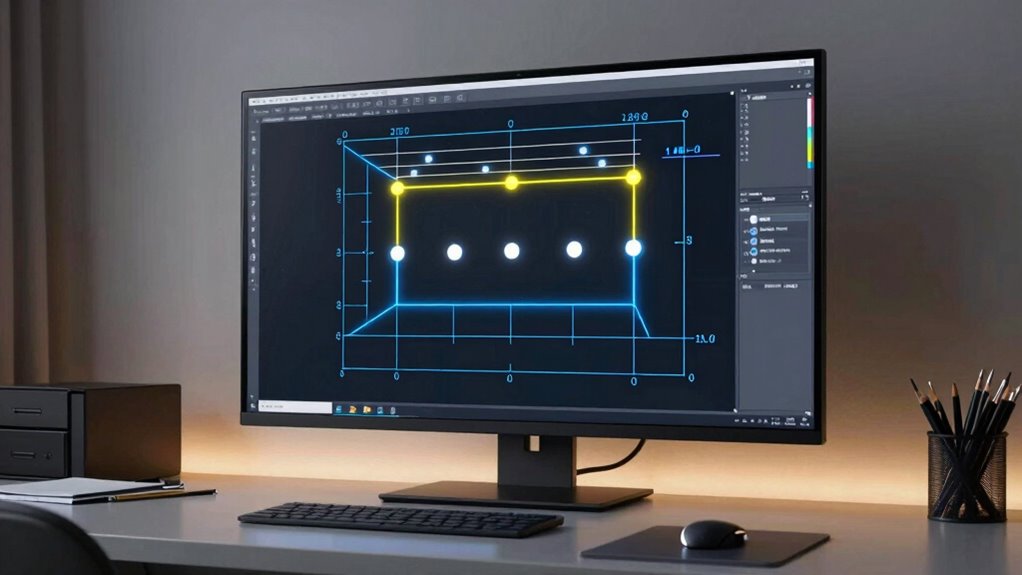
Using lighting layout tools can considerably streamline the process of planning fixture placement, guaranteeing your design is both effective and aesthetically balanced. These tools help you visualize how different fixtures will distribute light, considering factors like ceiling height and room dimensions. They also allow you to experiment with placement for ideal color temperature, creating the desired ambiance. Additionally, layout tools highlight opportunities to improve energy efficiency by pinpointing spots where fewer fixtures can still deliver adequate illumination. By adjusting spacing and fixture types within the software, you can easily find the right balance between light quality and power consumption. This approach saves time, reduces errors, and guarantees your lighting plan aligns with both functional and decorative goals.
Adjusting Fixture Placement for Sloped or Irregular Ceilings
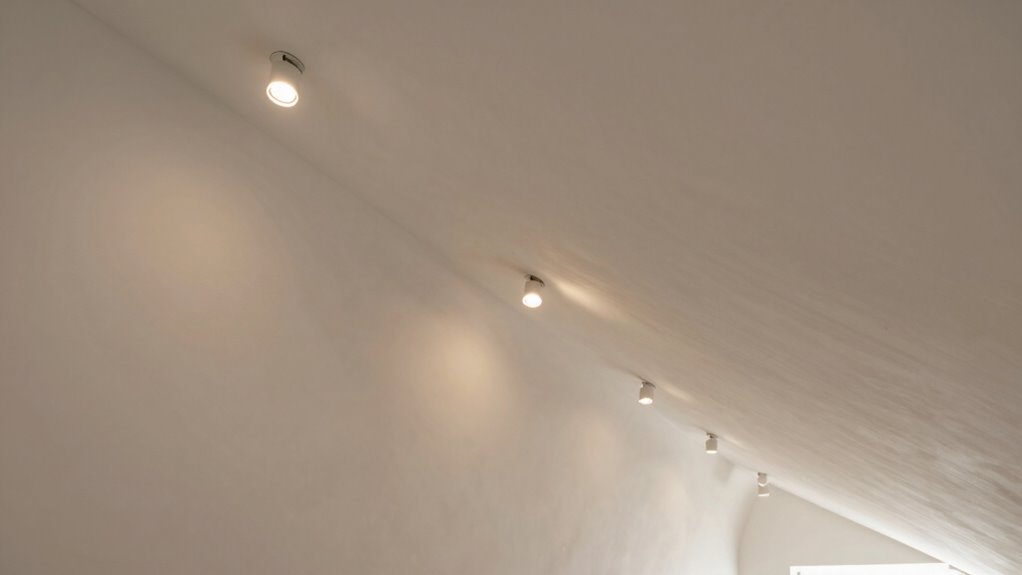
Adjusting fixture placement for sloped or irregular ceilings requires careful consideration to guarantee even light distribution and maintain visual harmony. You’ll need to account for varying angles and heights to avoid dark spots or overly bright areas that clash with decorative accents or disrupt your chosen color schemes. You can also incorporate layered lighting to enhance architectural features and highlight decorative accents effectively. Consider the ceiling’s irregularities when planning fixture spacing, ensuring that light reaches all areas evenly. Analyzing ceiling angles with a level or laser tool is essential for precise placement. Use flexible mounting options for accurate adjustments. Position fixtures to emphasize architectural details and balance light intensity to complement color schemes. Pre-plan fixture layout considering ceiling slopes and lighting design principles to optimize your space.
Achieving Even Lighting in Rooms With Varying Ceiling Heights
To achieve even lighting in rooms with varying ceiling heights, you need to carefully adjust fixture spacing so light coverage remains consistent. Layered lighting techniques, combining ambient, task, and accent lights, help balance illumination throughout the space. Don’t forget to take into account ceiling drop effects, which can create shadows and uneven brightness if not properly managed. Proper fixture placement is essential for lighting uniformity and to ensure a comfortable, well-lit environment. Additionally, understanding how ceiling height impacts light distribution can help in planning the optimal fixture layout for each room. Consulting measurement tools can assist in accurately determining the best fixture spacing for different ceiling heights to optimize lighting performance. Being aware of room dimensions is crucial because it influences how far apart fixtures should be spaced to achieve consistent illumination. Proper planning and adjustments can greatly enhance the overall lighting effectiveness in your space.
Adjusting Fixture Spacing
When dealing with rooms that have varying ceiling heights, you need to carefully adjust fixture spacing to guarantee even lighting. Proper spacing ensures consistent light levels, enhancing energy efficiency and aesthetic appeal. To achieve this, consider placing fixtures closer together in areas with higher ceilings and spacing them further apart where ceilings are lower. This prevents dark spots and overly bright patches. Keep in mind that uniform spacing isn’t always ideal; adjusting based on ceiling height creates a balanced look. Additionally, using dimmable fixtures can fine-tune illumination and save energy. Remember, thoughtful fixture placement not only improves the room’s visual harmony but also reduces energy consumption, making your lighting both beautiful and efficient.
- Vary spacing based on ceiling height for uniform lighting
- Use dimmable fixtures for flexibility
- Focus on avoiding dark or overly bright areas
- Balance aesthetics with energy savings
- Test light levels after adjustments
Using Layered Lighting Techniques
Using layered lighting techniques is essential for achieving even illumination in rooms with varying ceiling heights. By combining ambient, task, and accent lighting, you create a balanced environment that adapts to different ceiling levels. Adjusting the color temperature of each layer helps set the right mood—warmer tones for cozy areas, cooler for task zones—enhancing visual comfort and uniformity. Layered lighting also improves energy efficiency, as you can tailor the brightness and fixture types to specific needs, avoiding unnecessary lighting. Proper fixture placement and selection guarantee light distribution remains consistent, regardless of ceiling height variations. This approach not only enhances the room’s functionality but also creates a visually appealing, cohesive space with well-balanced lighting.
Considering Ceiling Drop Effects
Have you ever noticed how uneven lighting can become a problem in rooms with varying ceiling heights? Ceiling drop effects, like textured ceilings or acoustic panels, can create shadows and uneven light distribution. To achieve an even glow, consider how these features impact light placement. A new lighting design technique can help you better plan fixture placement to accommodate these surfaces.
A lighting control system can also help fine-tune light levels throughout the space, compensating for surface irregularities. Incorporating surface reflection considerations into your planning can further enhance lighting uniformity by maximizing light bounce off surfaces.
- Adjust fixture height to compensate for ceiling drops
- Use diffusers to soften shadows caused by textured ceilings
- Incorporate layered lighting to balance uneven surfaces
- Choose fixtures with adjustable angles for targeted lighting
- Plan for additional fixtures in areas with acoustic panels or textured surfaces
Understanding how ceiling texture and acoustic panels affect light reflection helps you avoid dark spots and glare, ensuring consistent illumination throughout the space. Proper planning makes your lighting both functional and visually appealing.
Tips for Choosing the Right Fixtures for Your Ceiling Height
Choosing the right fixtures depends on your ceiling height, so consider ideal types that suit the space. You want lighting that provides enough brightness without overwhelming the room’s style. Striking the right balance between function and aesthetics ensures your fixtures enhance your overall design. Additionally, understanding smart yard care options can influence your outdoor lighting choices, creating a cohesive and efficient environment. When selecting fixtures, it’s helpful to consider how molecular-scale circuits can inspire innovative lighting solutions that optimize energy use and performance. Incorporating lighting layout planning principles can further help in achieving a balanced and effective setup.
Optimal Fixture Types
Selecting the right fixture types depends heavily on your ceiling height, as the wrong choice can lead to inadequate lighting or visual imbalance. For high ceilings, consider fixtures with higher lumen output and wider beam angles to guarantee even coverage. Low ceilings benefit from flush mounts or recessed lights that don’t crowd the space. Pay attention to color temperature to create the desired ambiance—warm tones for cozy spaces, cooler ones for work areas. Energy efficiency is essential; choose LED fixtures to reduce power consumption while maintaining brightness.
- Use fixtures with adjustable brightness for flexibility
- Opt for fixtures with diffusers to soften glare
- Prioritize energy-efficient LED options
- Match color temperature to room function
- Select fixtures that complement your ceiling height visually
Balancing Brightness and Style
Finding the right balance between brightness and style guarantees your lighting enhances both the functionality and aesthetics of your space. To do this, consider the color temperature of your fixtures; warmer tones create a cozy atmosphere, while cooler tones add a modern, energetic feel. Choose fixtures that complement your decor style, whether sleek and minimal or decorative and statement-making. Energy efficiency is also essential—look for LED options that save power without sacrificing brightness. The right fixture placement can soften harsh lighting or provide ample illumination, depending on your needs. By selecting fixtures with adjustable brightness and appropriate color temperature, you guarantee your space remains both visually appealing and practical, striking a perfect balance between style and performance.
Troubleshooting Uneven Light and Overlighting Problems

When troubleshooting uneven lighting or overlighting issues, start by closely inspecting your fixture placement and aiming. Incorrect positioning or aiming can create hot spots or dark areas. Also, check if your fixtures use appropriate color temperature for the space; too cool or warm tones can affect perceived brightness. Overlighting often results from too many fixtures or overly bright bulbs, wasting energy and reducing energy efficiency. Adjusting fixture height or spacing can help distribute light evenly. Confirm your fixtures are not too close to each other, which causes glare. Use dimmable lights to fine-tune brightness. Proper aiming prevents direct glare and improves overall comfort.
- Verify fixture placement and orientation
- Adjust fixture heights and spacing
- Choose appropriate color temperature
- Replace bulbs with energy-efficient options
- Use dimmable fixtures for control
Final Checklist for Perfect Fixture Spacing and Ceiling Compatibility
Before finalizing your lighting plan, you need to check if your ceiling height suits your chosen fixtures. Confirm your fixture spacing follows recommended guidelines for even illumination. Finally, verify that your fixtures are compatible with your ceiling type to ensure a seamless installation.
Ceiling Height Considerations
Have you considered how ceiling height impacts your lighting layout? The height influences fixture placement, light distribution, and overall ambiance. Taller ceilings require higher wattage or larger fixtures to effectively illuminate the space. Remember, ceiling material and acoustic treatment can affect light reflection and absorption, altering how fixtures perform. For instance, reflective ceiling surfaces can enhance brightness, while acoustic panels may absorb light, reducing glare.
Here are key points to keep in mind:
- Higher ceilings often need more powerful or multiple fixtures
- Low ceilings demand smaller, less intrusive lighting options
- Ceiling material impacts light reflection and diffusion
- Acoustic treatments can influence light dispersion
- Ensuring proper fixture height maintains uniform illumination and comfort
Fixture Spacing Guidelines
Proper fixture spacing is essential to achieving even illumination and avoiding dark spots or glare, especially when considering ceiling height and material. To optimize lighting, keep fixture distances proportional to ceiling height; higher ceilings require wider spacing. Incorporate decorative accents by positioning fixtures to highlight architectural features or artwork, enhancing visual appeal. Prioritize energy efficiency by using fixtures that distribute light evenly, reducing the need for excessive brightness. This guarantees a balanced lighting scheme without over-illumination, saving energy. Use the final checklist to verify spacing consistency across the space, ensuring fixtures complement each other and the ceiling’s material. Proper spacing not only enhances aesthetic appeal but also maximizes energy savings and functional lighting, creating a harmonious environment tailored to your space’s size and style.
Compatibility Checks
Are your fixture placements aligned with your ceiling’s material and structure? Guaranteeing compatibility prevents issues like uneven lighting or fixture damage. Check if your fixtures support the ceiling’s material, whether drywall, suspended, or concrete. Confirm that your chosen color temperature suits the space’s purpose, creating the right ambiance. Verify energy efficiency ratings to minimize operating costs and maximize sustainability. Consider ceiling height to ensure proper fixture spacing without glare or shadows. Additionally, review if fixtures are compatible with your electrical system and mounting options.
- Fixture weight limits for ceiling support
- Compatibility with ceiling insulation and ventilation
- Adequate clearance for heat dissipation
- Proper wiring and control options
- Guaranteeing fixture durability against structural elements
Frequently Asked Questions
How Does Ceiling Material Affect Lighting Effectiveness?
Ceiling material affects lighting effectiveness through its reflectance and texture. If your ceiling has a smooth, high-reflectance surface, it bounces more light around the room, making it brighter and more evenly lit. Conversely, textured or matte ceilings absorb light, reducing brightness. You should consider these factors when planning your lighting layout, as choosing the right material can enhance illumination and reduce the number of fixtures needed.
Can Adjustable Fixtures Optimize Lighting in Variable Ceiling Heights?
Adjustable fixtures can definitely enhance lighting in spaces with variable ceiling heights. By allowing you to modify fixture placement and angle, they offer better lighting control, ensuring even illumination regardless of height differences. This flexibility helps prevent shadows and glare, creating a more comfortable environment. Imagine easily adapting your lighting setup as your space evolves—these fixtures make it simple to maintain ideal lighting quality across different ceiling levels.
What Are the Best Practices for Outdoor Lighting With High Ceilings?
For outdoor lighting with high ceilings, you should focus on effective landscape illumination and security lighting. Use powerful, well-placed fixtures to highlight key landscape features and pathways, ensuring safety and aesthetic appeal. Install security lighting at strategic points, like entryways and dark corners, to deter intruders. Keep fixtures weatherproof, and consider adjustable options to customize illumination levels based on needs. Proper spacing and placement optimize coverage and minimize glare.
How Do I Incorporate Natural Light Into My Ceiling Height Planning?
Oh, sure, just magically make daylight integration happen without considering window placement—good luck! To genuinely incorporate natural light, you need strategic window placement that maximizes daylight and reduces glare. Focus on positioning windows where the sun’s rays can naturally fill the space, complementing your ceiling height. This way, you’ll create a well-lit environment that feels open and inviting, all while saving energy and impressing visitors with your genius design skills.
Are There Energy-Efficient Lighting Options Suitable for Tall Ceilings?
Yes, there are energy-efficient options perfect for tall ceilings. You should consider energy-saving LEDs, which provide bright illumination while consuming less power. Additionally, install motion sensor lighting to automatically turn lights on or off, reducing unnecessary energy use when spaces are unoccupied. These choices enhance sustainability and lower your energy bills, making them ideal for tall-ceiling spaces where lighting can be more extensive.
Conclusion
Remember, proper fixture spacing guarantees your space feels welcoming and balanced, not harsh or dull. It’s easy to overlook the importance of ceiling height, but neglecting it can turn a well-designed room into a confusing maze of shadows or glaring lights. When you get it right, the harmony between light and space transforms your environment, making it feel just right—like a gentle embrace. Don’t settle for uneven lighting; aim for perfection that elevates your entire space.