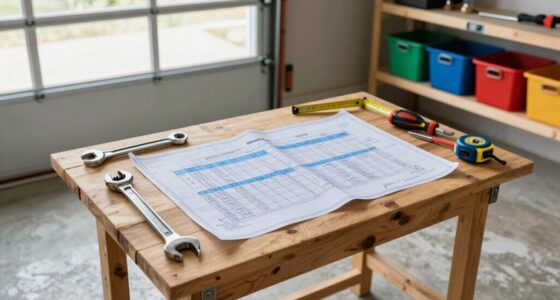

Start by gathering reliable tools like a tape measure, level, and pencil. Clear your walls of objects, then measure carefully from corner to corner for length and from floor to ceiling for height. Mark your measurements clearly with painter’s tape or a pencil, noting any obstacles like outlets or fixtures. double-check your measurements for accuracy and consistency. If you want to guarantee a perfect fit without rework, keep going — there’s more to learn.
Key Takeaways
- Use a level and tape measure to mark straight, accurate measurements for wall length and height.
- Measure multiple times and from different angles to ensure consistency.
- Account for obstacles like outlets, switches, and irregular surfaces before marking.
- Subtract space occupied by doors, windows, or fixtures from total measurements.
- Record measurements clearly on painter’s tape or notes to prevent errors during installation.

Laser Measure 50M/165ft,RockSeed Digital Laser Distance Meter with 2 Bubble Levels,Portable M/in/Ft Unit Switching Backlit LCD and Measuring Distance/Area/Volume/Pythagorean
★ HIGH ACCURACY & UNIT SWITCHABLE ★ With unique 2 Bubble Levels, providing more precise measurement compared to…
As an affiliate, we earn on qualifying purchases.
As an affiliate, we earn on qualifying purchases.
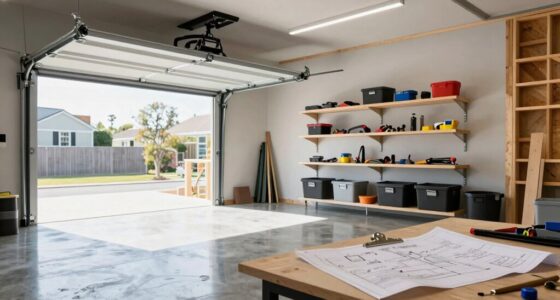
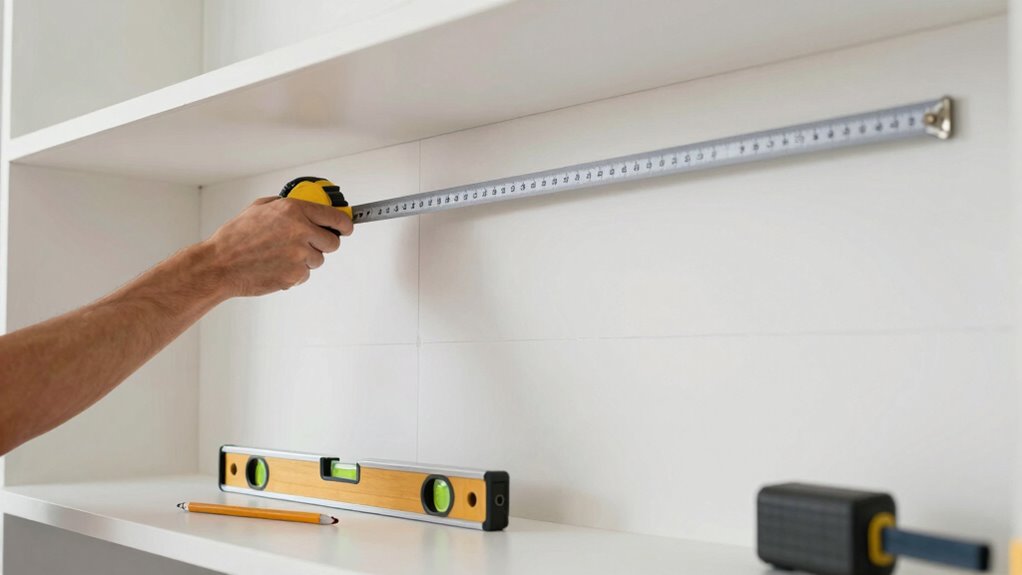
Gather the Tools You Need for Accurate Wall Measurements
Before you begin measuring, it’s essential to gather the right tools to guarantee accuracy. Start with reliable measurement tools like a tape measure or a laser distance meter. These tools make sure you get precise wall measurements, reducing errors later. You’ll also need a pencil to mark measurements on the wall lightly. Keep a level handy to check for straight lines and verify your measurements are even. Having a sturdy step ladder or stool can help reach high spots comfortably. Proper wall preparation is key, so gather a cloth or painter’s tape to clear the area and protect surfaces. Additionally, understanding digital concepts related to measurement tools can help you choose the most accurate equipment. With the right measurement tools and a clean workspace, you set yourself up for accurate measurements—making the entire process smoother and more successful.

WIN TAPE Workbench Ruler Adhesive Backed Tape Measure – 24 Inches 61 Centimeters Tape Measure (Right to Left – Inches/cm)
Material: 100% eco-friendly material.
As an affiliate, we earn on qualifying purchases.
As an affiliate, we earn on qualifying purchases.
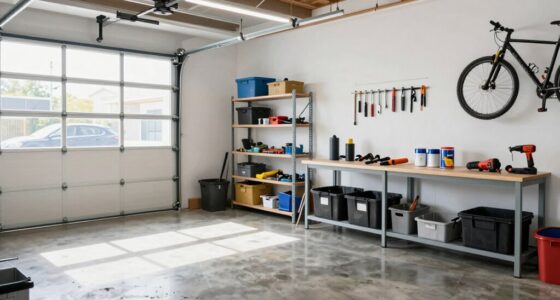
Prepare Your Walls Before Measuring
Before measuring, make certain your walls are clear and free of obstructions. Remove any objects or decorations that could interfere with accurate measurements. A clean, unobstructed surface ensures you get precise dimensions for your cabinets or slatwall. Consider assessing the landscaping or outdoor features to ensure no outdoor elements will impact your installation area.
Clear Wall Surface
Ensuring your wall surface is clear is a critical first step in accurate measuring for cabinets and slatwall. Remove any decorative accents like picture frames, shelves, or hooks that could interfere with your measurements. Pay attention to wall textures, as uneven surfaces can lead to inaccuracies. Smooth, flat walls provide the best foundation for precise measurements and secure installation. If your walls have textured finishes or uneven patches, consider smoothing them out or marking measurement points carefully. Clearing the surface guarantees you can get accurate measurements without obstructions or distortions caused by decorative elements or wall irregularities. Taking the time to prepare a clean, smooth surface now will save you from frustrating adjustments later. For example, using appropriate tools can help achieve a flat and even surface, ensuring your measurements are as accurate as possible. Additionally, understanding wall surface conditions can help you select the right preparation techniques for optimal results. Recognizing wall irregularities early allows you to address potential issues before installation begins.
Remove Obstructions
To get accurate measurements, you need to clear your wall of any obstructions that could interfere with the process. Obstruction removal is essential to guarantee proper wall clearance and accurate measurements. Remove all items hanging on or attached to the wall, such as hooks, artwork, or shelves. Check for any electrical outlets, switches, or fixtures that might block your measurement points, and consider temporarily covering or marking them. Clear the area around vents or moldings that could obstruct your measuring tape or tools. Ensuring a clean, unobstructed wall surface helps you get precise measurements and prevents miscalculations later. Paying attention to wall clearance and available space is crucial for proper installation. Taking the time to remove obstructions now saves you from redos and ensures your cabinets or slatwall fit perfectly. Additionally, understanding wall space and how it affects your layout can lead to a more efficient setup. Proper planning for space utilization can also influence your overall design and functionality. Being mindful of installation planning can further streamline the process and avoid surprises during setup. Remember that measurements accuracy depends heavily on a prepared and clear workspace, making your project smoother from start to finish.

Laser Level Line Tool, Multipurpose Laser Level Kit Standard Cross Line Laser leveler Beam Tool with Metric Rulers 8ft/2.5M for Picture Hanging cabinets Tile Walls by AikTryee.
【MULTIFUNCTION LASER LEVEL】Laser level tool cool gadgets for men Works For Indoor Designed for any situation where accurate…
As an affiliate, we earn on qualifying purchases.
As an affiliate, we earn on qualifying purchases.
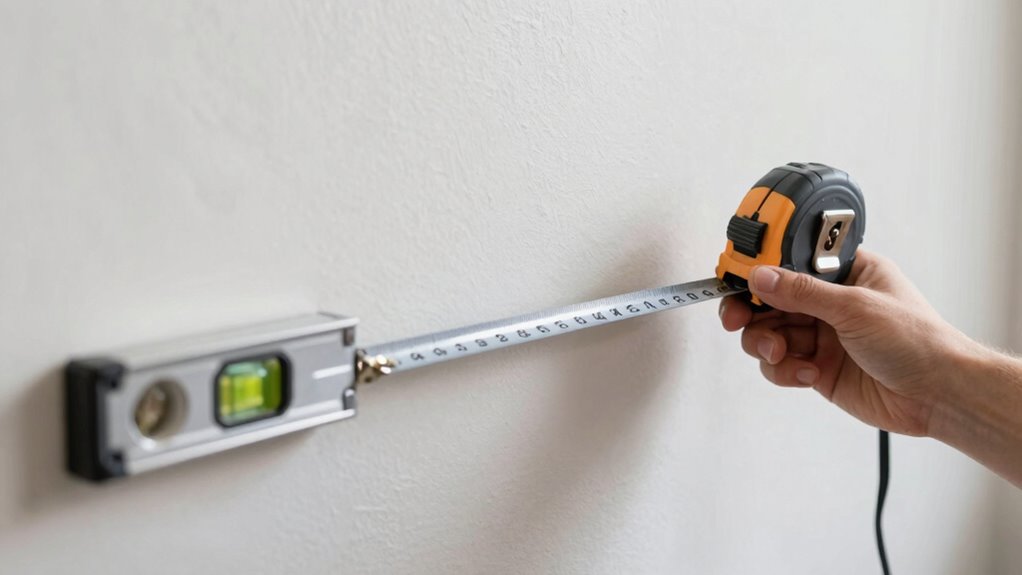
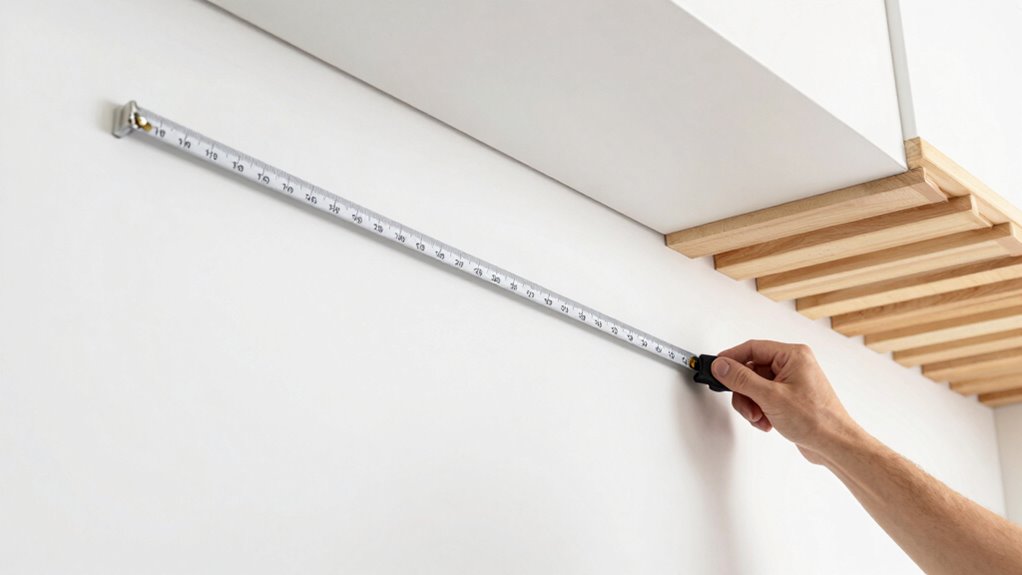
Measure Wall Lengths and Heights Step by Step

Measuring wall lengths and heights accurately is essential for guaranteeing your cabinets and slatwall fit perfectly. Begin by using a tape measure to mark the start and end points of each wall section. For length, run the tape from one corner to the next, keeping it straight for an exact measurement. When measuring height, measure from the floor to the ceiling, noting any variations due to wall textures or uneven surfaces. Consider your color schemes; lighter colors can make spaces feel larger, so plan your measurements accordingly to optimize visual effects. Take multiple readings to ensure consistency, especially if your walls have textured finishes or irregularities. Understanding measurement techniques can greatly reduce errors and rework, saving you time and effort during installation. Precise measurements help you select the right cabinet sizes and guarantee your slatwall installation looks seamless and professional.

THORVALD New 3-in-1 Carpenter Pencils with Finger Grip for Construction – Incl. 7 Leads + Sharpener – Solid Mechanical Pencils with Fine Point/Best Marking tools Construction/Carpenters/Scriber
WRITE ON WOOD, METAL BUT ALSO CONCRETE AND TILES: Are you having a hard time tracing on concrete…
As an affiliate, we earn on qualifying purchases.
As an affiliate, we earn on qualifying purchases.
Account for Wall Obstacles and Irregularities
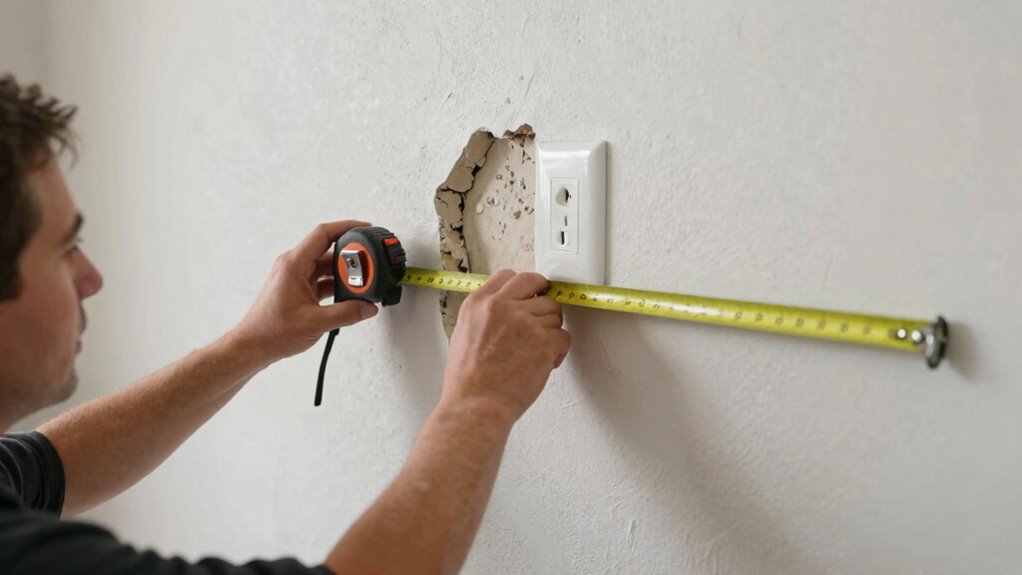
When working around wall obstacles and irregularities, you need to be attentive and adaptable. Wall texture can affect how you measure and install cabinets or slatwall, so take note of rough or uneven surfaces that may require smoothing or special fasteners. Electrical outlets also present obstacles—you’ll need to measure their positions accurately to avoid blocking access or damaging wiring. Use a stud finder to locate outlets and other fixtures, then mark their locations clearly on your measurements. Be prepared to adjust your plans if obstacles like switches, pipes, or irregular wall surfaces interfere with your layout. Flexibility guarantees your measurements are precise and your installation seamless, preventing surprises during the actual mounting process. Additionally, considering water damage risks before installation can help you identify potential moisture issues that may impact your wall integrity. Knowing how to measure walls accurately can save you time and prevent costly mistakes. Paying attention to wall surface conditions ensures your measurements are reliable and your project remains on track. Incorporating a thorough assessment of wall material types can further help you choose appropriate tools and methods for a successful installation. Being aware of potential structural weaknesses can also prevent future problems with your cabinets or slatwall.
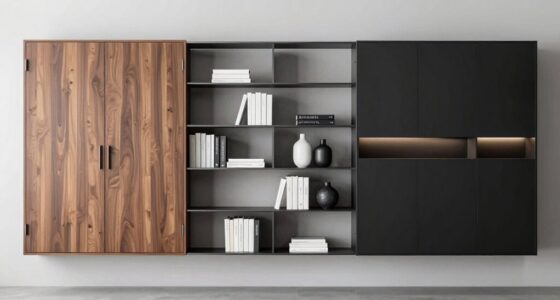
Calculate Total Wall Space for Cabinets and Slatwall
Before you start installing cabinets or slatwall, it’s vital to determine the total wall space available. Measure the length and height of each wall where you plan to install your storage. Add these measurements to find the total square footage. Consider your material options, such as wood, metal, or composite panels, as they influence the amount of wall space needed. Also, think about your design considerations—whether you want full coverage or just a section of the wall. Don’t forget to subtract space for doors, windows, or other obstacles. Accurately calculating your total wall space guarantees you purchase enough materials without excess, saving time and money. This step helps you plan for a seamless, professional-looking installation. Incorporating balance and motivation into your planning can also make the installation process more efficient and enjoyable.
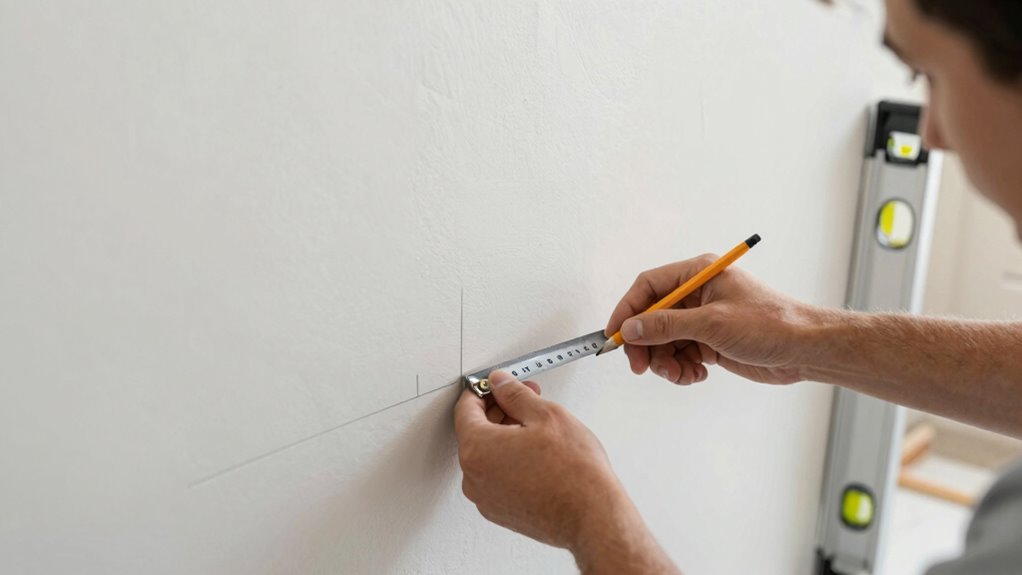
Mark and Record Your Measurements Clearly
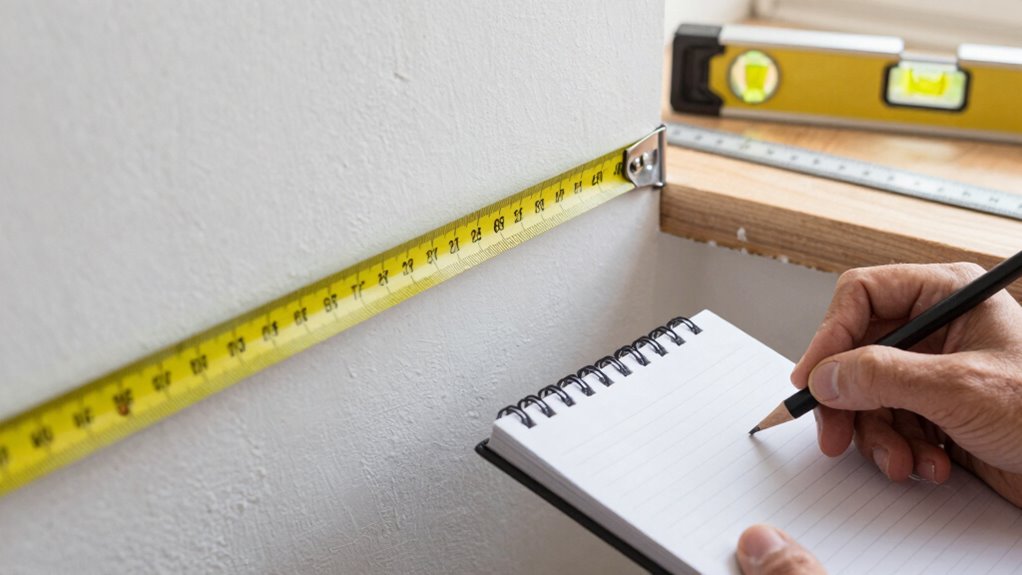
To guarantee your measurements are useful during installation, it’s vital to mark and record them clearly. Use a pencil or erasable marker to jot down each measurement directly on the wall or on painter’s tape placed at the corresponding spots. Make certain your markings are bold enough to see easily but not so heavy that they damage the wall. Keep your notes organized, using a consistent color coordination system—perhaps blue for height, red for width—to avoid confusion. This visual clarity helps guarantee your cabinet and slatwall placement aligns with your aesthetic design goals. Precise, neat records prevent mistakes and save time later, making the entire process smoother and more efficient. Clear markings are your blueprint for a flawless installation, just as optimizing coffee brewing methods ensures improved performance and efficiency.
Avoid Common Mistakes When Measuring Walls
Accurate measurements are essential for a successful cabinet and slatwall installation, but common mistakes can easily undermine your efforts. One mistake is neglecting to account for wall color, which influences how furniture placement looks once installed. For example, lighter walls may make furniture appear larger, affecting your planning. Another mistake is measuring without considering wall irregularities like bumps or dents, which can distort your measurements. To visualize this, see the table below:
| Mistake to Avoid | Impact on Your Project |
|---|---|
| Ignoring wall color | Affects visual harmony and furniture placement |
| Forgetting wall irregularities | Leads to incorrect measurements and fit issues |
| Not recording measurements accurately | Causes misalignment and redo risks |
| Rushing measurements | Results in errors and wasted effort |
Being aware of measurement accuracy and understanding how wall surface conditions can help you prevent errors and achieve a seamless installation. Avoid these mistakes to ensure a perfect fit and polished look.
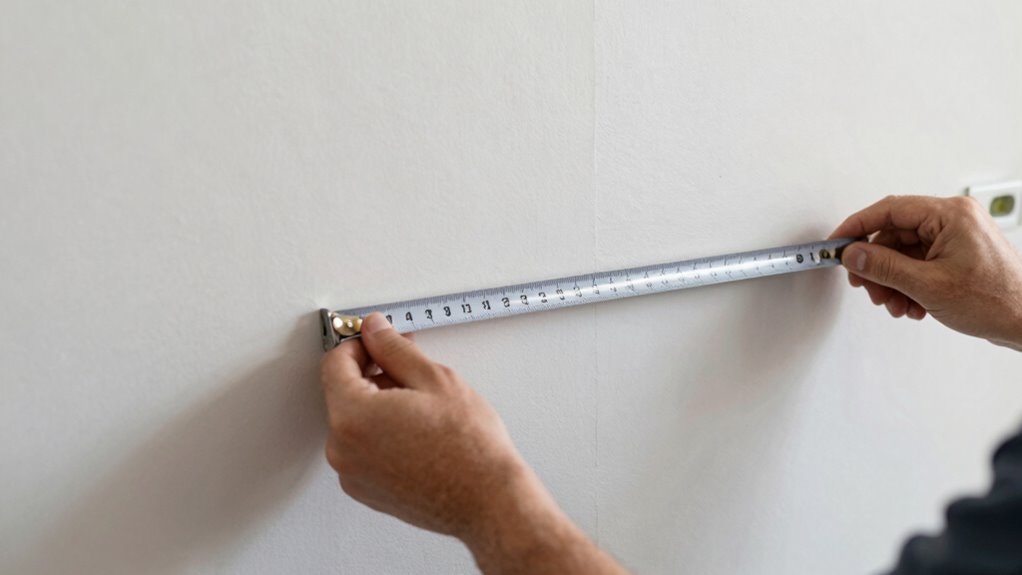
Double-Check Your Measurements for a Perfect Fit

Once you’ve taken your initial measurements, it’s important to double-check them to guarantee a perfect fit. Accurate measurement accuracy depends on reviewing your numbers carefully, making certain no mistakes slip through. Take the time to re-measure the walls, focusing on key points like height, width, and placement of outlets or trim. Proper wall preparation is crucial; verify surfaces are clean, dry, and free of obstructions before measuring again. Use your tape measure steadily, and verify each measurement from multiple angles if necessary. Double-checking prevents errors that could lead to gaps or misalignment during installation. This extra step saves you from redos later and makes sure your cabinets or slatwall fit perfectly, making the entire project smoother and more satisfying.
Frequently Asked Questions
What Tools Are Best for Measuring Uneven or Textured Walls?
For measuring textured walls, use measuring tools with flexible or laser features. A laser measure provides accurate readings over uneven surfaces, while a flexible tape measure molds around textures and curves. Avoid rigid rulers that can give false readings. You might also consider a digital level to guarantee your measurements stay precise. These tools help you get reliable measurements despite the challenges posed by textured walls.
How Do I Measure Wall Corners Accurately?
Think of wall corners like tricky puzzle pieces—you need the right fit. To measure accurately, use a combination of wall corner techniques like a carpenter’s square or a laser measure. Place your tape measure along the corner and record the length along both walls, noting any angles. Accurate measurement tips include double-checking with a level and measuring multiple times to guarantee your cabinets or slatwall will fit perfectly.
Should I Include Baseboards or Molding in Measurements?
You should exclude decorative molding and wall protrusions from your measurements for cabinets and slatwall. These features can affect the fit, so measure wall space only between the moldings or protrusions. If you want a flush look, account for molding in your design, but for precise measurements, measure the wall surface itself. This guarantees your cabinets or slatwall fit perfectly without interference from decorative elements.
How Do I Measure for Slatwall Height Preferences?
Think of your wall as a blank canvas for your slatwall masterpiece. To choose the right height, decide your ideal mounting height, considering what items you’ll display. Measure from the floor to your preferred wall height, keeping in mind your eye level and accessibility. This guarantees your slatwall isn’t just functional but also perfectly tailored to your space, making your organization both practical and visually appealing.
What’s the Best Way to Record Measurements for Multiple Walls?
You should use a clear, organized method to record measurements for multiple walls. Keep a dedicated notebook or digital document, listing each wall’s height, width, and any specific decorating styles or color schemes you plan to incorporate. Use a consistent format, like a table or bullet points, to easily compare and reference measurements. This helps guarantee your cabinets and slatwall fit perfectly, matching your overall design aesthetic.
Conclusion
So, after all that careful measuring, you’re now an expert in wall dimensions—ready to avoid costly mistakes and get your cabinets just right. Ironically, the only thing left to worry about is whether your walls will stay perfectly still or decide to surprise you with a new shape. But hey, with your newfound precision, you’re practically the architect of your space. Just remember, even the best measurements can’t predict a wall’s mood!