
Sealing air leaks between your garage and living space helps keep your home comfortable and saves money on energy bills. Start by inspecting gaps around garage doors, walls, electrical outlets, and plumbing entries. Use caulk, weatherstripping, or foam sealant to close small cracks and gaps, and install door sweeps on the garage door bottom. Regular maintenance is key to long-term success. Keep going to discover more tips on sealing effectively and preventing future leaks.
Key Takeaways
- Identify gaps around garage doors, walls, and utility penetrations using visual inspection or smoke tests.
- Seal gaps with appropriate materials like weatherproof caulk, foam sealant, or weatherstripping to prevent air leaks.
- Install or replace door sweeps and weatherstripping on garage and interior doors to improve seals.
- Insulate and seal around electrical outlets, switches, and plumbing penetrations connecting garage and living space.
- Regularly inspect and maintain seals to ensure long-term energy efficiency and indoor comfort.
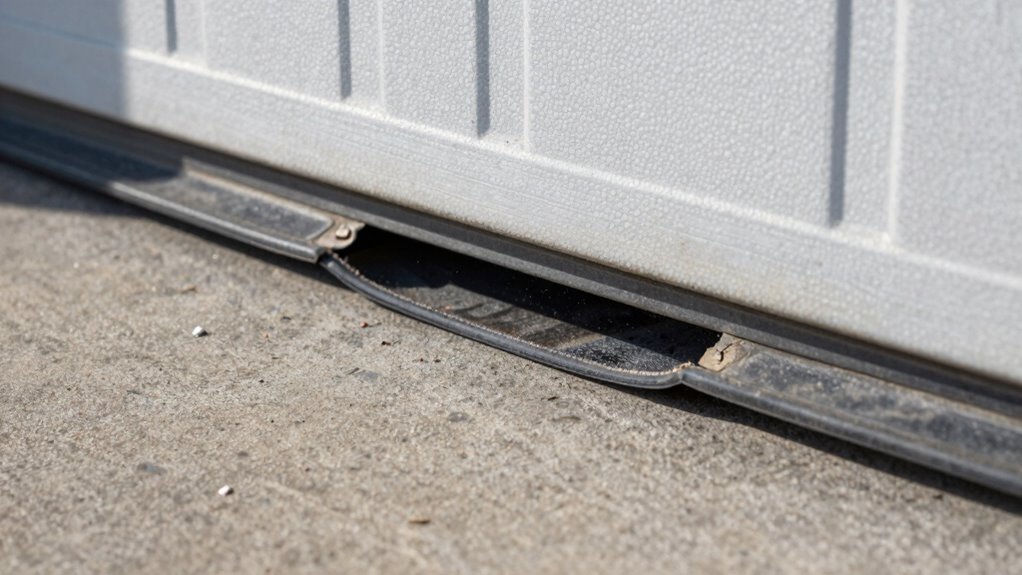
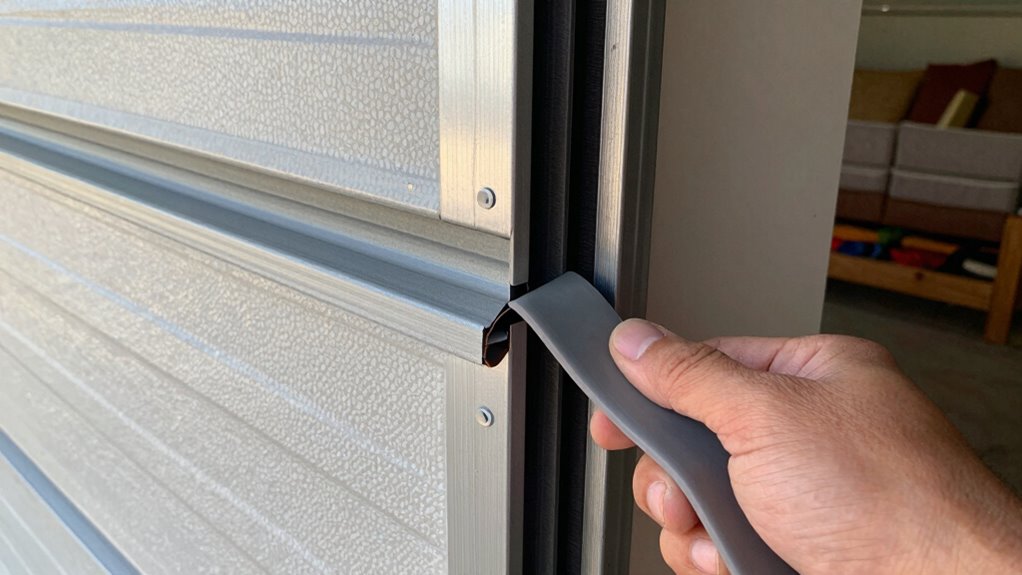
garage door weatherstripping
As an affiliate, we earn on qualifying purchases.
As an affiliate, we earn on qualifying purchases.
Why Garage Air Leaks Cost You Comfort and Money
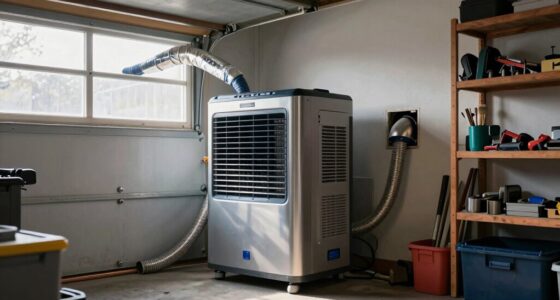
Garage air leaks can considerably impact your comfort and your wallet because they allow outside air to flow into your home. When warm or cold air enters, your HVAC system works harder to maintain a steady temperature, increasing energy bills. Poor garage ventilation can worsen this problem, letting more drafts and humidity inside. Insulation upgrades help reduce heat transfer, keeping your garage and adjacent living spaces more stable. Without proper sealing, you might notice higher heating or cooling costs and discomfort during extreme weather. Additionally, leaks can lead to moisture buildup, affecting indoor air quality and potentially causing mold. Addressing these leaks by improving insulation and ventilation ensures your home stays more comfortable, reduces energy expenses, and safeguards your living space from unwanted outdoor influences. Incorporating sound healing science principles, such as proper sealing to prevent vibrations and noise, can also improve overall home tranquility. Proper sealing techniques also prevent drafts and reduce the entry of pollutants, further enhancing indoor air quality. Ensuring effective sealing can also mitigate energy loss, which is a common issue related to poorly insulated and sealed garages. Proper sealing can also help control indoor humidity levels, preventing excess moisture that can lead to mold growth. By sealing these gaps effectively, you can also improve the overall home efficiency and enjoy a more consistent indoor climate.
foam sealant for gaps
As an affiliate, we earn on qualifying purchases.
As an affiliate, we earn on qualifying purchases.
Identify Common Gaps and Cracks Causing Leaks
To effectively seal air leaks between your garage and living space, you first need to identify the common gaps and cracks that allow drafts to escape or enter. Look for areas where drafts are felt or visible light shines through. Focus on spots where weather stripping or draft stopping could be improved. Common leakage points include:
Identify and seal gaps around garage doors, walls, outlets, and plumbing for better energy efficiency.
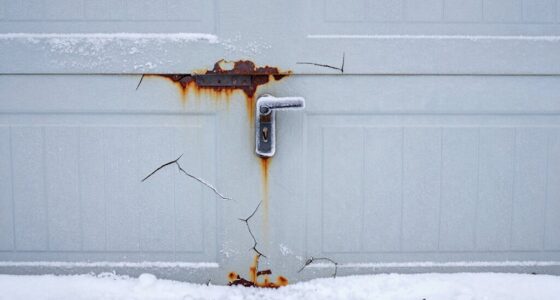
- Gaps around garage doors and their frames
- Cracks in walls or ceilings near the garage
- Gaps around electrical outlets and switches
- Unsealed joints between the garage and house walls
- Openings around plumbing or HVAC penetrations
Use your hand or a lit incense stick to detect drafts. Recognizing these gaps is the first step to effective draft stopping, especially since Victorian steampunk design often emphasizes attention to detail and craftsmanship in sealing techniques. Additionally, understanding energy efficiency principles can guide you in prioritizing the most impactful sealing areas. Incorporating proper insulation methods can further enhance your efforts by reducing heat transfer through these gaps. For example, sealing air leaks effectively can significantly improve your home’s overall energy efficiency. Once identified, you can target these areas for sealing, ensuring better energy efficiency and comfort.
electrical outlet seal covers
As an affiliate, we earn on qualifying purchases.
As an affiliate, we earn on qualifying purchases.
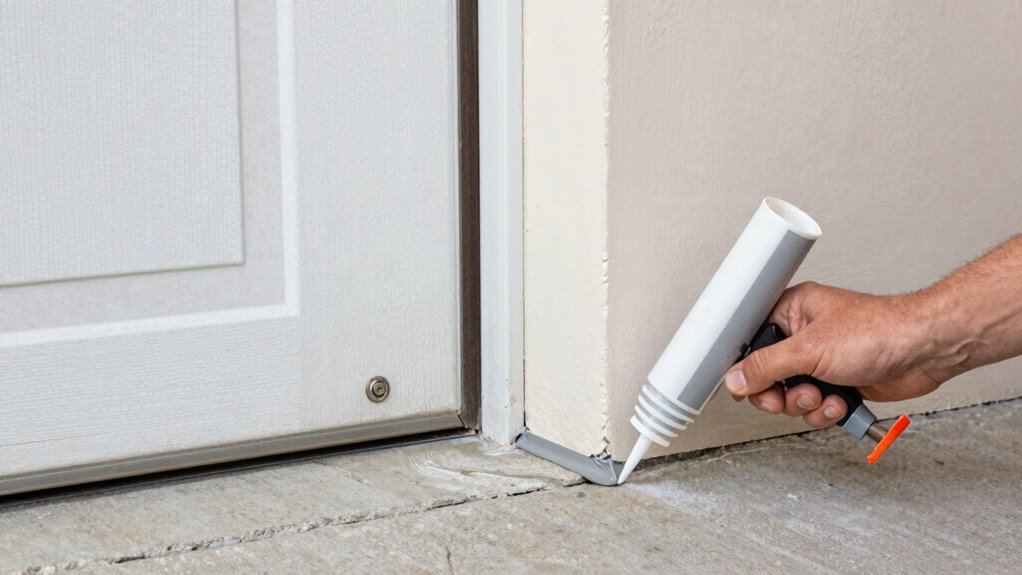
Gather the Right Tools and Materials for Sealing
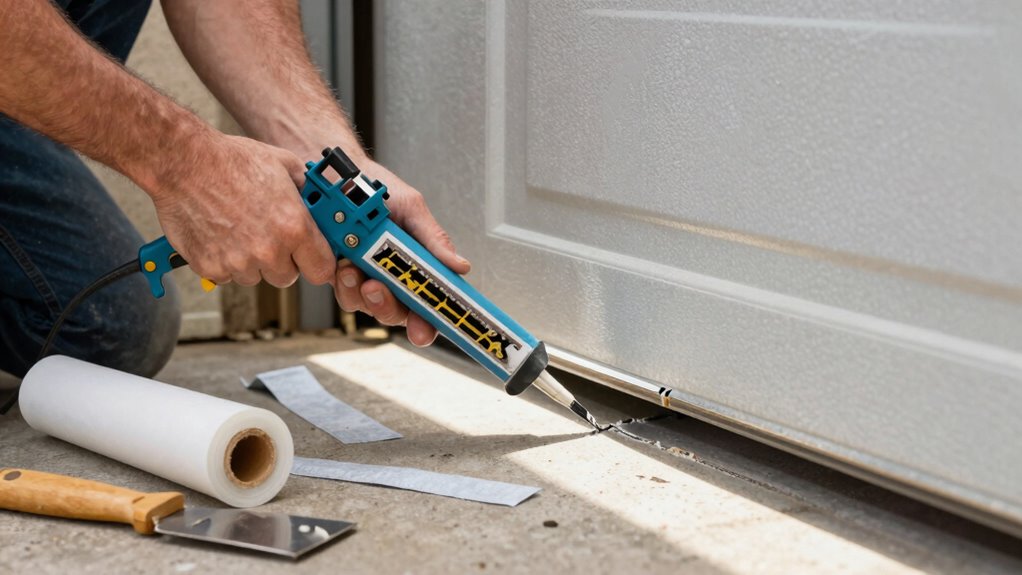
Before you start sealing, make certain you have the essential tools like a caulk gun, putty knife, and cleaning supplies. You’ll also need the right sealant materials, such as weatherproof caulk or foam sealant, suited for the gaps you’re filling. Gathering these supplies beforehand ensures a smooth and effective sealing process.
Essential Tools for Sealing
Having the right tools and materials on hand makes sealing air leaks much more effective and efficient. To improve garage ventilation and air quality, you’ll need a few essential items. A caulking gun helps apply sealant precisely. Utility knives are great for trimming excess material. Foam sealant or weatherstripping can fill larger gaps. A putty knife smooths sealant for a tight fit. Finally, a flashlight or mirror helps locate hidden leaks. These tools guarantee you can reach tight spots between your garage and living space, reducing drafts and improving air quality. Proper sealing also prevents moisture intrusion, which can compromise garage ventilation. Additionally, understanding air leakage allows you to identify problem areas more effectively, ensuring comprehensive sealing. Using the right tools not only makes the process easier but also ensures a long-lasting seal that maintains energy efficiency over time.
Suitable Sealant Materials
Choosing the right sealant materials is key to effectively sealing gaps between your garage and living space. You need to *take into account* sealant compatibility with different surfaces like concrete, wood, or metal to ensure a long-lasting seal. Additionally, evaluate the environmental impact of the sealant, opting for low-VOC or eco-friendly options that reduce harmful emissions. Silicone sealants work well for flexibility and durability, especially around windows and door frames, while polyurethane offers strong adhesion for larger gaps. Acrylic latex is easy to apply and paintable, making it suitable for less critical areas. Always check product labels for compatibility and environmental benefits. Using the appropriate, eco-conscious sealant ensures a tight seal that protects your home while minimizing environmental harm.
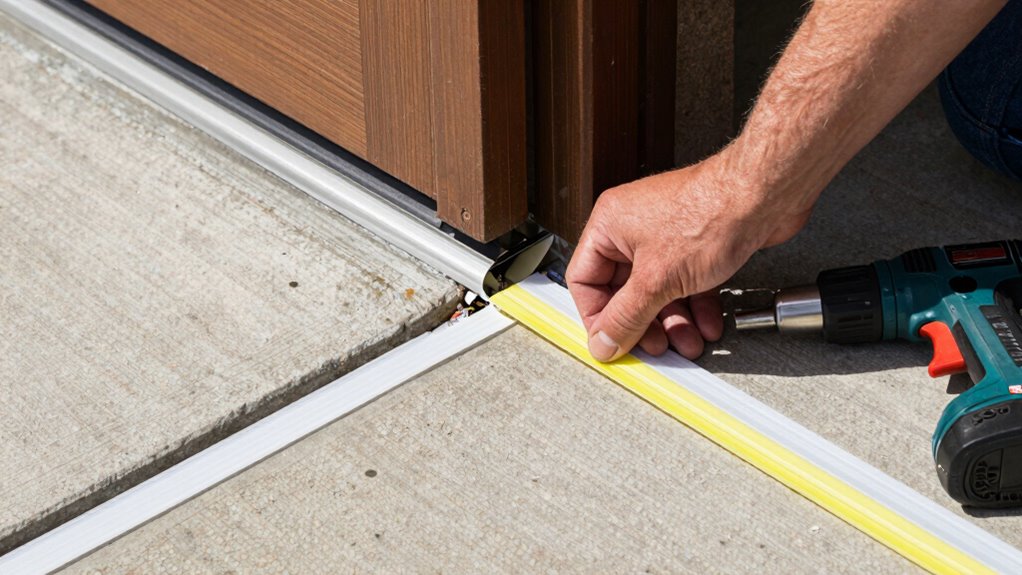
garage door sweep
As an affiliate, we earn on qualifying purchases.
As an affiliate, we earn on qualifying purchases.
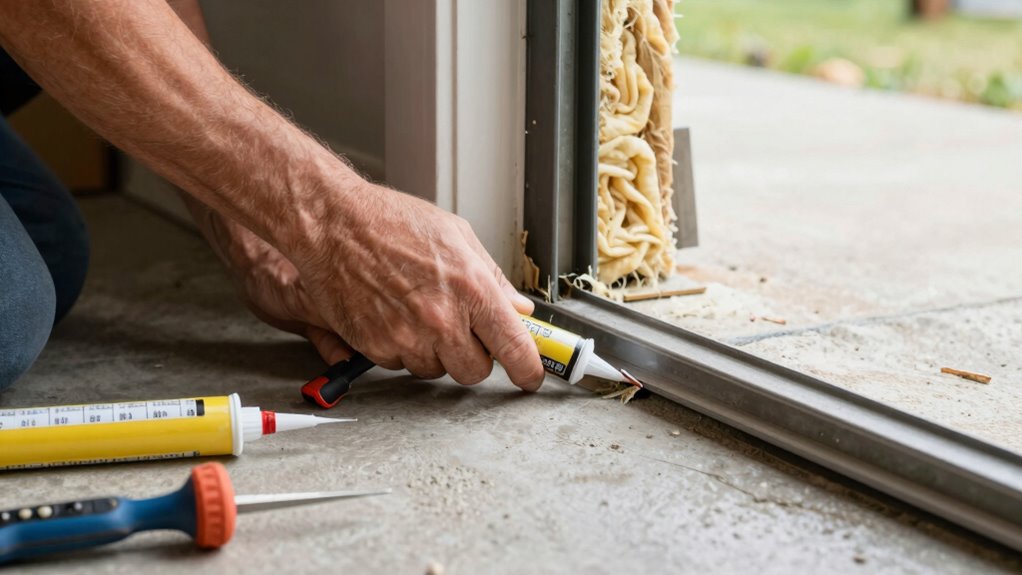
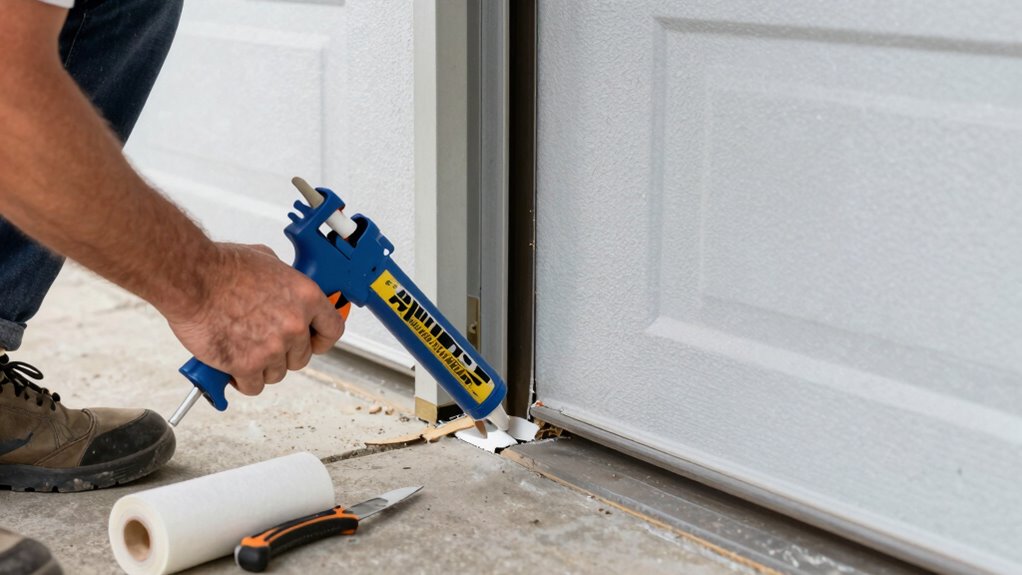
How to Seal Gaps Around Garage Doors and Walls
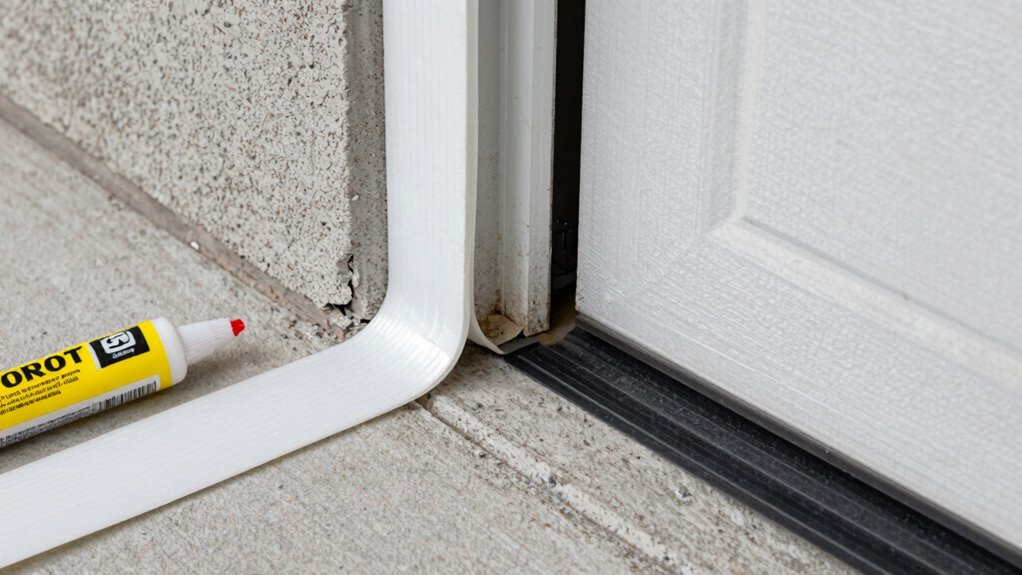
Sealing gaps around garage doors and walls is a practical step to improve energy efficiency and prevent unwanted drafts. Start by inspecting the perimeter of your garage door for leaks. Use garage door insulation to seal larger gaps and add a layer of insulation for better thermal control. For smaller gaps in walls, wall gap fillers are effective in blocking drafts. Consider weatherstripping along the door’s edges for a tight seal. Also, check for cracks or holes around electrical outlets, pipes, and vents, sealing them with caulk or foam. You can also install door sweeps at the base of the garage door. Regularly maintaining these seals ensures a more energy-efficient and comfortable living space. Proper sealing reduces heating costs and minimizes air transfer. Additionally, understanding air transfer can help you identify areas where drafts are most likely to occur, allowing for more targeted sealing efforts. To further enhance energy efficiency, it’s important to understand cable failures and ensure that all sealing methods are properly installed and maintained over time. Proper inspection and maintenance of these seals can also prevent air leaks, which contribute significantly to energy loss. Incorporating proper installation techniques can make a substantial difference in the effectiveness of your sealing efforts. Being aware of potential seal degradation over time can help you plan for timely repairs to maintain optimal energy efficiency.
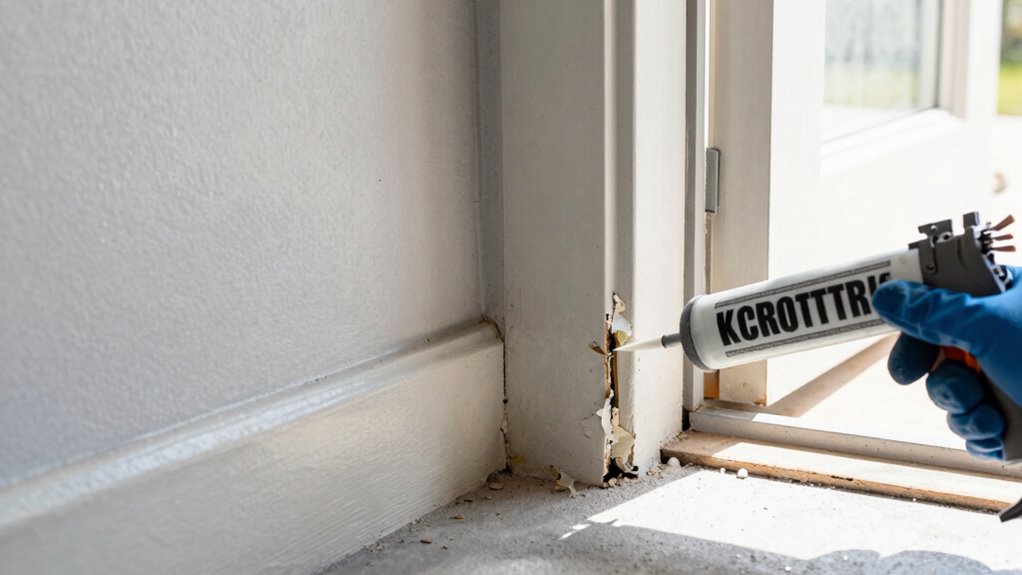
Sealing Gaps in Garage Entry Doors and Windows
Are gaps around your garage entry doors and windows letting in drafts or heat loss? These small openings can greatly impact your home’s energy efficiency. To address this, start by sealing any visible cracks with weatherstripping or caulking. Proper sealing supports garage ventilation by reducing unwanted air exchange, helping maintain a stable temperature. Additionally, consider adding exterior insulation around window frames and door edges to further block drafts. This not only improves energy efficiency but also protects your garage from moisture infiltration. Regularly inspecting and sealing these gaps keeps your garage warmer in winter and cooler in summer. Taking these steps ensures a tighter seal, reducing energy costs and creating a more comfortable living space. Incorporating home safety measures and auditory processing techniques in your home environment can also help address underlying sensory sensitivities that might affect comfort levels. Being aware of energy-saving tips can further optimize your home’s climate control. Improving insulation quality around your garage is another effective way to enhance overall energy efficiency. Additionally, choosing the right weatherproofing materials can significantly extend the lifespan of your sealing efforts.
Insulating and Sealing Electrical Outlets and Penetrations
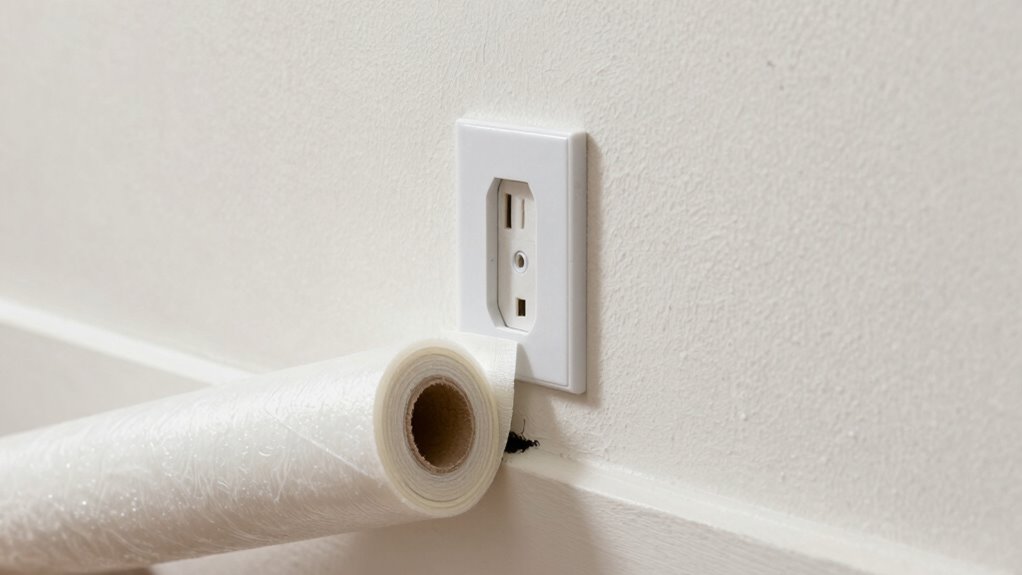
To prevent air leaks around electrical outlets and penetrations, you should use gaskets or sealants designed for insulation. Properly caulk or seal these openings to block drafts and improve energy efficiency. Taking these steps guarantees your garage stays sealed and comfortable. Using bank SWIFT/BIC codes can also ensure secure transactions if you’re purchasing insulation or sealing materials online. Additionally, inspecting for any air leaks regularly helps maintain a tightly sealed environment.
Gasket or Sealant Use
Gaps around electrical outlets and penetrations can be major sources of air leaks between your garage and living space. To seal these effectively, you’ll want to choose the right gasket or sealant. Gasket durability is vital because it guarantees a long-lasting seal that withstands temperature changes and wear. Sealant application should be neat and thorough, covering all gaps without excess. Consider these tips:
- Use high-quality, weather-resistant gasket materials
- Apply sealant evenly, avoiding gaps or air pockets
- Ensure surfaces are clean before sealing
- Replace worn or damaged gaskets promptly
- Check regularly for signs of wear or deterioration
Proper gasket and sealant use greatly reduces air leakage, improving energy efficiency and comfort in your home.
Caulking Penetrations Properly
Properly caulking electrical outlets and penetrations is essential to prevent drafts and energy loss. Using effective weatherproofing techniques guarantees these gaps stay sealed, improving your home’s insulation. Start by turning off power and removing outlet covers. Use foam gaskets or specialized outlet sealers to block air leaks around switches and outlets. Apply a high-quality caulk around the edges of penetrations, making sure to fill every gap thoroughly. This not only enhances energy efficiency but also boosts indoor air quality by reducing the entry of dust, pollen, and outdoor pollutants. Regularly inspect these areas for cracks or gaps and reseal as needed. Proper caulking creates a tighter seal, making your home more comfortable and energy-efficient.
Tips for Maintaining Your Garage Seal and Preventing Future Leaks
Regularly inspecting the seal between your garage and living space is essential to catching small issues before they become costly problems. Keep an eye on your garage door and perform routine garage door maintenance to guarantee it seals properly. Check exterior wall insulation for gaps or damage, as it helps prevent air leaks. To maintain a strong seal:
Regular inspections and maintenance keep your garage sealed and energy-efficient.
- Clean and lubricate the garage door seals periodically
- Tighten or replace worn weatherstripping
- Inspect and repair any cracks or gaps in walls or floor
- Seal around utility penetrations and wiring
- Ensure proper door alignment and smooth operation
When to Hire a Professional for Garage Sealing
Knowing when to call in a professional for garage sealing can save you time, money, and frustration. If your garage has inadequate garage insulation or persistent drafts despite your efforts, it’s time to seek expert help. Professionals can assess your ventilation systems and identify hidden leaks that might be affecting energy efficiency. When air leaks are extensive or difficult to locate, DIY solutions may not be enough, and improper sealing could worsen issues. A professional can guarantee proper sealing around doors, windows, and vents, optimizing your garage’s insulation and ventilation. If you notice mold, moisture, or uneven temperature control, these are signs that expert intervention is needed. Hiring a pro guarantees a thorough, lasting seal and improves your overall home comfort.
DIY and Cost-Effective Solutions for Air Sealing
You can save money and improve comfort by tackling air leaks yourself. First, learn how to spot these leaks and choose affordable sealing materials like weatherstripping or foam. Then, follow a simple, step-by-step process to seal gaps effectively and keep your living space cozy.
Identifying Air Leaks
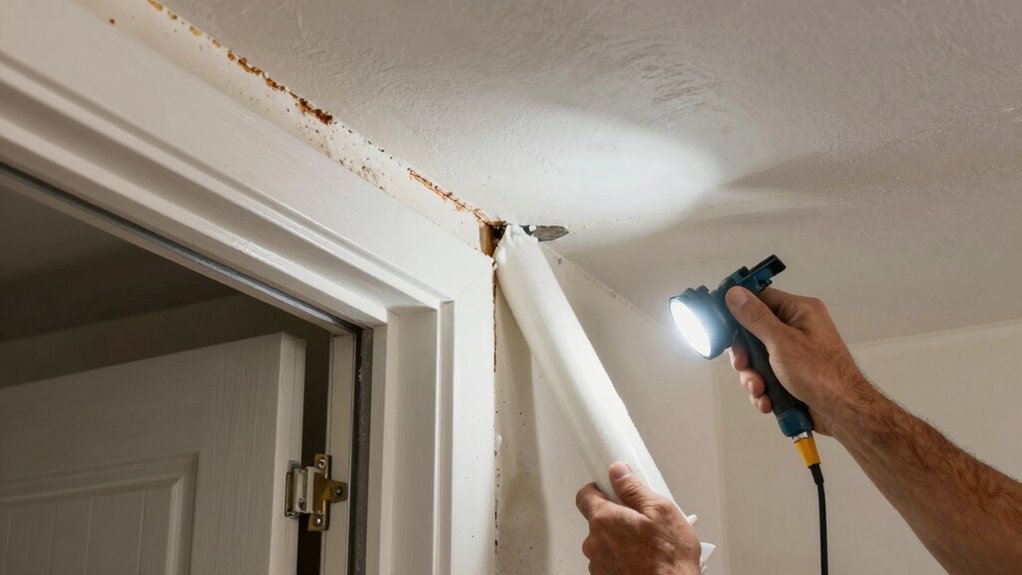
Identifying air leaks between your garage and living space is a crucial first step in effective sealing. Start by visually inspecting common problem areas, like gaps around doors, windows, and utility penetrations. Use a lit candle or incense stick—if the flame flickers or smoke wavers, you’ve found a leak. Pay attention to signs of poor ventilation optimization, such as musty odors or uneven temperature. Also, check for cracks or holes that may compromise your home’s structural integrity. Consider performing a blower door test or using an infrared camera for more thorough detection. Here are key areas to focus on:
- Gaps around garage doors and windows
- Utility penetrations, like pipes and wires
- Cracks in walls or ceilings
- Poorly sealed vents or chimneys
- Damaged weatherstripping or insulation
Affordable Sealing Materials
Once you’ve pinpointed the air leaks between your garage and living space, the next step is to seal them effectively without breaking the bank. Affordable sealing materials can boost your home’s energy efficiency and support proper garage ventilation. You don’t need fancy tools—simple, cost-effective options work well. Consider using weatherstripping tape, expanding foam, or caulk for gaps around doors, windows, and ducts. These materials are easy to apply and budget-friendly. Here’s a quick comparison:
| Material | Best For | Cost Range |
|---|---|---|
| Weatherstripping | Doors, windows | $10-$20 |
| Expanding Foam | Large gaps, cracks | $5-$15 |
| Caulk | Small gaps, seams | $3-$8 |
| Door Sweeps | Garage door, exterior doors | $10-$25 |
| Foam Gaskets | Electrical outlets, vents | $2-$6 |
These materials make sealing accessible and improve energy efficiency.
Step-by-Step Sealing Process
To effectively seal air leaks between your garage and living space, start by gathering basic, affordable materials like weatherstripping, caulk, and expanding foam. These materials help improve garage ventilation and indoor air quality. Begin by inspecting gaps around doors, windows, and where pipes or wires pass through walls. Then, follow these steps:
- Apply weatherstripping to garage door bottoms and window frames
- Seal gaps with caulk around trim and seams
- Use expanding foam for larger openings or gaps around pipes
- Check for cracks in the garage wall and seal them
- Test your work with a smoke pen or tissue for leaks
This process reduces unwanted air exchange, improves energy efficiency, and maintains better indoor air quality.
Troubleshooting Persistent Leaks and Ensuring Long-Term Seal Effectiveness
When persistent air leaks continue despite initial sealing efforts, it’s essential to carefully evaluate the problem areas and verify the effectiveness of your repairs. Check for cracks or gaps you might have missed and consider the possibility of new leaks developing over time. Monitor indoor humidity levels, as high humidity can cause materials to expand or contract, leading to gaps reopening. Implement proper ventilation strategies to control moisture and improve air circulation, reducing the likelihood of leaks reappearing. Regularly inspect seals and weatherstripping, replacing or resealing as needed. Keep an eye on changes in the structure or climate that might affect your seal’s integrity. Consistent maintenance and addressing moisture issues will help guarantee long-term seal effectiveness and a tighter, more energy-efficient space.
Frequently Asked Questions
How Often Should I Inspect My Garage for New Air Leaks?
You should inspect your garage for new air leaks at least once a year, especially before winter. Check your garage insulation and weather stripping around doors and windows for gaps or damage. Regular inspections help you identify and seal leaks promptly, saving energy and maintaining comfort. Don’t forget to examine areas where walls meet the ceiling or floor, as these are common spots for air leaks to develop over time.
Are There Eco-Friendly Sealing Options Available?
Like a guardian of the environment, you can choose eco-friendly sealants and sustainable insulation to seal your garage leaks. These options are made from natural or recycled materials, reducing harmful chemicals and environmental impact. Brands now offer biodegradable, non-toxic solutions that are just as effective as traditional products. By opting for eco-friendly sealants, you protect your home and the planet, ensuring a greener future for everyone.
Can Sealing Air Leaks Improve My Home’s Energy Efficiency Significantly?
Sealing air leaks can considerably boost your home’s energy efficiency by preventing drafts and heat loss. When you combine this with an insulation upgrade, you’ll notice even better insulation against temperature changes. Additionally, improving ventilation helps maintain fresh air and reduces moisture buildup, which can further enhance energy savings. Together, these actions make your home more comfortable and reduce your energy bills, providing a smart investment for long-term savings.
What Signs Indicate a Leak Is Causing Indoor Air Quality Issues?
Think of indoor air quality issues as warning signs blinking on your home’s dashboard. If you notice persistent odors, increased allergy symptoms, or dust buildup, leaks might be letting in pollutants from indoor sources or outside. These leaks hinder proper ventilation, trapping pollutants and compromising air quality. Addressing leaks improves ventilation, reducing indoor pollutant sources, and helps keep your home’s air fresh and healthy. Always stay alert to these signs for a healthier living space.
How Long Does a Typical Garage Sealing Project Take?
A typical garage sealing project usually takes about one to two days, depending on the size and condition of your garage. You’ll need to focus on air sealing techniques like sealing gaps around doors, windows, and vents, and installing proper garage insulation. Prepare to work systematically, ensuring all leaks are identified and sealed thoroughly. This process improves energy efficiency and indoor air quality, making your living space more comfortable.
Conclusion
Sealing air leaks between your garage and living space can boost comfort and save money, but it requires regular upkeep. Are you ready to tackle those gaps and keep your home cozy? With the right tools, techniques, and a bit of effort, you can prevent costly energy loss and improve your home’s efficiency. Don’t wait for small leaks to turn into big problems—take action now and enjoy a more comfortable, energy-efficient home today!