
To clean your ceiling fan effectively, start by turning it off and securing it to prevent spinning. Use a sturdy ladder, microfiber cloths, or extendable dusters to wipe down the blades and surfaces carefully. For deep cleaning, remove blades and clean thoroughly with gentle cleaners. Regularly dust every 1-3 months to prevent buildup. For more tips on safe, efficient cleaning and maintenance, keep exploring this guide.
Key Takeaways
- Turn off the fan and ensure it has completely stopped before cleaning for safety.
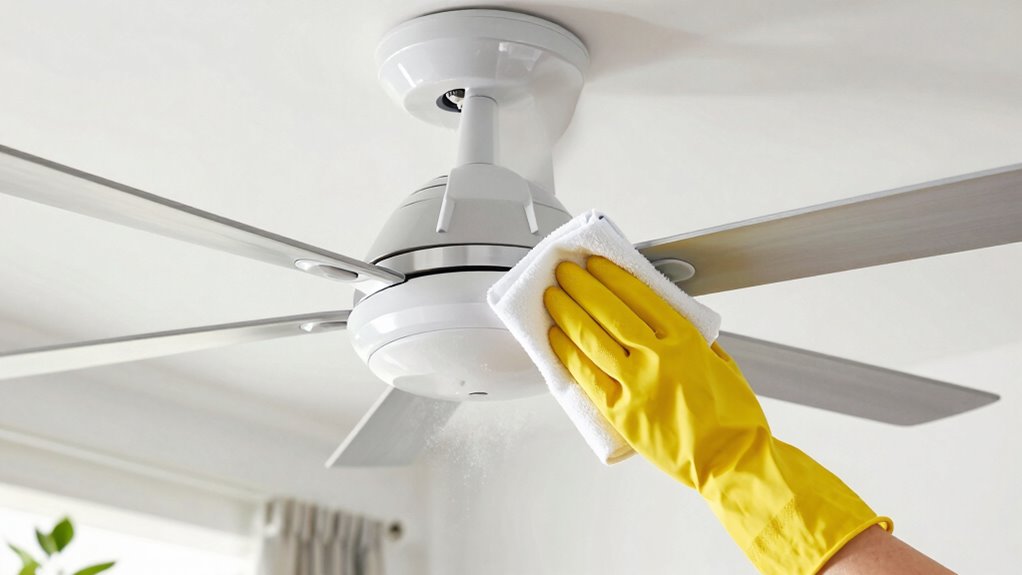
- Use a microfiber cloth or extendable duster to gently remove dust from blades and surfaces.
- Remove blades carefully for thorough cleaning, then wipe with a mild cleaner and microfiber cloth.
- Protect surrounding areas with drop cloths and cover nearby fixtures to prevent debris damage.
- Clean regularly every 1-3 months, especially if you notice dust buildup or reduced airflow.
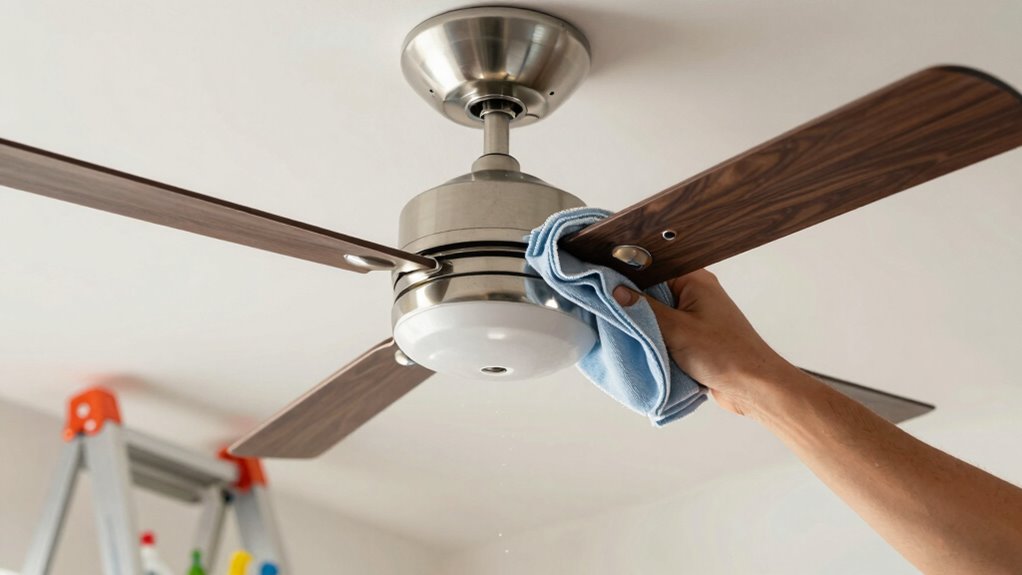
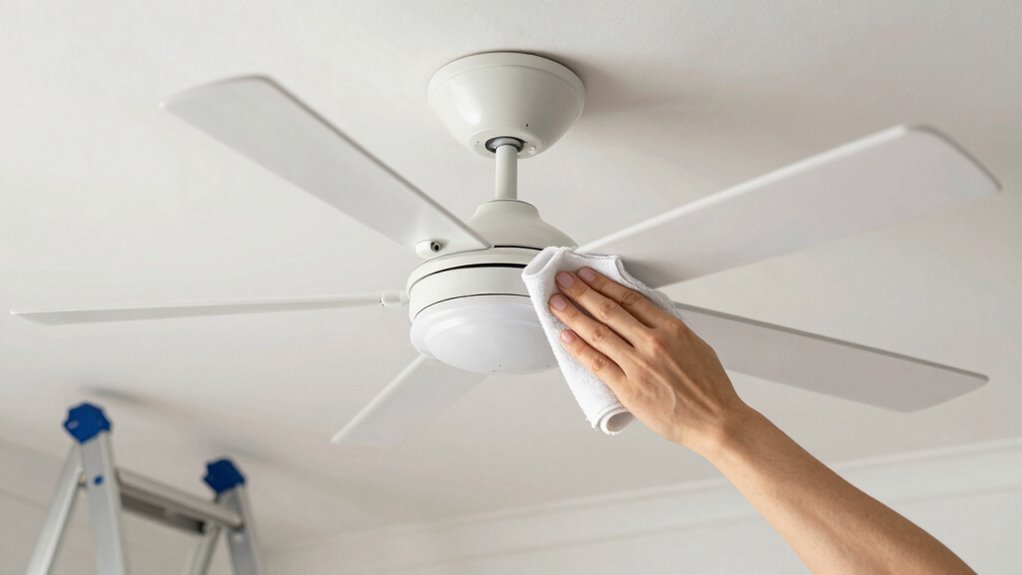
microfiber cloth for ceiling fan cleaning
As an affiliate, we earn on qualifying purchases.
As an affiliate, we earn on qualifying purchases.
How to Turn Off and Secure Your Ceiling Fan Safely
Before you start cleaning, it’s vital to turn off and secure your ceiling fan to prevent accidents. Safely shutting down the fan involves flipping the wall switch or using the remote control, if available. Make certain the fan has completely stopped moving before proceeding. When securing the fan, consider attaching a sturdy step ladder or using a stabilization tool to keep it steady. Understanding your ceiling fan installation is essential—some fans have reversible blades or unique fan blade design features that can affect cleaning. If your fan’s blades are angled or have intricate designs, take extra care to avoid damage. Securing the fan ensures it won’t spin unexpectedly, reducing the risk of injury and making cleaning safer and more efficient. Additionally, knowing the type of ceiling fan you have can help determine the best cleaning approach and tools to use. Recognizing the design features of your fan can also influence the cleaning method, especially if you have a fan with specialized blades or lighting fixtures. Being aware of the fan blade material can help you select the appropriate cleaning products to avoid damage. Moreover, understanding the fan’s electrical components can prevent potential hazards during maintenance. It’s also helpful to familiarize yourself with the manufacturer’s guidelines to ensure safe and proper cleaning procedures.
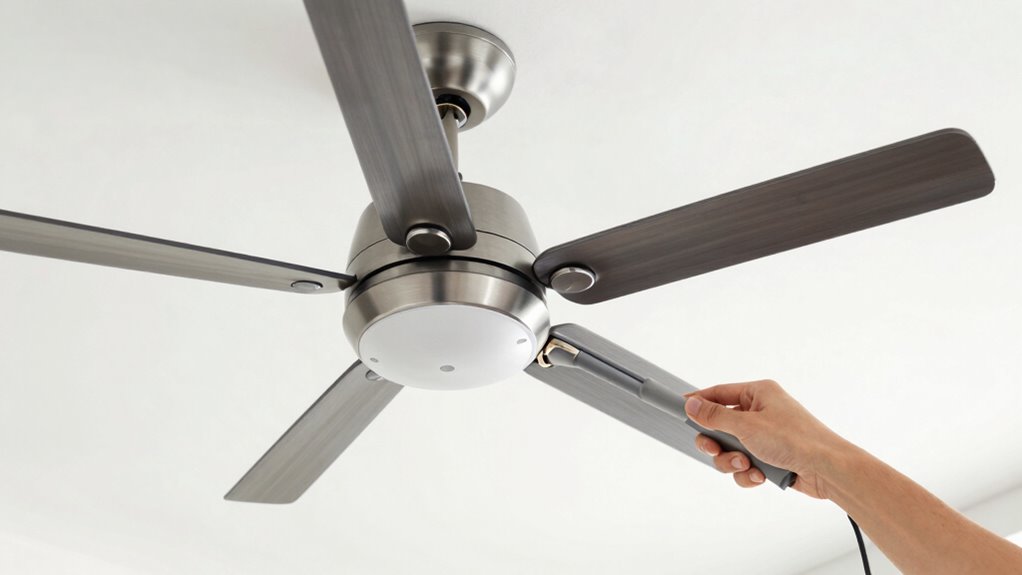
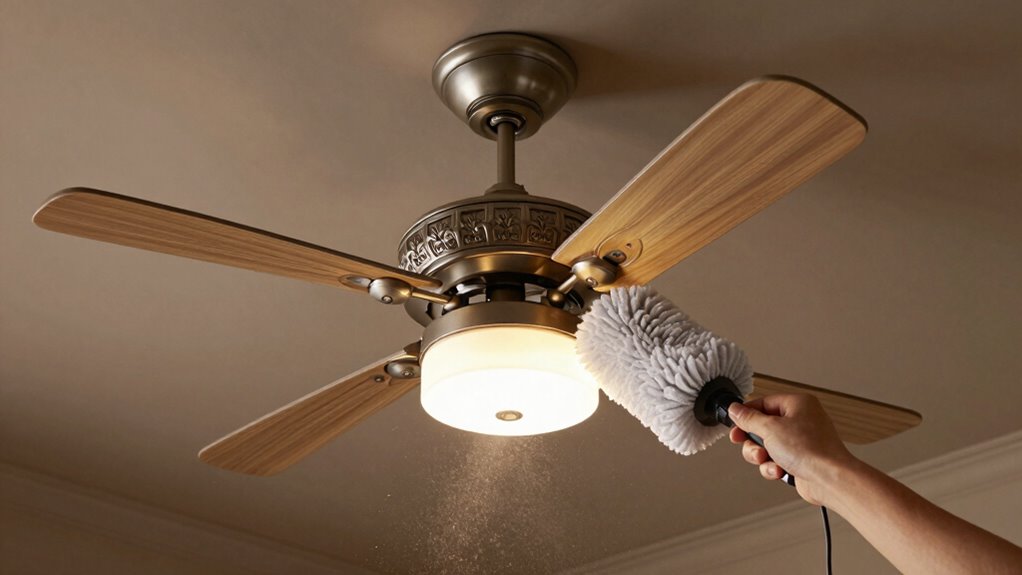
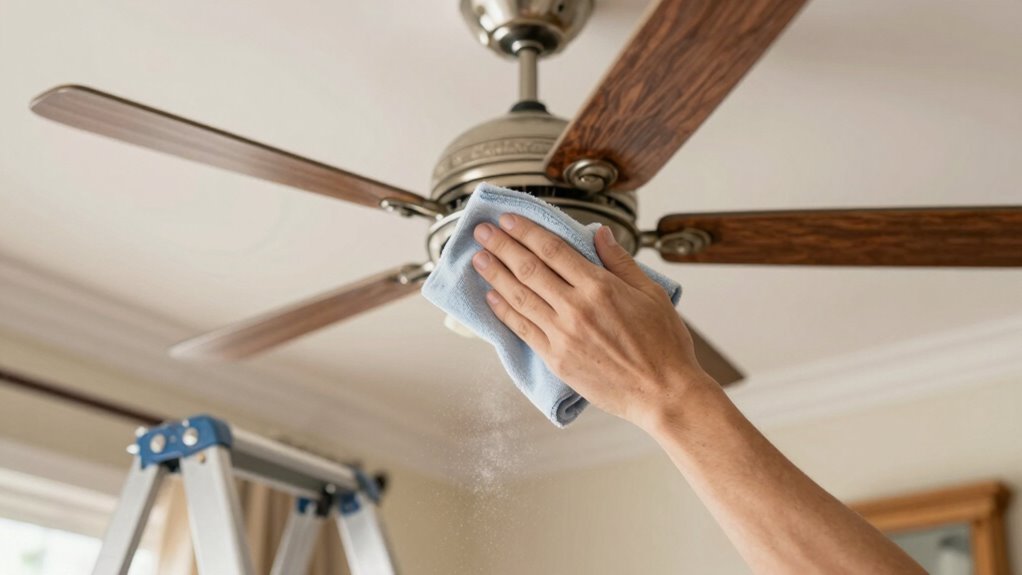
extendable ceiling fan duster
As an affiliate, we earn on qualifying purchases.
As an affiliate, we earn on qualifying purchases.
Essential Tools and Supplies for Ceiling Fan Cleaning
Having the right tools and supplies on hand makes ceiling fan cleaning safer and more efficient. Essential items include a microfiber cloth, a step ladder, a gentle cleaner, and a duster. To protect your fan blades, consider fan blade coatings that repel dust, reducing buildup over time. If you’re planning a ceiling fan redesign, use specific tools like replacement blades or mounting hardware. Here’s a quick overview:
| Tool/Supply | Purpose | Tips |
|---|---|---|
| Microfiber cloth | Wipe blades and fixtures | Use to avoid scratches |
| Duster | Remove loose dust | Extend reach, gentle |
| Fan blade coatings | Protect blades from dust and grime | Apply after cleaning |
| Step ladder | Reach high fans | Ensure stability |
Regular cleaning and maintenance can also help prevent dust accumulation, making your ceiling fan last longer and operate more efficiently. Incorporating proper cleaning techniques ensures thorough removal of dirt and reduces the risk of damage. Additionally, employing industry-standard measurement tools can also help monitor the effectiveness of your cleaning methods. These tools streamline the process and support maintaining a clean, updated ceiling fan. Moreover, understanding the history of ceiling fan design can inspire more effective cleaning and maintenance practices over time.
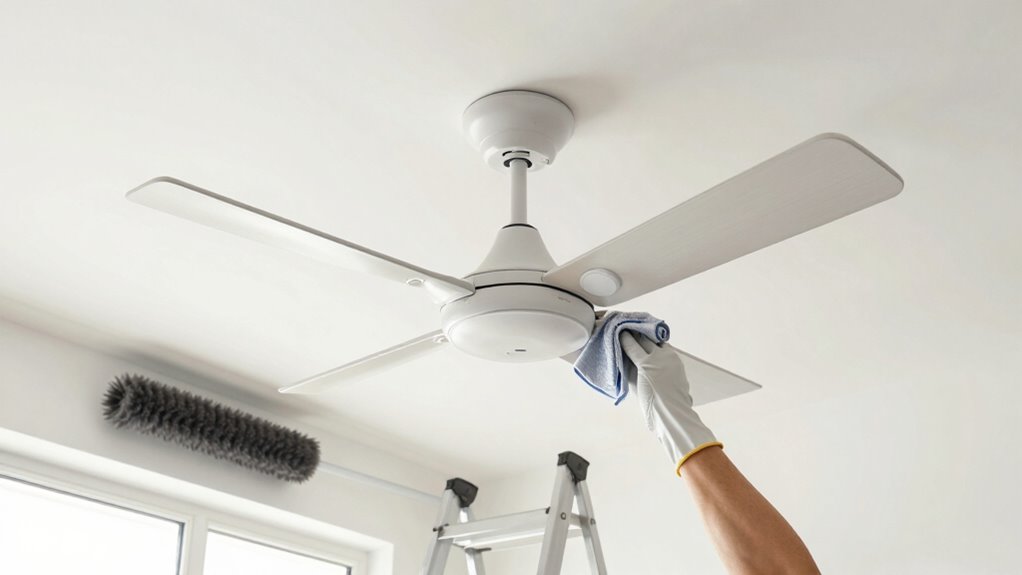
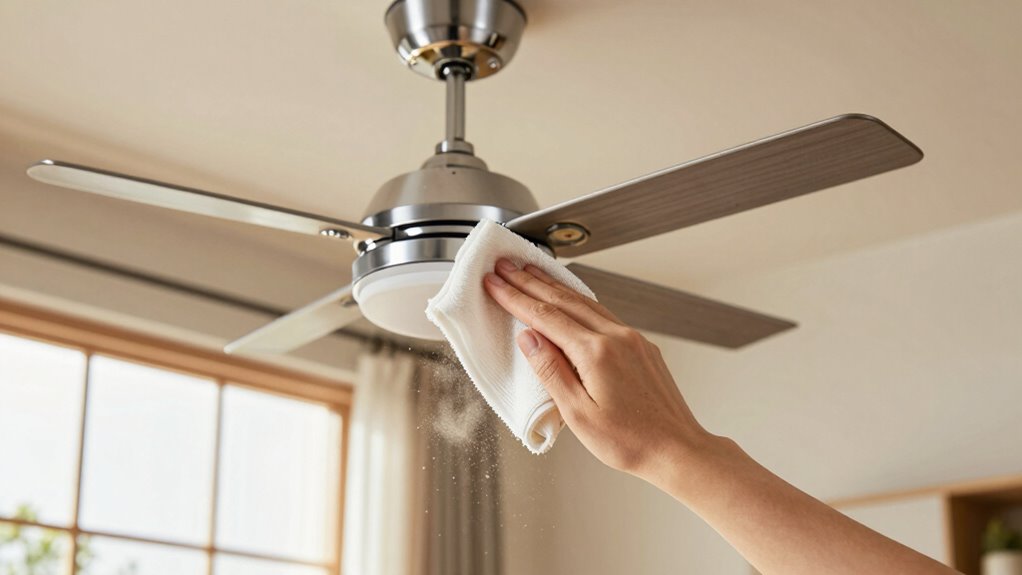
ceiling fan blade removal tool
As an affiliate, we earn on qualifying purchases.
As an affiliate, we earn on qualifying purchases.
Preparing Your Space for a Safe Cleaning Session
Ensuring your space is properly prepared is essential for a safe and effective ceiling fan cleaning session. Start by turning off the fan and cutting power at the circuit breaker to prevent accidents. Remove or cover nearby lighting fixtures to avoid damage from falling dust or cleaning debris. Check the ceiling fan height; if it’s high or difficult to reach, use a sturdy ladder or extension pole to ensure stability and safety. Clear the area beneath the fan of furniture, decor, and other objects that could get in the way. Protect the floor with a drop cloth or newspaper to catch dust and drips. Taking these precautions creates a safe environment, making your cleaning process smoother and reducing the risk of injury or damage. Additionally, home safety guidelines can help you identify other precautions to consider during DIY cleaning tasks. Always remember to use proper tools like gloves and eye protection to safeguard yourself from dust and debris. Using a ceiling fan-specific cleaning tool can also make the task easier and more effective. Proper workspace preparation with adequate ventilation can also help minimize dust and ensure a more comfortable cleaning experience.
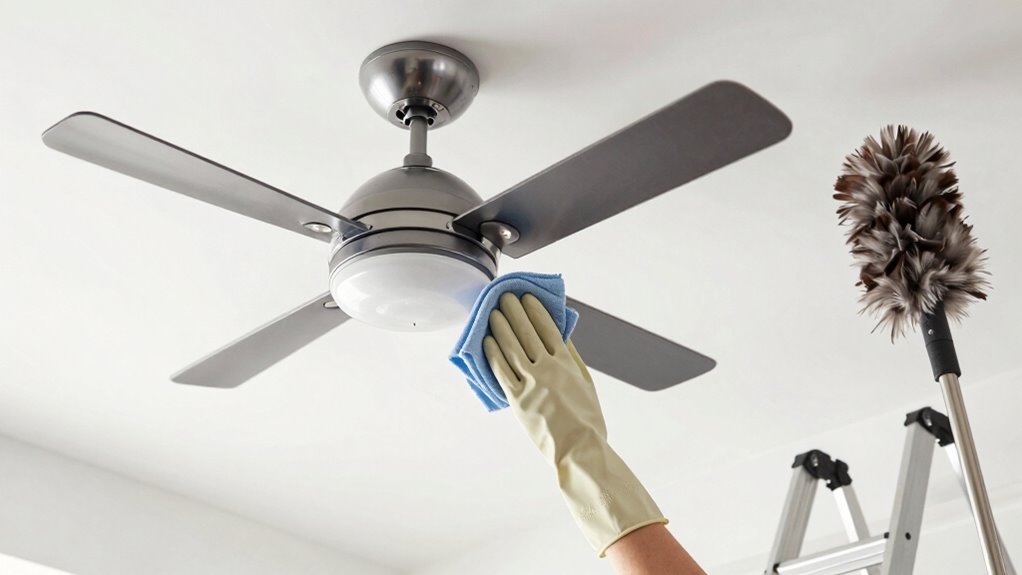
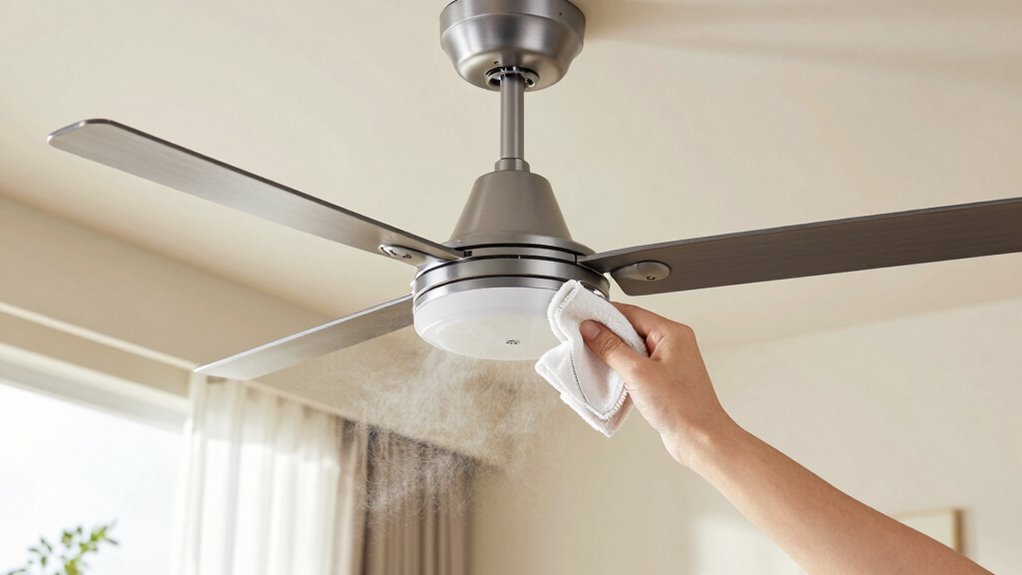
fan blade cleaning spray
As an affiliate, we earn on qualifying purchases.
As an affiliate, we earn on qualifying purchases.
Dusting Fan Blades and Surfaces Effectively

Using the right dusting tools makes cleaning your fan blades easier and more effective. Establishing a regular cleaning schedule helps prevent dust buildup and keeps your fan running smoothly. With consistent effort, you’ll maintain a cleaner, healthier space effortlessly. Incorporating proper maintenance routines can extend the lifespan of your ceiling fan and improve its performance. Regular cleaning also reduces allergens and contributes to a healthier environment, especially for those managing health conditions like allergies or asthma. Additionally, using the appropriate dusting techniques ensures you remove dust without damaging delicate fan components. Utilizing smart cleaning tools can further simplify maintenance and ensure thorough removal of dust and debris. Involving noise reduction solutions can also help create a quieter living space by minimizing any mechanical noise from the fan.
Use Proper Dusting Tools
Do you know the best tools to effectively remove dust from your ceiling fan? Using the right cleaning tools makes a big difference in dusting techniques. The proper tools help you reach all surfaces without causing damage or spreading dust. Grab a microfiber duster, extendable duster, or a soft cloth to trap dust efficiently. A vacuum with a brush attachment can also help remove stubborn debris. For detailed cleaning, use a gentle brush or compressed air to reach tight spots. These tools prevent dust from settling back quickly and keep your fan looking its best. Proper dust management techniques can further enhance your cleaning routine, especially when considering the impact of dust on image quality, which is similar to how contrast ratios influence projector visuals. Additionally, selecting durable materials that resist dust buildup can make maintenance easier over time. Practicing attention to detail in your cleaning process can help ensure no spots are overlooked, leading to a more thorough and satisfying result.
Regular Cleaning Schedule
Establishing a regular cleaning schedule keeps your ceiling fan looking fresh and functioning efficiently. Dust accumulates quickly on fan blades, affecting both fan blade design and ceiling fan aesthetics. By dusting weekly, you prevent buildup that can cause uneven wear or wobbling. Use a microfiber cloth or a gentle duster to wipe down the blades and surfaces, ensuring you reach all angles. Regular cleaning also minimizes the spread of dust and allergens, improving air quality. Checking store return policies and hours can be helpful if you need to replace cleaning supplies or tools. Consistency helps maintain the fan’s appearance and performance, reducing the need for deeper cleaning sessions later. Keep a routine that fits your schedule—monthly or bi-weekly—and your ceiling fan will stay both attractive and effective for years to come.
Deep Cleaning Fan Blades and Components
Over time, dust and grime can build up on your ceiling fan blades and components, reducing efficiency and spreading allergens. To deep clean, start by removing the fan blades carefully, measuring them for precise reinstallation. Use a gentle cleaner and a microfiber cloth to wipe each blade thoroughly, paying attention to the edges. While you’re at it, inspect the motor and other components for dust or debris. Applying a small amount of component lubrication to the motor’s moving parts can prevent squeaks and guarantee smooth operation. Remember, maintaining proper fan blade measurements during reassembly guarantees balanced performance. Regularly deep cleaning your fan blades and components keeps your fan running efficiently and prolongs its lifespan.
Cleaning Hard-to-Reach Areas and Tight Spots
When cleaning hard-to-reach areas and tight spots on your ceiling fan, using the right tools can make all the difference. Dust accumulation often hides in crevices and behind fan blades, so a long-handled duster or microfiber cloth attached to an extendable pole helps you reach those spots easily. Adjusting fan positioning before cleaning can give you better access to tricky areas and prevent dust from settling in hard-to-clean places. Use a small brush or vacuum attachment to loosen debris in tight corners. Be gentle to avoid damaging delicate components. Regularly cleaning these hidden spots prevents dust buildup and guarantees your fan runs smoothly. With the right tools and approach, you can efficiently tackle even the hardest-to-reach areas.
How Often Should You Clean Your Ceiling Fan?
Most ceiling fans should be cleaned every one to three months to keep dust and dirt from accumulating. How often you clean depends on factors like ceiling fan color, which can show dust more easily, and fan blade shape, since some shapes trap more debris. If you notice a layer of dust or the fan isn’t operating quietly, it’s time to clean. Regular cleaning prevents buildup that can affect airflow and fan performance.
- Dusty fan blades, especially on darker or reflective ceiling fan colors
- Fan blade shape with grooves or intricate designs that trap dirt
- Visible dust or debris on the blades or motor housing
- Increased noise during operation
- Reduced airflow or inefficient cooling efficiency
Tips to Prevent Dust Buildup on Fan Blades
Establishing a regular dusting schedule helps keep your fan blades clean and reduces buildup. Using protective covers when the fan isn’t in use can also prevent dust from settling on the blades. These simple tips make maintenance easier and keep your fan running smoothly.
Regular Dusting Schedule
Regularly dusting your ceiling fan is essential for preventing buildup that can circulate dust throughout your space. Consistent cleaning reduces airborne allergens and keeps your air quality high. Establishing a regular dusting schedule guarantees dust doesn’t settle deeply into fan blade materials, making cleaning easier and more effective. Aim to dust your fan at least once a week, especially during allergy season or in dusty environments. Use a microfiber cloth or a dusting tool designed for fans to trap particles efficiently. Consider these tips:
- Dust fan blades from the center outward
- Use a damp cloth for stubborn grime
- Clean blades more frequently in high-traffic areas
- Regularly wipe down surrounding fixtures
- Keep windows open during dusting for better air circulation
Sticking to this schedule minimizes dust buildup and airborne allergens.
Use of Protective Covers
Using protective covers on your ceiling fan blades offers an effective way to minimize dust accumulation between cleanings. Fan blade covers act as a barrier, preventing dust from settling directly on the blades. When you install these protective covers, you’ll find it easier to keep your fan clean and reduce the frequency of deep cleans. Choose lightweight, washable covers that fit snugly over your fan blades for best results. Regularly remove and wash the covers to keep dust at bay and maintain airflow efficiency. Protective covers also protect your fan blades from dirt and debris, prolonging their lifespan. By using fan blade covers, you’re taking a proactive step to keep your ceiling fan cleaner, saving you time and effort on maintenance.
Common Ceiling Fan Cleaning Mistakes to Avoid
When cleaning your ceiling fan, it’s easy to make mistakes that can cause damage or make the job harder. Avoid rushing or using harsh chemicals that could harm the fan’s finish. Don’t forget to turn off the fan and switch off the power to prevent accidents. Be cautious about leaning on or pulling the fan blades during cleaning, as this can damage the mounting or lead to fan blade replacement. Also, steer clear of using overly wet cloths, which can cause water damage or electrical issues. Finally, don’t ignore proper ceiling fan installation; a poorly mounted fan can wobble or fall. These mistakes could hinder your cleaning process and lead to costly repairs or unsafe situations. Stay attentive to these details for a safer, more effective clean.
When to Call a Professional for Ceiling Fan Maintenance
If your ceiling fan keeps making strange noises or vibrates excessively, it’s time to call a professional. Persistent mechanical issues or electrical problems, like short circuits, can be dangerous to handle yourself. Recognizing these signs early helps guarantee your safety and keeps your fan functioning properly.
Persistent Mechanical Issues
Persistent mechanical issues with your ceiling fan—such as wobbling, strange noises, or inconsistent speeds—often signal underlying problems that require professional attention. These issues can affect the ceiling fan aesthetics and fan blade design, making your space less appealing and less functional. If your fan isn’t operating smoothly despite cleaning and balancing, it’s time to call in a pro. They can inspect and fix issues like loose mounting, motor problems, or damaged fan blades. Ignoring these problems can lead to further damage or safety risks.
Consider calling a professional if:
- The fan wobbles despite balancing efforts
- Strange noises persist during operation
- The fan doesn’t reach full speed
- You notice uneven fan blade wear or damage
- The fan’s motor seems to struggle or overheat
Unusual Noises or Vibration
Unusual noises or vibrations from your ceiling fan are clear signs that something isn’t right and may require professional attention. If you notice a fan wobble or persistent blade imbalance, it’s time to call a technician. Wobbling or shaking can indicate loose mounting brackets, bent blades, or worn-out hardware. Blade imbalance often causes vibrations that worsen over time, potentially damaging the fan or ceiling. Ignoring these issues can lead to more significant problems or safety hazards. If tightening the screws or adjusting the blades doesn’t resolve the noise or wobble, don’t delay in seeking expert help. A professional can properly balance the blades, inspect the mounting, and ensure your fan operates smoothly and safely.
Electrical Problems or Short Circuits
Electrical issues or short circuits can pose serious safety risks and should never be overlooked. If you notice flickering lights, burning smells, or your ceiling fan stops suddenly, it’s time to call a professional. Short circuits can lead to electrical fires or damage, so proper electrical safety is essential. A qualified electrician can diagnose problems quickly and ensure your fan is safe to use.
You should contact a professional if you observe:
- Sparks or smoke around the fan
- The fan’s switch or remote malfunctioning
- Frequent circuit breaker trips
- Unusual buzzing sounds
- Visible signs of damaged wiring
Prioritize short circuit prevention and electrical safety by addressing issues immediately to protect your home and loved ones.
Frequently Asked Questions
Can I Use Household Cleaning Products on Ceiling Fan Blades?
Yes, you can use household cleaning products on ceiling fan blades, but choose your cleaning solutions carefully. Opt for mild, non-abrasive cleaners that won’t damage the finish. Avoid harsh chemicals like bleach or ammonia, which can harm the fan’s surface. Regular fan maintenance includes dusting and cleaning blades gently with a damp cloth. Using appropriate cleaning solutions helps keep your fan looking new and functioning efficiently.
What Safety Precautions Should I Take During Ceiling Fan Cleaning?
Did you know that electrical safety is vital, as ceiling fans cause over 1,000 injuries annually? When cleaning, always turn off the fan and disconnect the power to prevent accidents. Wear personal protective gear like gloves and safety goggles to avoid dust or debris. Keep your ladder stable and avoid reaching too high. Taking these precautions guarantees your safety while maintaining your ceiling fan efficiently.
How Do I Clean Ceiling Fans With Decorative or Intricate Blades?
To clean decorative blades with intricate designs, you should gently dust them first using a microfiber cloth or a soft brush to remove loose dirt. For stubborn grime, dip a cloth in a mixture of mild soap and water, then carefully wipe along the intricate patterns. Use a soft toothbrush for hard-to-reach areas, ensuring you don’t damage delicate decorations. Always turn off the fan and support the blades if needed.
Are There Eco-Friendly or Natural Cleaning Alternatives for Ceiling Fans?
Imagine your ceiling fan as a gentle breeze carrying freshness through your home. You can embrace eco-friendly cleaning by using natural alternatives like vinegar and water or baking soda paste, which cut through grime without harsh chemicals. These eco-friendly cleaning options are safe for you and the planet, leaving your fan sparkling while maintaining a healthier environment. Switching to natural alternatives makes your cleaning routine both effective and kind to nature.
How Can I Prevent Future Dust Buildup on My Ceiling Fan?
To prevent future dust buildup on your ceiling fan, you should prioritize regular fan maintenance and dust prevention. Clean the blades at least once a month with a microfiber cloth or an eco-friendly dusting solution. Keep the room well-ventilated to reduce airborne dust and consider installing dust covers or using ceiling fan filters. Consistent upkeep and proactive dust prevention help keep your fan clean and functioning efficiently long-term.
Conclusion
Think of your ceiling fan as the heart of your room’s air flow—keeping it clean is like giving it a gust of fresh life. With a little effort, you’ll have it spinning smoothly and silently, like a well-oiled dance partner. Regular cleaning keeps dust and dirt at bay, ensuring your home stays fresh and inviting. So, grab your supplies and give your fan the tender loving care it deserves—your air will thank you.