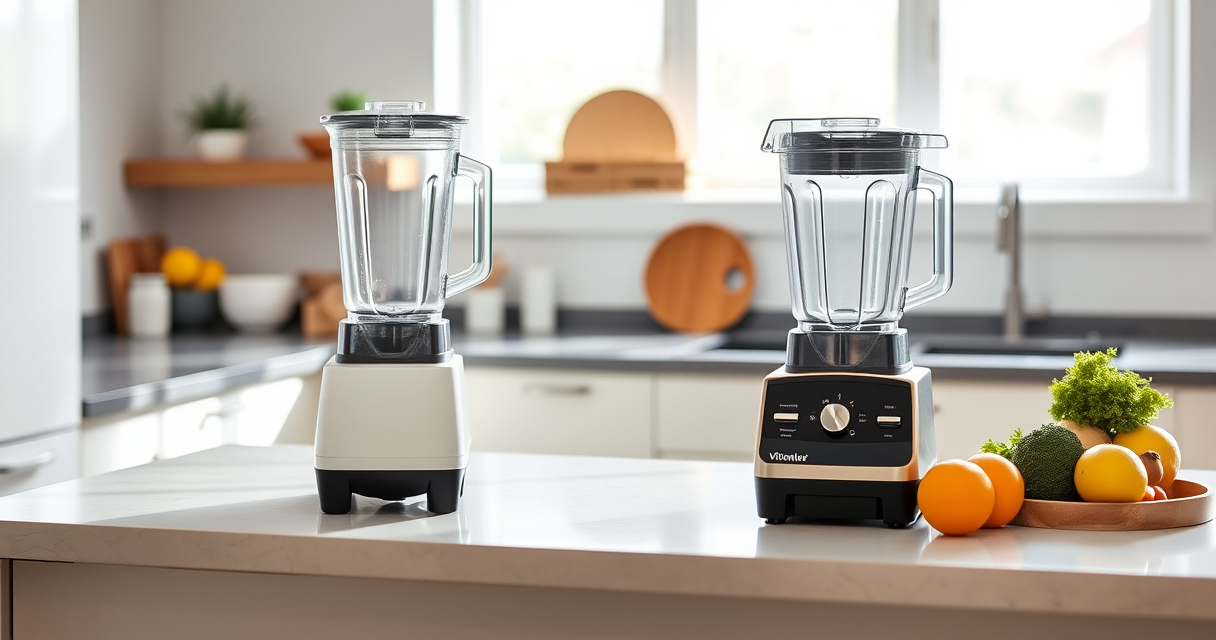

Vitamix blenders are powerful kitchen tools that can deliver smooth results for smoothies, soups, and more. However, like any appliance, they may encounter issues over time. Proper troubleshooting and regular maintenance are key to keeping your Vitamix performing at its best. This guide provides clear, step-by-step instructions for resolving common problems and caring for your blender to ensure longevity and optimal performance.
Whether your blender isn’t starting, making strange noises, or having cleaning issues, you’ll find practical solutions that are safe and effective. Let’s get your Vitamix back to peak condition with confidence.
Key Takeaways
| Regular cleaning extends lifespan | Always clean your Vitamix after use, especially the blades and container. |
| Check for motor issues first | Motor problems often cause startup failures or unusual noises. |
| Blade maintenance is crucial | Dull or damaged blades can impair blending performance. |
| Use the self-cleaning feature regularly | The self-cleaning program is quick and keeps your blender hygienic. |
| Replace parts when needed | Worn blades or damaged containers should be replaced promptly. |
Common Troubleshooting Steps for Your Vitamix
- Ensure the blender is properly plugged into a functioning outlet. Check your power source with another device if necessary.
- Make sure the container and lid are securely attached. Many issues arise from loose fittings.
- Inspect the power cord for damage. Do not use if frayed or damaged—replace immediately.
- Verify that the motor base is not overheated. Allow it to cool down for 15-20 minutes if it feels hot.
- Test the control panel for responsiveness. If buttons are sticky or unresponsive, clean the surface gently with a damp cloth.
- If the blender isn’t starting, attempt a reset. Unplug, wait 30 seconds, then plug back in and try again.
- Check for unusual noises or vibrations. These often indicate blade or motor issues.
Cleaning and Maintaining Your Vitamix
- Use the self-cleaning program regularly: Fill the container halfway with warm water, add a drop of dish soap, and run the program for 60 seconds.
- Clean the blades carefully: Periodically inspect blades for buildup or damage. For stubborn residue, use a brush or a vinegar solution.
- Wash the container and lid with warm soapy water after each use. Avoid abrasive cleaners that can scratch the surfaces.
- Check and replace worn blades or containers as needed. Consider replacing the wet blade assembly if blades become dull or noisy.
- Keep the motor base dust-free: Wipe with a damp cloth and avoid getting water inside the electronics.
Troubleshooting Blades and Containers
Blades are critical for effective blending. If your blends become inconsistent or your blender struggles with ice or frozen ingredients, the blades may be dull or damaged.
- Inspect the blades for visible damage or dullness. Dull blades can be replaced with a compatible wet blade assembly.
- Ensure the container is free of cracks or warping. Damaged containers can affect blending performance and safety.
- For replacement blades or containers, always choose compatible parts from trusted sources to avoid fit issues.
- Periodically tighten blade assembly screws to prevent leaks or wobbling.
When to Seek Professional Repair
If troubleshooting steps do not resolve the issue, or if you notice persistent motor trouble, burning smells, or persistent overheating, it’s time to consult a professional. Do not attempt to disassemble the motor base yourself, as this can void warranties or cause further damage.
Contact Vitamix customer service or authorized repair centers for assistance. Regularly replacing worn parts with genuine components ensures safety and maintains warranty coverage.
The Products in This Guide

Vitamix Ascent X3 Blender
- ✔ Weight: 12 lbs
- ✔ Dimensions: 8 x 7 x 20 inches
- ✔ Warranty: 7 years

Vitamix Wet Blade Assembly
- ✔ Weight: 2 lbs
- ✔ Dimensions: 5 x 5 x 2 inches
- ✔ Warranty: Limited
Vitamix Ascent X3 Blender
The Vitamix Ascent X3 Blender delivers professional-grade blending with three automatic programs and a self-cleaning feature. Its durable design and intuitive controls make it a favorite for daily use, but regular troubleshooting and care are essential for long-term performance.
Pros:
- Powerful stainless-steel blades
- Three blending programs for versatility
- Self-cleaning feature saves time
- Adjustable speed and pulse functions
Cons:
- Container size may be small for large batches
- Blades can wear over time
- Requires regular cleaning to prevent buildup
Best for: Smoothies, hot soups, frozen desserts, and daily meal prep
Not ideal for: Heavy-duty commercial use or very large batch processing
Bottom line: With proper care, your Vitamix X3 will serve you reliably for years.
Vitamix Wet Blade Assembly
The Vitamix Wet Blade Assembly is designed for quick replacement on compatible containers, ensuring your blades stay sharp and effective. Crafted from hardened stainless steel, it handles everything from ice crushing to pureeing.
Pros:
- Durable stainless-steel blades
- Fits multiple container sizes
- Reduces noise during operation
- Easy to replace
Cons:
- Not compatible with newer containers
- Designed for older models
- Requires proper installation
Best for: Replacing worn blades or upgrading your existing setup
Not ideal for: For newer Vitamix models or containers outside compatibility list
Bottom line: A reliable replacement blade that restores your blender’s performance.
Frequently Asked Questions
How do I reset my Vitamix if it won’t start?
Unplug the blender, wait 30 seconds, then plug it back in. Press the power button again. If it still doesn’t start, check the power outlet and cord for damage.
What should I do if my blades are dull?
Inspect the blades for dullness or damage. If dull, replace the wet blade assembly with a compatible part. Avoid using dull blades to prevent strain on the motor.
Can I use the self-cleaning feature every day?
Yes, the self-cleaning program is designed for regular use. Just add warm water and a drop of dish soap, then run the cycle for 60 seconds.
Why is my blender making strange noises?
Unusual noises often indicate a blade imbalance or worn blades. Check for debris or damage, and replace blades if necessary.
How often should I replace parts like blades or containers?
Inspect blades and containers regularly. Replace worn or damaged parts promptly to maintain performance and safety.
Keep Your Vitamix in Top Shape with Proper Care
Regular troubleshooting and maintenance are essential to keep your Vitamix Ascent X3 blending smoothly and reliably. By following the steps outlined here, you can resolve common issues and extend the lifespan of your appliance. Remember, investing in genuine replacement parts and performing routine cleaning will save you time and money in the long run. With a little care, your Vitamix will continue to deliver professional-quality results for years to come.
Affiliate disclosure: As an Amazon Associate we earn from qualifying purchases. Prices and availability are accurate as of the time of publishing.