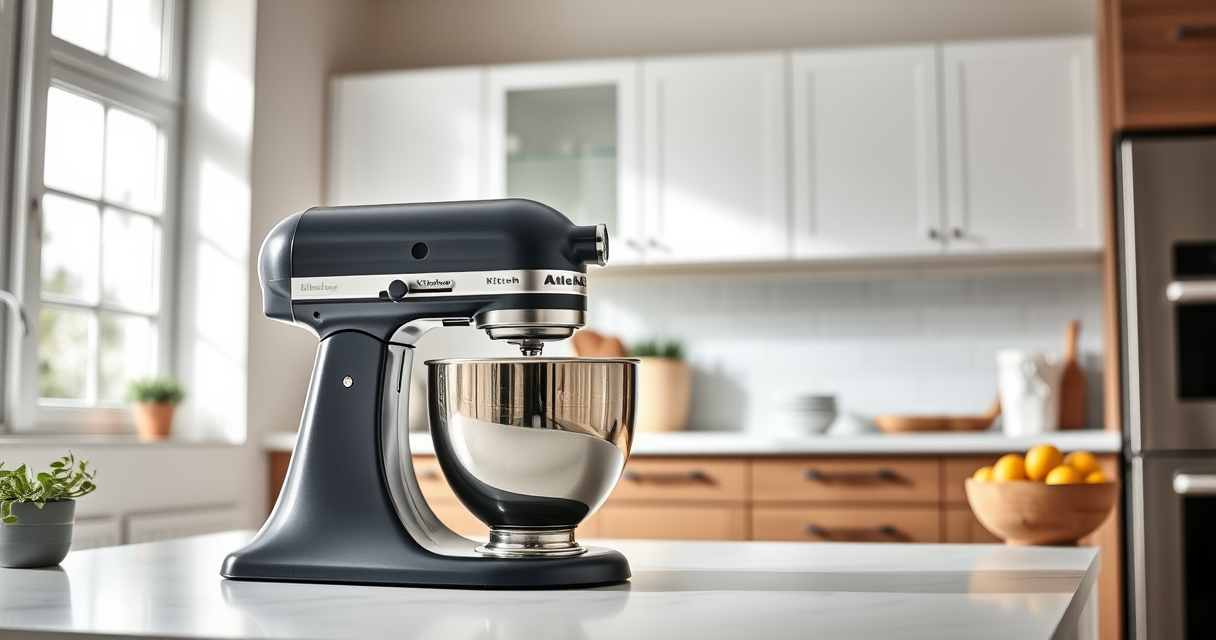

If your KitchenAid Artisan Series 5 Quart Tilt Head Stand Mixer is making a grinding noise, it can indicate a mechanical issue or some simple maintenance needs. Addressing the problem early can prevent further damage and keep your mixer running smoothly for all your baking needs.

Get home appliances delivered free — and shop member deals
- Fast, free delivery on millions of items
- Access to Prime Big Deal Days deals on October 6–7
- Prime Video, Amazon Music and more included
In this guide, you’ll find practical, safe steps to identify the cause of the noise and how to fix it effectively, ensuring your mixer stays durable and reliable.
Key Takeaways
| Identify common causes | Grinding noises often result from debris, worn parts, or misalignment. |
| Regular maintenance helps | Cleaning and inspecting your mixer can prevent noise issues. |
| Step-by-step troubleshooting | Follow clear instructions to diagnose and fix the problem safely. |
| Use proper tools and precautions | Always unplug before working on your mixer to avoid injury. |
Step 1: Unplug and Inspect the Mixer
- Ensure the mixer is unplugged from the power outlet for safety.
- Carefully tilt back the head of the mixer to access the internal components.
- Check for any visible debris, buildup, or loose parts around the motor and gear area.
Step 2: Clean and Lubricate Moving Parts
- Remove the attachment (e.g., flat beater or wire whip) and clean thoroughly with a damp cloth.
- Use a soft brush to clear dust or debris from the gear and motor housing.
- If recommended by the manufacturer, apply a small amount of food-safe lubricant to gear points, avoiding electrical components.
Step 3: Check for Worn or Damaged Parts
- Inspect the gears, drive shaft, and attachment hub for signs of wear, cracks, or damage.
- Replace any worn or broken parts with genuine KitchenAid components.
Step 4: Reassemble and Test
- Carefully reattach all components and ensure everything is securely in place.
- Plug the mixer back in and run it at low and high speeds to listen for any grinding noises.
- If the noise persists, further inspection or professional repair may be needed.
Tips and Warnings
- Always unplug before maintenance to avoid electrical shock.
- Use only recommended lubricants and replacement parts.
- Don’t force parts into place; proper alignment is crucial.
- If unsure, consult a professional repair service or contact KitchenAid customer support.
The Products in This Guide

KitchenAid Artisan Series 5 Quart Tilt Head Stand Mixer
- ✔ Weight: 26 lbs
- ✔ Power: 325W
- ✔ Dimensions: 14 x 8 x 14 inches

KitchenAid Stand Mixer Attachment
- ✔ Dishwasher Safe: No
- ✔ Includes Storage Case: Yes
- ✔ Compatible Models: All KitchenAid stand mixers
KitchenAid Artisan Series 5 Quart Tilt Head Stand Mixer
The KitchenAid Artisan Series 5 Quart Tilt Head Stand Mixer is built to last with metal construction and offers a variety of speeds for all mixing tasks. Its tilt-head design provides easy access for cleaning and maintenance, making it a popular choice for home bakers.
Pros:
- Sturdy metal build for durability
- Powerful motor with 10 speeds
- Large 5-quart stainless steel bowl
- Accessible tilt-head design
Cons:
- Can be heavy and bulky to move
- Some parts may require periodic maintenance
- Price may be higher than basic mixers
Best for: Heavy-duty baking, large batch mixing, versatile kitchen tasks
Not ideal for: Small kitchens with limited space, casual users not needing high capacity
Bottom line: A dependable, high-capacity mixer suited for serious home bakers.
KitchenAid Stand Mixer Attachment
The KitchenAid Metal Food Grinder attachment connects seamlessly to your stand mixer, allowing you to grind meats, vegetables, and more with ease. Its durable construction and multiple grinding plates make it a valuable addition for home chefs who want fresh ingredients.
Pros:
- Multiple grind plates included
- Easy to attach and use
- Makes fresh ground ingredients
- Compact storage case
Cons:
- Requires separate purchase of the attachment
- Cleaning can be time-consuming
- Needs pre-chilling for best results
Best for: Grinding meats, vegetables, and creating sausages
Not ideal for: Raw or delicate ingredients that require gentle handling
Bottom line: A versatile attachment for fresh grinding and sausage making.
Frequently Asked Questions
Why is my KitchenAid mixer making a grinding noise?
Grinding noises can be caused by debris, worn gears, or misaligned parts. Regular cleaning and inspection can often resolve the issue.
Can I fix the grinding noise myself?
Yes, if you are comfortable with basic tools and safety precautions, you can inspect and clean the internal components. Otherwise, seek professional repair.
How often should I clean my mixer?
It’s recommended to clean your mixer after every few uses, especially if you’re using attachments or processing ingredients that may leave residue.
When should I replace parts on my mixer?
Replace gears or worn components when you notice unusual noises, difficulty in operation, or visible damage to ensure safe and efficient operation.
Keep Your KitchenAid Running Smoothly
Addressing grinding noises early ensures your KitchenAid Artisan Series mixer remains a reliable kitchen companion. Regular maintenance, cautious inspection, and timely replacement of worn parts will keep it operating at its best for years to come.
Affiliate disclosure: As an Amazon Associate we earn from qualifying purchases. Prices and availability are accurate as of the time of publishing.
NFL season / tailgating Picks
team gear
As an affiliate, we earn on qualifying purchases.