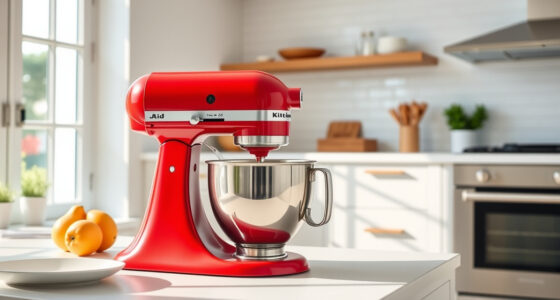

Keeping your KitchenAid Pro Line mixer clean is essential for maintaining its performance and extending its lifespan. Proper cleaning prevents buildup of food residues and ensures safe operation. This guide provides easy, practical steps to clean your mixer thoroughly and safely, with tips to avoid common pitfalls.
Before starting, gather the necessary supplies and ensure the mixer is unplugged. Follow these steps carefully to keep your appliance in top condition.
Key Takeaways
| Safety First | Always unplug the mixer before cleaning to prevent electrical hazards. |
| Disassemble Carefully | Remove attachments and detach the mixing bowl for thorough cleaning. |
| Use Appropriate Cleaners | Mild dish soap and warm water are safest; avoid harsh chemicals. |
| Clean Attachments and Bowl Regularly | Wash all removable parts after each use to prevent buildup. |
| Wipe Main Unit Gently | Use a damp cloth to clean the motor housing, avoiding excess moisture. |
Amazon Product B0GWH5HGS6
As an affiliate, we earn on qualifying purchases.
Gather Your Supplies
- Mild dish soap
- Warm water
- Soft cloths or sponges
- Cleaning brush (optional)
- Microfiber towel
Amazon Product B07GK7XKJK
As an affiliate, we earn on qualifying purchases.
Unplug and Disassemble
- Unplug the mixer from the power outlet.
- Remove all attachments, including the stainless steel flat beater, and detach the mixing bowl.
Clean Attachments and Bowl
- Wash the stainless steel flat beater and bowl with warm, soapy water.
- Use a soft brush or sponge to scrub away any stuck-on food.
- Rinse thoroughly and dry with a microfiber towel.
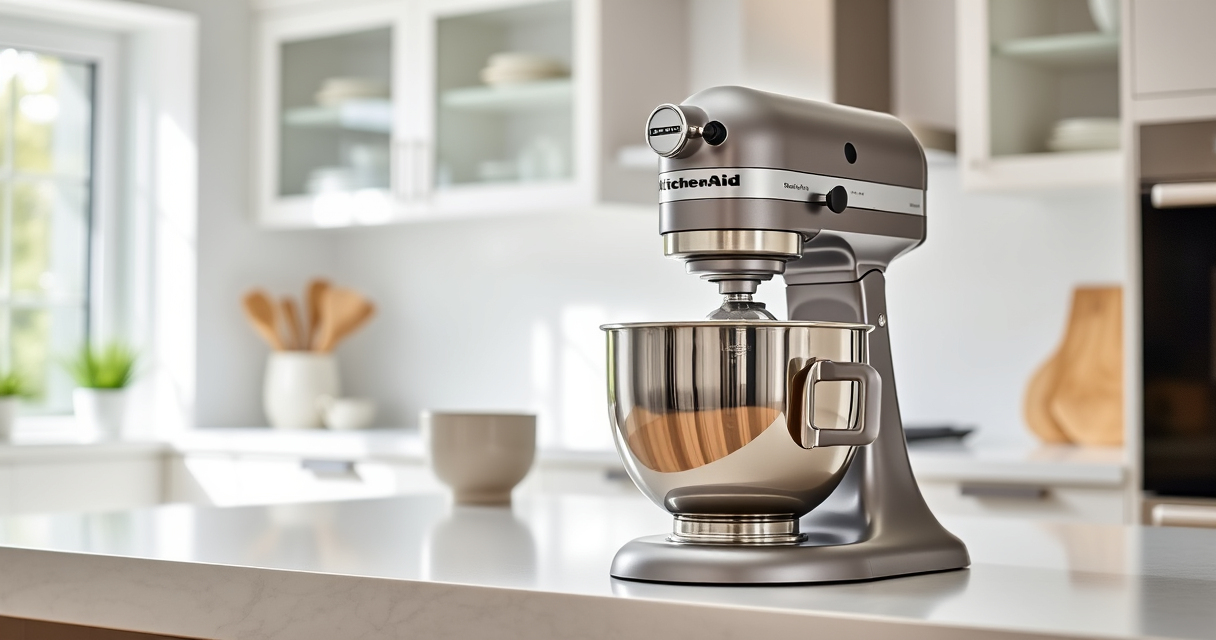
Wipe Down the Main Unit
Wipe the exterior of the mixer with a damp cloth. Do not immerse the motor housing in water. Use a dry cloth to remove any remaining moisture.
Reassemble and Store
- Ensure all parts are completely dry before reassembling.
- Attach the cleaned beater and bowl back onto the mixer.
- Store in a dry, clean area and perform regular cleanings after each use.
The Products in This Guide
Stainless Steel Flat Beater

This stainless steel flat beater is designed for 4.5-5 Qt tilt-head KitchenAid mixers, offering superior strength and resistance to bending or breaking. Its dishwasher-safe feature makes cleaning easier and safer, perfect for heavy-duty tasks like cookie dough and mashed potatoes.
Pros:
- Heavy-duty durability
- Seamless compatibility
- Dishwasher safe
- No coating or paint chipping
Cons:
- Only compatible with specific models
- Cannot clean without dishwasher or manual washing
- Limited to beater cleaning
Best for: Heavy-duty mixing tasks and frequent use
Not ideal for: For mixers outside the 4.5-5 Qt tilt-head series or light mixing needs
Bottom line: A durable, dishwasher-safe beater ideal for heavy-duty kitchen tasks.
KitchenAid Stand Mixer Attachment

This metal food grinder attachment transforms your KitchenAid mixer into a powerful kitchen tool for grinding meats, vegetables, and more. Its durable construction and included plates make it a versatile addition for homemade recipes.
Pros:
- Multi-purpose grinding
- Easy to clean
- Includes multiple plates
- Made of sturdy metal
Cons:
- Requires separate purchase
- Needs pre-chilling for best performance
- Attachment not compatible with all models
Best for: Making fresh ground meats and vegetables
Not ideal for: For light mixing or small batch grinding
Bottom line: A durable, multi-functional attachment for fresh, homemade grinding.
Frequently Asked Questions
Can I clean my KitchenAid Pro Line mixer with water directly?
No, avoid immersing the main unit in water. Use a damp cloth to clean the exterior and detach removable parts for washing.
How often should I clean my mixer?
It’s best to clean the attachments and bowl after each use, and wipe the main unit weekly or as needed to prevent buildup.
Is it safe to put the stainless steel beater in the dishwasher?
Yes, the stainless steel flat beater is dishwasher safe, making cleaning quick and easy.
What should I do if food sticks to the beater or bowl?
Use warm, soapy water and a soft brush or sponge to remove stuck-on food. Pre-soaking can help loosen residues.
Keep Your KitchenAid Pro Line Running Smoothly
Regular cleaning of your KitchenAid Pro Line mixer ensures it performs optimally and lasts longer. Follow these simple steps to keep your appliance in top shape, and consider using compatible attachments like the stainless steel flat beater or food grinder for versatile culinary creations. Proper maintenance is the key to a reliable and efficient kitchen companion.
Affiliate disclosure: As an Amazon Associate we earn from qualifying purchases. Prices and availability are accurate as of the time of publishing.