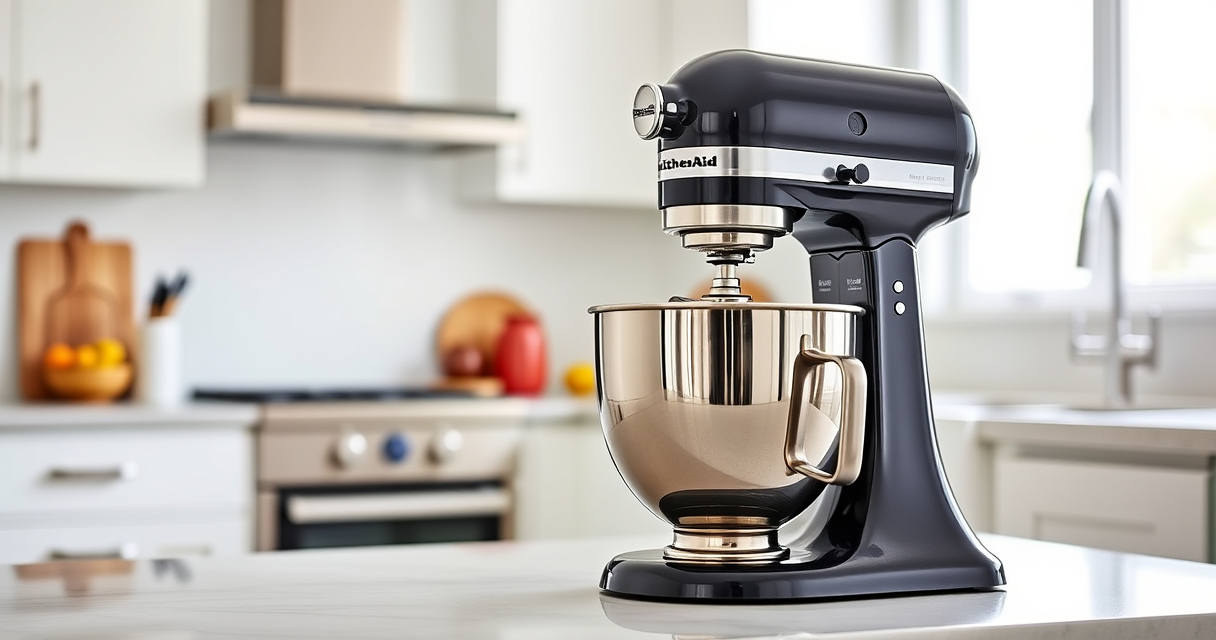

Keeping your KitchenAid Mini in pristine condition is essential for optimal performance and longevity. Proper cleaning not only maintains hygiene but also prevents build-up that can affect your mixer’s operation.
In this guide, you’ll find clear, step-by-step instructions to clean your KitchenAid Mini safely and effectively, along with helpful tips and warnings to ensure you do it right.
Key Takeaways
| Safe Disassembly | Always unplug before cleaning and disassemble removable parts carefully. |
| Use Gentle Cleaners | Avoid harsh chemicals; opt for mild soap and warm water. |
| Focus on Attachments | Clean attachments thoroughly, paying attention to crevices. |
| Dry Completely | Ensure all parts are completely dry before reassembling. |
| Regular Maintenance | Clean after each use to prevent residue buildup and ensure longevity. |
Amazon Product B0GWH5HGS6
As an affiliate, we earn on qualifying purchases.
Unplug and Disassemble
- Ensure the mixer is unplugged from the power outlet for safety.
- Remove all detachable parts, including the Stainless Steel Flat Beater, using the release lever.
Amazon Product B07GK7XKJK
As an affiliate, we earn on qualifying purchases.
Clean the Attachments
- Wash the Stainless Steel Flat Beater with warm, soapy water. Since it is dishwasher safe, you can place it in the dishwasher for thorough cleaning.
- Use a soft brush or cloth to remove any stuck-on batter or residue from crevices.
Clean the Mixer Body
Wipe the exterior of the mixer with a damp cloth. Avoid using abrasive cleaners that could damage the surface. For stubborn spots, a mild soap solution works best.
Dry All Parts and Reassemble
Thoroughly dry all components with a clean towel or air dry. Reattach the cleaned paddle and ensure everything is securely in place before plugging the mixer back in.
Tips and Warnings
- Do not submerge the mixer body in water to avoid damaging the motor.
- Never use abrasive scrubbers on the Stainless Steel Flat Beater to prevent scratches.
- Regular cleaning after each use prevents residue buildup and prolongs your mixer’s life.
The Products in This Guide

Stainless Steel Flat Beater
- ✔ Length: 7 inches
- ✔ Width: 4 inches
- ✔ Material Type: Stainless Steel

KitchenAid Stand Mixer Attachment
- ✔ Power: Uses stand mixer motor
- ✔ Capacity: Up to 3 lbs per minute
- ✔ Storage: Includes storage case
Stainless Steel Flat Beater
This stainless steel flat beater is designed for KitchenAid 4.5-5 Qt tilt-head mixers. Its durable construction resists bending and breaking, making it perfect for heavy-duty tasks like cookie dough and mashed potatoes. Dishwasher safe for easy cleaning.
Pros:
- Heavy-duty durability
- Seamless compatibility
- Dishwasher safe
- Paint-chipping free
Cons:
- Only compatible with specific models
- No other attachments included
Best for: Heavy-duty mixing tasks, frequent use
Not ideal for: For lightweight, occasional mixing needs
Bottom line: A durable, dishwasher-safe paddle ideal for heavy-duty kitchen tasks.
KitchenAid Stand Mixer Attachment
The KitchenAid Metal Food Grinder attachment connects directly to your stand mixer, transforming it into a powerful food processor. Perfect for grinding meats, vegetables, and more, with multiple plates and sausage stuffer tubes included.
Pros:
- Versatile grinding options
- Easy to clean
- Sturdy metal construction
- Includes multiple plates
Cons:
- Requires additional space
- Attachment sold separately
Best for: Homemade ground meats and ingredients
Not ideal for: For light or infrequent grinding tasks
Bottom line: A robust metal grinder attachment for fresh, homemade ingredients.
Frequently Asked Questions
Can I put the stainless steel flat beater in the dishwasher?
Yes, the Stainless Steel Flat Beater is dishwasher safe, making it easy to clean thoroughly.
How often should I clean my KitchenAid Mini?
It’s best to clean your mixer after each use to prevent residue buildup and maintain optimal performance.
What should I avoid when cleaning my mixer?
Avoid submerging the mixer body in water and using abrasive scrubbers on stainless steel parts to prevent damage.
Can I use cleaning agents other than soap and water?
It’s recommended to stick with mild soap and warm water for cleaning to avoid damaging the finish or internal components.
Maintain Your KitchenAid Mini for Long-Lasting Performance
Regular cleaning of your KitchenAid Mini, especially its attachments like the Stainless Steel Flat Beater, ensures it stays in excellent condition. Follow the safe, practical steps outlined above to keep your mixer performing at its best and enjoy countless delicious creations for years to come.
Affiliate disclosure: As an Amazon Associate we earn from qualifying purchases. Prices and availability are accurate as of the time of publishing.