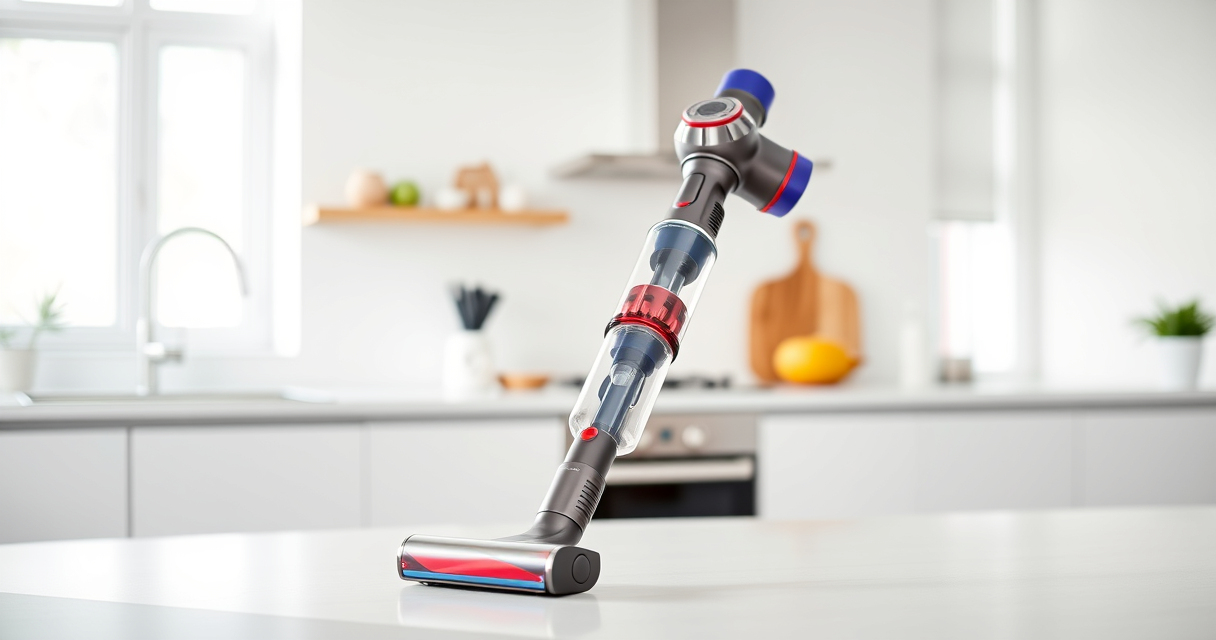
Keeping your Dyson V15 Detect™ Origin cordless vacuum in top shape ensures it performs efficiently and lasts longer. Regular maintenance not only preserves suction power but also extends the lifespan of filters and brushes. This guide provides clear, step-by-step instructions on how to clean, replace parts, troubleshoot common issues, and perform routine checks safely and effectively.

Get home appliances delivered free with Prime
- Fast, free delivery on millions of items
- Prime Video, Amazon Music and more included
- Member-only deals all year
Whether you’re a new user or a seasoned owner, understanding the proper maintenance procedures will help you get the most out of your Dyson vacuum. Let’s start with the essentials you need before diving into detailed steps.
Key Takeaways
| Regular filter cleaning boosts suction | Rinse filters every 2-3 months for peak performance. |
| Check for blockages | Clear obstructions in the wand and cleaner heads regularly. |
| Replace filters timely | Use compatible filters like the 3Pack Pre Filters for Dyson V6/V7/V8. |
| Clean brushes and cleaner heads | Remove hair and debris to prevent motor strain. |
| Troubleshoot power issues | Verify battery and filter conditions if vacuum isn’t performing. |
Cleaning the Filters
- Remove the vacuum from charging and power it off. Detach the main filter(s) from the vacuum body. For the Dyson V15 Detect™, open the filter compartment as instructed in the user manual.
- Rinse the filters under cold running water. Do not use detergents or wash in a dishwasher. Gently squeeze out excess water and allow filters to air dry completely—preferably for 24 hours—before reinserting.
- Once dry, reattach the filters securely into the vacuum. Regular cleaning every 2-3 months maintains suction efficiency and prevents odor buildup.
Tip: Use the 3Pack Pre Filters Replacement for compatible Dyson models to ensure continued filtration performance.
Replacing Filters
Over time, filters lose their effectiveness and need replacement. The Dyson V10 Filters, for example, come in a 3-pack for convenience. To replace:
- Ensure the vacuum is off and unplugged from charging.
- Detach the existing filter by twisting or pulling as per your model’s instructions.
- Insert the new filter, aligning it properly for a secure fit.
- Check that the filter is seated correctly to prevent air leaks.
- Run the vacuum for a few minutes to ensure proper operation.
Tip: Replace filters every 2-3 months depending on usage to maintain optimal performance.
Cleaning the Brush Bars and Cleaner Heads
Hair, fibers, and debris can tangle around brushes, reducing cleaning efficiency and stressing the motor. To clean:
- Remove the cleaner head from the vacuum body.
- Use scissors or a seam ripper to cut away tangled hair or fibers wrapped around the brush bar carefully.
- Wipe the brush bar and the interior of the cleaner head with a damp cloth. Ensure no debris remains that could block airflow.
- Reattach the cleaner head securely.
Tip: Regularly check and clean the brushes, especially if cleaning long hair or pet fur.
Troubleshooting Common Issues
If your Dyson vacuum isn’t performing as expected, consider these troubleshooting steps:
- Loss of suction: Check and clean filters, clear blockages in the wand or cleaner head, and ensure filters are dry and fitted correctly.
- Battery not charging: Inspect the charging port and cord. If issues persist, reset the vacuum or contact Dyson support.
- Vacuum not turning on: Confirm the power trigger is engaged, and the battery is charged. If problems continue, perform a reset or check for blockages.
Refer to the user manual for model-specific troubleshooting or contact Dyson customer service for advanced issues.
Safety Tips and Warnings
- Always power off and unplug your vacuum before maintenance.
- Allow filters and parts to dry completely before reassembling to prevent mold or damage.
- Use compatible replacement filters and parts to avoid damaging the vacuum.
- Be cautious when cleaning brushes to avoid injury from sharp edges or moving parts.
- If unsure about repairs or parts replacement, consult Dyson support or a professional technician.
The Products in This Guide

Dyson V15 Detect™ Origin Cordless Vacuum
- ✔ Battery Life: 60 minutes
- ✔ Filter Type: Advanced pre-filter
- ✔ Weight: Lightweight and maneuverable

LANMU Crevice Tool Vacuum Attachments Compatible
- ✔ Length: Extended reach
- ✔ Flexibility: High
- ✔ Material: Durable plastic
Dyson V15 Detect™ Origin Cordless Vacuum
The Dyson V15 Detect™ Origin offers powerful, intelligent cleaning with features like detecting invisible dust and adapting power based on debris. Regular maintenance is key to keeping it performing at its best, from filter rinsing to brush cleaning.
Pros:
- Powerful suction with intelligent dust detection
- Long battery life (60 minutes)
- Easy filter cleaning and replacement
- Versatile with multiple heads and attachments
Cons:
- Filters require regular cleaning and replacement
- Some parts may be challenging to access for beginners
- Higher price point
Best for: Homeowners seeking deep, efficient cleaning with minimal maintenance effort
Not ideal for: Users needing a lightweight or budget-friendly option
Bottom line: The Dyson V15 Detect™ Origin combines power, intelligence, and ease of maintenance for a superior cleaning experience.
LANMU Crevice Tool Vacuum Attachments Compatible
This LANMU crevice tool enhances your Dyson cleaning routine by reaching narrow corners, baseboards, and car interiors effortlessly. Its slim profile complements your vacuum for thorough cleaning of tight spaces.
Pros:
- Narrow nozzle for tight spots
- Compatible with multiple Dyson models
- Flexible and easy to maneuver
- Durable build
Cons:
- May require extra storage space
- Not compatible with V6 and older models
Best for: Cleaning crevices, car interiors, and corners with precision
Not ideal for: For general large-area cleaning
Bottom line: A versatile attachment that makes cleaning tight spots easier and more effective.
Frequently Asked Questions
How often should I clean the filters on my Dyson V15?
It is recommended to rinse the filters every 2-3 months to maintain optimal suction and airflow.
Can I use any filters with my Dyson V15?
Use filters designed for Dyson V15 models, such as the 3Pack Pre Filters Replacement, to ensure proper fit and performance.
What is the best way to remove tangled hair from the brushes?
Power off the vacuum, detach the cleaner head, and carefully cut away hair and fibers using scissors or a seam ripper. Clean the brush bar with a damp cloth afterward.
Why is my vacuum losing suction?
Common causes include dirty filters, blockages in the wand or cleaner head, or debris in the brush bars. Regular cleaning and filter replacement usually resolve this.
How do I troubleshoot battery issues?
Ensure the vacuum is fully charged, check the charging port, and reset the device if necessary. Contact Dyson support if problems persist.
Keep Your Dyson V15 Detect™ Performing at Its Best
Routine maintenance is essential for maintaining the powerful performance of your Dyson V15 Detect™ Origin cordless vacuum. Regular cleaning of filters, brushes, and checking for blockages will ensure your device works efficiently for years to come. Always follow safety precautions during maintenance, and don’t hesitate to replace filters or parts when needed to keep your vacuum in top shape.
By following these simple steps and tips, you can enjoy a clean home with minimal effort and maximum effectiveness from your Dyson vacuum.
Affiliate disclosure: As an Amazon Associate we earn from qualifying purchases. Prices and availability are accurate as of the time of publishing.
Fall Picks
fall essentials
As an affiliate, we earn on qualifying purchases.