
To securely mount a vise on your workbench, start by choosing the right type and size for your tasks, ensuring your workbench is stable and level. Clean and prepare the surface, then mark the mounting holes precisely. Use heavy-duty bolts and tighten them evenly to prevent wobbling. Double-check stability before use. If you keep these steps in mind, you’ll create a safe, reliable setup. Stick around to learn more expert tips for a perfect, long-lasting mount.
Key Takeaways
- Ensure the workbench is stable, level, and capable of supporting the vise’s weight and pressure.
- Mark precise mounting hole locations using measurements and a pencil before drilling.
- Clean and level the mounting surface, removing debris and rust to ensure proper adhesion.
- Use appropriate, heavy-duty bolts and tighten them evenly to secure the vise firmly.
- Regularly inspect and maintain the vise for stability, alignment, and smooth operation.

Hitch Vise Mount, Heavy-Duty Bench Grinder Stand & Trailer Hitch Vise Plate for 2-Inch Receiver, Adjustable Vise Stand for Winch Mount, Pipe Vise – Durable Hitch Accessories for Workbench & Mobile Use
Multi-Directional Mounting for Ultimate Flexibility – The insert bar is drilled on all four sides, allowing you to…
As an affiliate, we earn on qualifying purchases.
As an affiliate, we earn on qualifying purchases.
Why Securing Your Vise Is Critical for Safety and Precision
Securing your vise properly is essential because an unsecured or loosely mounted vise can easily slip or tip over during use, leading to accidents or injuries. Proper mounting enhances vise ergonomics, allowing you to work comfortably and efficiently without strain. When your vise is firmly attached, you can apply consistent pressure without worry, improving both safety and precision. Additionally, consider vise decorative options that match your workspace aesthetic; fastening it well ensures these choices stay firmly in place. A stable vise minimizes vibrations and movement, giving you better control over your workpiece. A secure mounting also helps prevent damage to your workbench and prolongs the lifespan of your vise. Proper mounting techniques are crucial for maintaining stability and safety, especially when working with heavier or more forceful tasks. Ensuring your vise is correctly installed can also help prevent costly repairs or replacements later on. Understanding how to distribute force evenly during installation is vital for work safety, ensuring your setup remains stable under pressure. Ultimately, a securely mounted vise protects you from potential hazards and helps you achieve cleaner, more accurate results every time.

Heavy Duty 12-Drawer Metal Parts Cabinet,Corrosion-Resistant Bolt Nut Organizer for Workshop Garage Office,Modular&Stackable Design, No Assembly
All-Metal Corrosion-Resistant Build:Galvannealed steel with powder-coated finish resists rust, chips & scratches, built for heavy industrial/workshop use, durable…
As an affiliate, we earn on qualifying purchases.
As an affiliate, we earn on qualifying purchases.
How to Choose the Right Vise for Your Workbench
Choosing the right vise depends on understanding the various types and their specific uses, so you get the best tool for your projects. Consider the size and mounting style that fits your workbench setup, guaranteeing stability and ease of use. Don’t forget to prioritize material durability and quality to ensure your vise lasts through demanding tasks.
Vise Types and Uses
Selecting the right vise depends on understanding the different types available and how each one suits specific tasks. Clamps like bench vises, which are mounted directly to your workbench, provide stability for general woodworking and light metalwork. Pipe vises excel in holding round objects, while specialty vises, such as rotary or precision vises, suit detailed work. Consider Vise ergonomics to guarantee comfortable use during extended periods, reducing fatigue. Proper safety tips and the right tools can make your DIY projects safer and more successful. Additionally, understanding ergonomics and user comfort can help prevent strain and improve your overall work experience. Incorporating appropriate tools can further enhance your efficiency and safety when working with vises, especially when considering the types of vises that best suit your tasks. Recognizing how connected equipment can improve control and precision might also influence your choice of vise, particularly for detailed or delicate projects.
Size and Mounting Style
The size and mounting style of a vise directly impact how well it fits your workbench and your projects. You need to weigh vise ergonomics, ensuring it’s comfortable to operate without strain. A larger vise provides more clamping force and stability, ideal for bigger projects, but may feel cumbersome if your workspace is small. Conversely, a smaller vise is more portable but might lack the grip for tougher tasks. Mounting style also matters; a front-mount vise is versatile and easy to access, while a face-mounted or end-mounted vise offers different advantages depending on your workflow. Additionally, aesthetic considerations come into play—you’ll want a vise that complements your workbench’s look, creating a cohesive and functional workspace.
Material Durability and Quality
Since your vise will endure repeated use and force, prioritizing material durability and quality is essential to guarantee it withstands the demands of your projects. When considering material selection, look for high-quality cast iron or steel, as these materials offer superior strength and resilience. Durability factors include resistance to wear, impact, and deformation, which ensure your vise remains reliable over time. Cheaper materials may save money initially but often lack the toughness needed for heavy-duty work. Opt for a vise with solid construction and reinforced components to prevent breakage or loosening. Additionally, choosing a vise with proper flushing mechanisms can help maintain its functionality and prevent issues caused by debris or corrosion. Incorporating sound healing science principles, such as using vibration-dampening features, can further prolong the lifespan of your vise by reducing stress from repetitive impacts. Investing in materials with proven material durability guarantees safety, efficiency, and longevity, making it a worthwhile choice for your workbench setup.

POWERTEC Portable Small Workbench with Vise, Imprinted Ruler and Protractor Scale, Folding Sawhorse/Worktable and 4 Bench Dogs for Woodworking Projects (MT4006V)
INCLUDES: (1) Portable Bench Tool Stand with Bamboo Table Top, and (4) Bench Dogs
As an affiliate, we earn on qualifying purchases.
As an affiliate, we earn on qualifying purchases.
How to Prepare Your Workbench for Vise Mounting
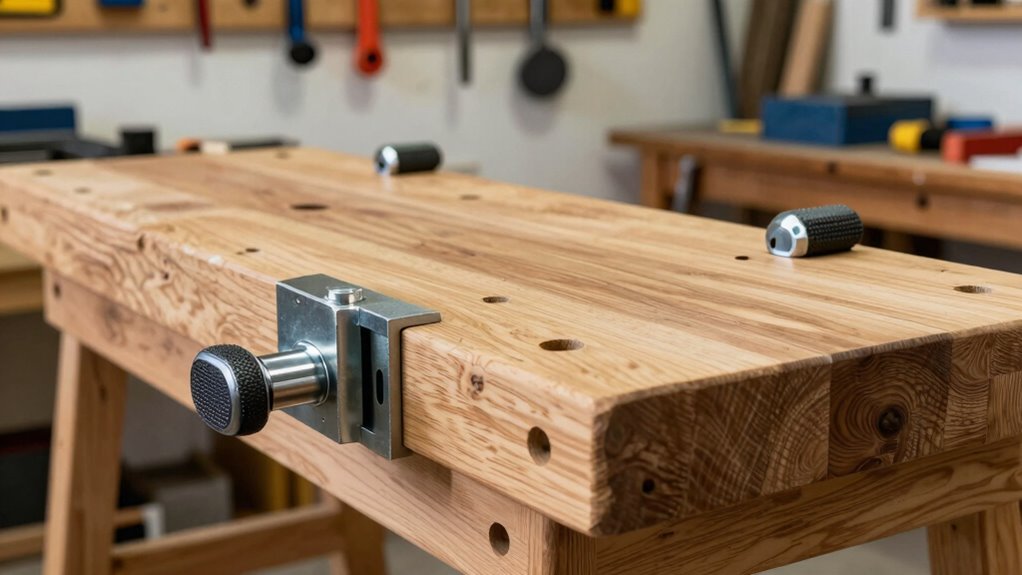
Before you start mounting your vise, it’s essential to prepare your workbench properly. First, verify your workbench is stable and level to prevent shifting during use. Clear the surface of any clutter, tools, or debris to improve workbench organization, making it easier to measure and mark accurately. Next, inspect the area where you’ll attach the vise; it should be free of rust or dirt. Applying a thin layer of vise lubrication on the mounting surface helps prevent corrosion and ensures smooth operation later. Additionally, consider filter sizing/flow to ensure your workspace remains clean and free of dust or debris that could interfere with your project. Mark the exact position for the vise, using a pencil for precision. Double-check measurements before drilling or attaching to avoid misalignment. Proper preparation creates a secure foundation, ensuring your vise remains stable and functions efficiently. Incorporating natural light into your workspace can also improve visibility and reduce eye strain during detailed tasks.

Table Vise or Bench Vise 3.2 Inch, 360° Swivel Clamp-On Vise Portable Home Vice with Large Anvil for Woodworking, Cutting Conduit, Drilling, Metalworking
Universal Vise: Maximum opening of jaw is up to 2.79'', jaw width 3.2''. Base clamping range increased to…
As an affiliate, we earn on qualifying purchases.
As an affiliate, we earn on qualifying purchases.
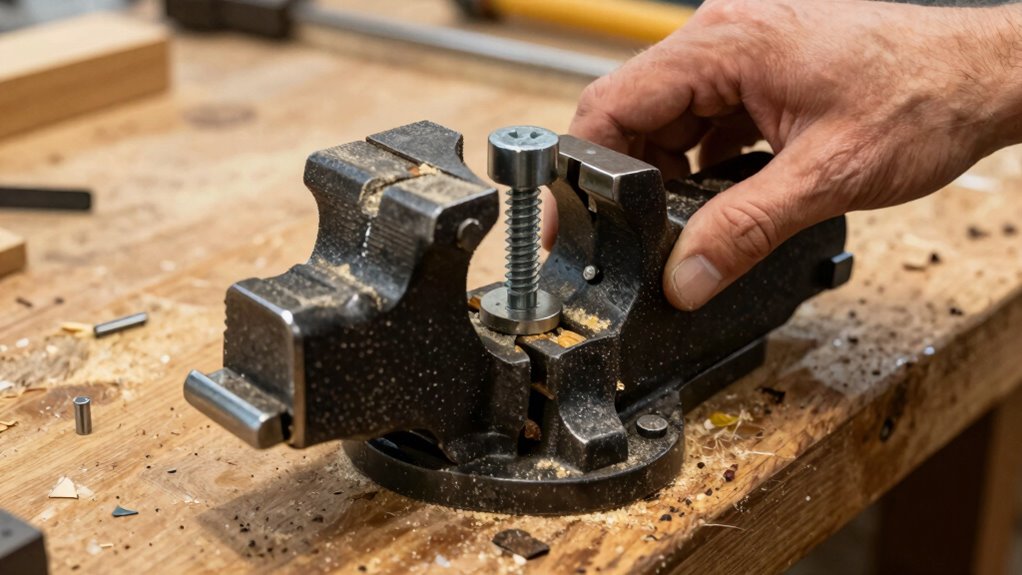
How to Mount Your Vise Step-by-Step
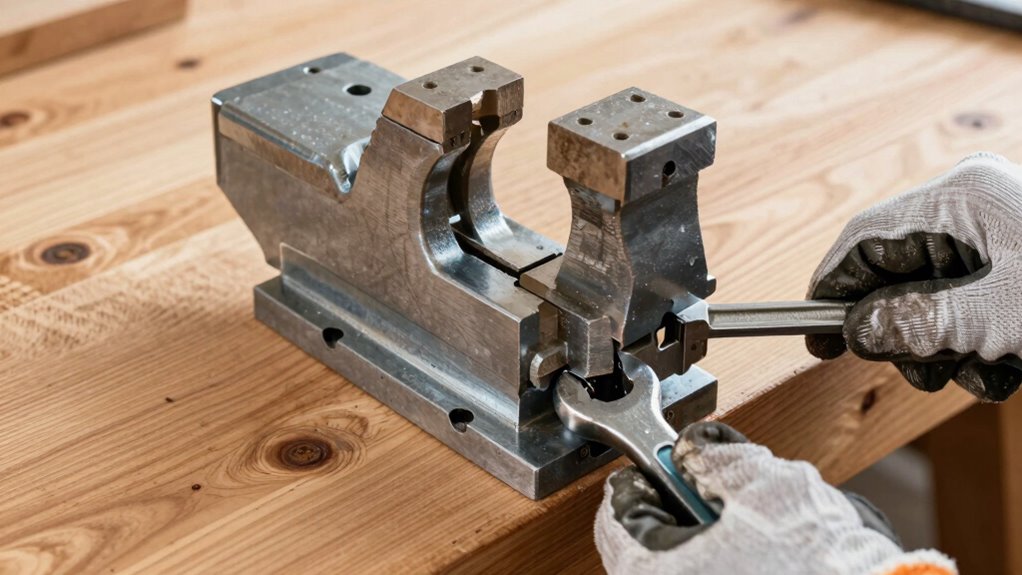
To mount your vise, start by preparing the workbench surface to guarantee a stable foundation. Next, position the vise correctly and secure it tightly using bolts or clamps. Make sure the vise is aligned properly so it functions smoothly and stays securely in place. Ensuring the use of the right mounting hardware is essential for safety and durability, especially when working with professional-grade tools and accessories. A properly mounted vise can also contribute to workplace safety, reducing the risk of accidents during use. Taking the time to consider ergonomics and layout can help you work more comfortably and efficiently while using your vise. Additionally, paying attention to proper mounting techniques can help extend the lifespan of your vise and improve overall work quality. Properly understanding load distribution is also crucial to prevent damage and ensure stability during heavy-duty tasks.
Preparing the Workbench Surface
Have you checked your workbench surface for flatness and stability? A smooth, level work surface is essential for a secure vise mount. If your work surface isn’t flat, you may need to sand or shim the area to guarantee stability. Material prep involves cleaning the surface thoroughly, removing dust, debris, and any old paint or finish that could interfere with drilling or mounting. Use a straightedge or level to verify flatness, and make adjustments as needed. Make certain the work surface can support the weight and pressure of the vise during use. Proper preparation prevents wobbling or shifting, which can compromise safety and accuracy when working. Taking these steps helps create a solid foundation for a reliable, long-lasting vise installation.
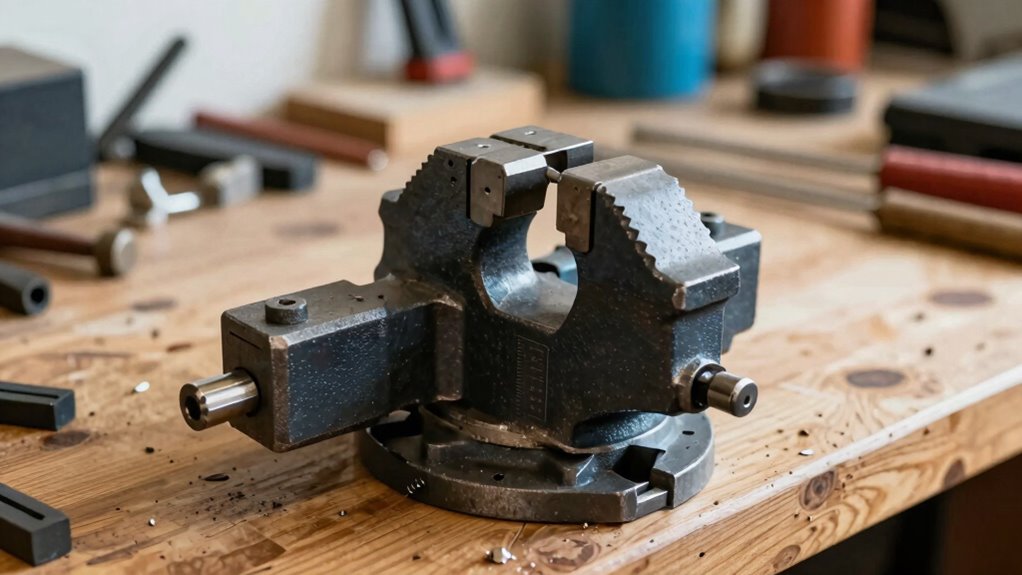
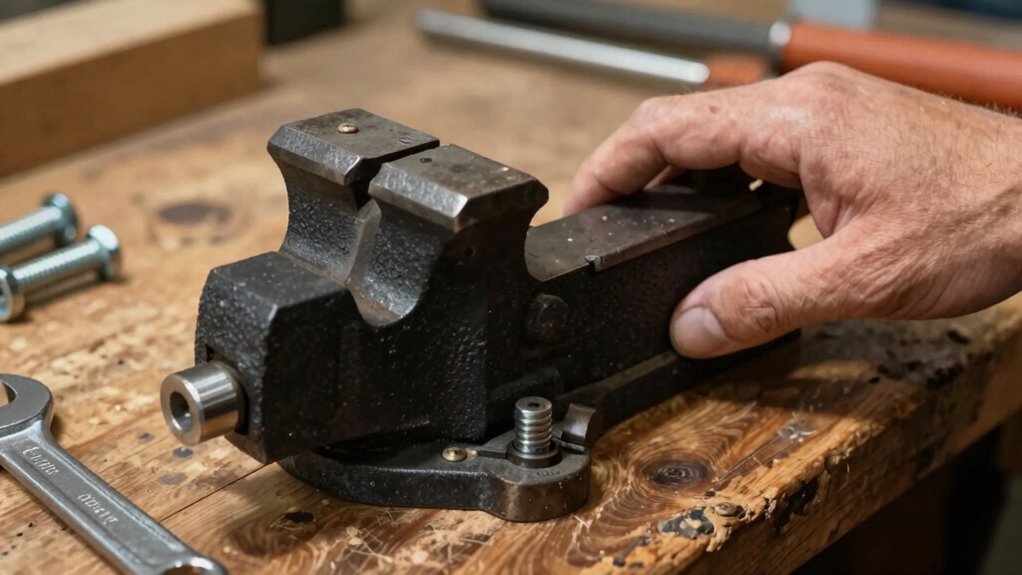
Securing the Vise Properly
Wondering how to guarantee your vise stays firmly in place? Start by marking the mounting holes accurately, ensuring the vise’s aesthetics align with your workbench’s style. Secure it with heavy-duty bolts, tightening them evenly to prevent wobbling. Properly securing the vise involves checking its stability after tightening—there should be no movement. Understanding the historical evolution of vises shows how design improvements focus on durability and strength, which helps in choosing the right mounting method. A well-secured vise not only enhances safety but also improves your workflow. Remember, a securely mounted vise remains stable during heavy-duty tasks, making your work more efficient and precise. Proper securing is the key to a reliable, long-lasting tool setup. Additionally, utilizing fire pits or outdoor heating can extend your workspace into the backyard for comfortable working conditions.
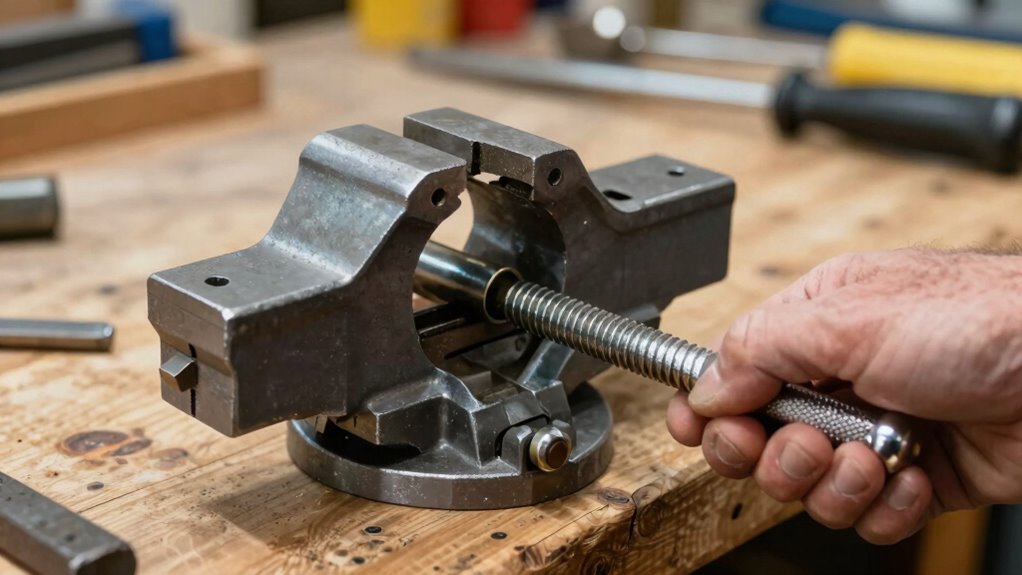
Tips for Achieving a Tight and Stable Vise Fit
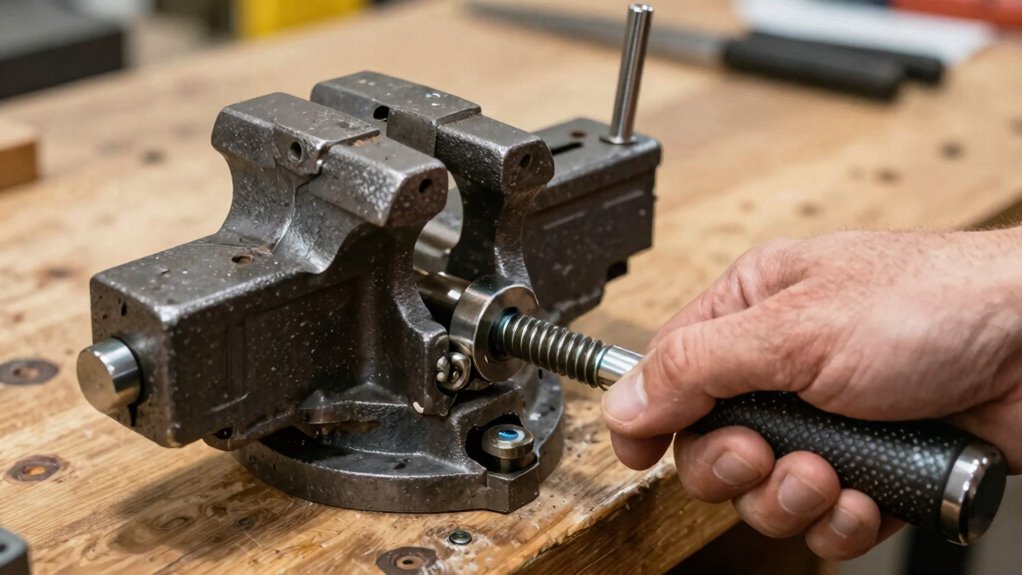
Ensuring your vise fits tightly and stays stable during use is essential for safe and effective work. To achieve this, check your vise calibration regularly; proper calibration ensures the jaws clamp securely without wobbling. Tighten mounting bolts properly, but avoid overtightening, which can cause damage. If stability remains an issue, consider alternative mounting methods, such as adding shims or using a thicker mounting plate to fill gaps. Using a level helps confirm the workbench surface is even, preventing wobble. Installing the vise on a solid, flat surface also enhances stability. Remember, a secure fit not only improves safety but also increases precision, making your work smoother and more reliable. Proper calibration and thoughtful mounting are key to a tight, stable vise fit.
Common Mistakes to Avoid When Mounting a Vise
When mounting a vise, it’s common to make mistakes that compromise stability and safety. One mistake is ignoring the importance of proper alignment, which can affect vise aesthetics and functionality. Also, avoid uneven mounting, which weakens the overall setup. A frequent error is neglecting to consider color coordination; mismatched hardware or mounting plates can look unprofessional and distract from your workspace’s look. Make sure the vise is securely fastened, with bolts tightened evenly. Proper mounting techniques are essential for a durable and safe installation. Here’s a quick overview:
| Mistake to Avoid | Impact |
|---|---|
| Poor alignment | Reduces stability and precision |
| Uneven mounting | Weakens hold and safety |
| Ignoring color coordination | Affects workspace aesthetics |
| Loose bolts | Causes instability |
| Neglecting vise aesthetics | Looks unprofessional |
Avoid these pitfalls for a safe, attractive, and sturdy mount.
How to Maintain Your Vise for Long-Term Performance
To keep your vise performing reliably over time, regular maintenance is essential. Focus on these key areas:
- Vise lubrication: Apply a light oil regularly to the screw and sliding surfaces to prevent rust and ensure smooth operation. Using the correct type of lubricant can extend the life of your vise and improve its performance during heavy use.
- Handle maintenance: Check the handle for wear or damage, and tighten or replace it as needed to maintain control.
- Clean debris: Remove sawdust and metal shavings around the jaws and moving parts to avoid jamming.
- Inspect for rust: Keep the metal surfaces dry and wipe them down with an oily cloth to prevent corrosion.
- Maintain proper cleaning routines: Regularly removing dust and debris aligns with indoor air quality principles, ensuring your tools stay in optimal condition.
Consistent upkeep ensures your vise stays in top condition, providing reliable grip and longevity for your projects.
Frequently Asked Questions
What Tools Are Needed to Mount a Vise on a Workbench?
You’ll need basic tools like a drill, a screwdriver, and a wrench to mount your vise. First, choose your vise type—bench or swivel—and gather the appropriate mounting hardware, such as bolts and nuts. Use the drill to make holes in your workbench, then secure the vise with the hardware. Make certain everything’s tight and properly aligned, so your vise stays sturdy during use.
Can I Mount a Vise on Any Type of Workbench?
Imagine your workbench as a sturdy stage, ready for the main act. You can mount a vise on most workbenches, but the type of vise and mounting method matter. For example, a woodworking vise fits well on solid wood or thick metal benches. If your workbench isn’t ideal, consider alternative mounting options like clamp-on vises or bench clamps. Always guarantee your workbench can support the vise’s weight and force.
How Do I Prevent Wood Splitting When Drilling Mounting Holes?
To prevent wood splitting when drilling mounting holes, you should start by choosing a sharp, appropriately-sized drill bit. Before drilling, mark your holes carefully and consider drilling a small pilot hole first. Apply steady pressure and avoid forcing the drill. Also, place a scrap piece of wood underneath to support the work surface, which helps minimize wood splitting and guarantees cleaner holes.
What Is the Optimal Location on the Workbench for Mounting a Vise?
Think of your workbench as a stage, and the vise as the star performer. For ideal vise positioning, mount it on the edge or corner of your workbench for easy access and leverage. Make sure the location aligns with your workbench compatibility, avoiding weak spots or areas with structural issues. By placing it where you can work comfortably and securely, you’ll turn your bench into a true workshop powerhouse.
How Do I Replace or Upgrade My Vise After Installation?
To replace or upgrade your vise, first remove the mounting bolts carefully, then detach the old vise from your workbench. For installation, verify the new vise aligns properly, and securely tighten the bolts. Regular Vise maintenance, like cleaning and lubricating moving parts, keeps it in top shape. If needed, perform Vise calibration to maintain clamping accuracy. Always double-check the stability before using your upgraded vise for safe, efficient work.
Conclusion
Remember, a well-mounted vise is the backbone of safe and accurate work. Take your time with each step, double-check your setup, and don’t rush the process. As the saying goes, “A stitch in time saves nine,” so investing effort now guarantees smooth, trouble-free projects later. With patience and attention to detail, you’ll enjoy a sturdy, reliable vise that makes every task easier and safer. Happy woodworking!