If your garage door safety sensor keeps acting up, it’s often due to misalignment, dirt, or obstructions blocking the sensor’s line of sight. Wiring issues or damaged lenses can also cause communication problems. Regular cleaning, checking the alignment, and inspecting wiring can fix most issues. If problems persist, you might need to replace the sensors. Keep exploring to uncover more tips on troubleshooting and maintaining your garage door sensors effectively.
Key Takeaways
- Misalignment or improper installation of sensors prevents proper communication, causing false triggers or sensor failure.
- Dirt, dust, webs, or debris on sensor lenses obstruct signals and lead to malfunction.
- Wiring issues like loose, frayed, or damaged connections disrupt sensor operation.
- Environmental factors such as storm debris or bright lights can interfere with sensor signals.
- Outdated or damaged sensors may require replacement if cleaning and realignment don’t resolve issues.

41A5034 Safety Sensor Kit, Replacement for Craftsman/Chamberlain/Liftmaster Garage Door Sensor, Compatible with Liftmaster/Chamberlain/Craftsman Garage Door openers Made After 1997
Universal Compatibility: Replacement for craftsman/Chamberlain/Liftmaster garage door sensor, Compatible with all garage door openers manufactured by Liftmaster/Sears/Chamberlain/Craftsman after…
As an affiliate, we earn on qualifying purchases.
As an affiliate, we earn on qualifying purchases.
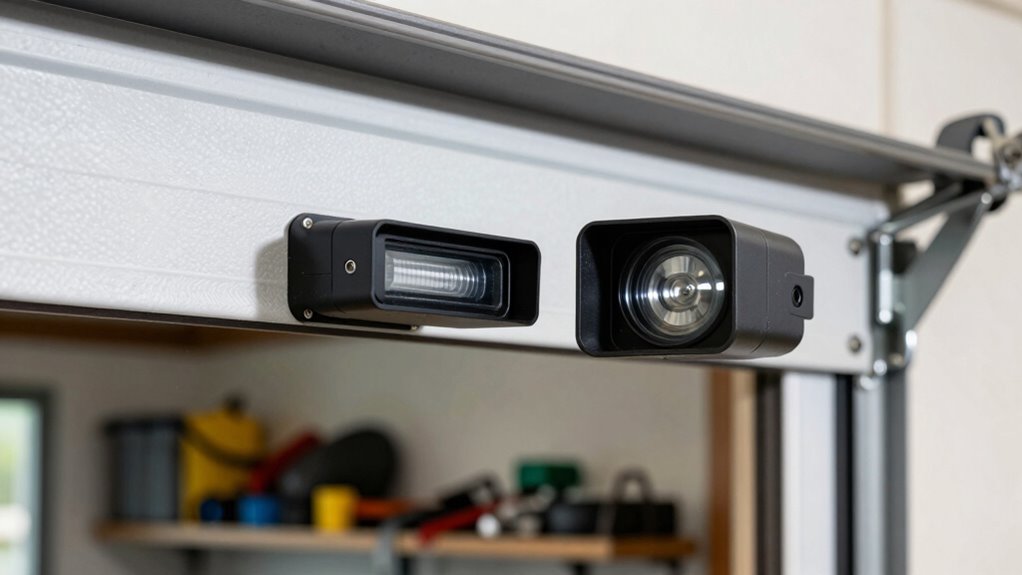
Common Causes of Garage Door Sensor Malfunctions
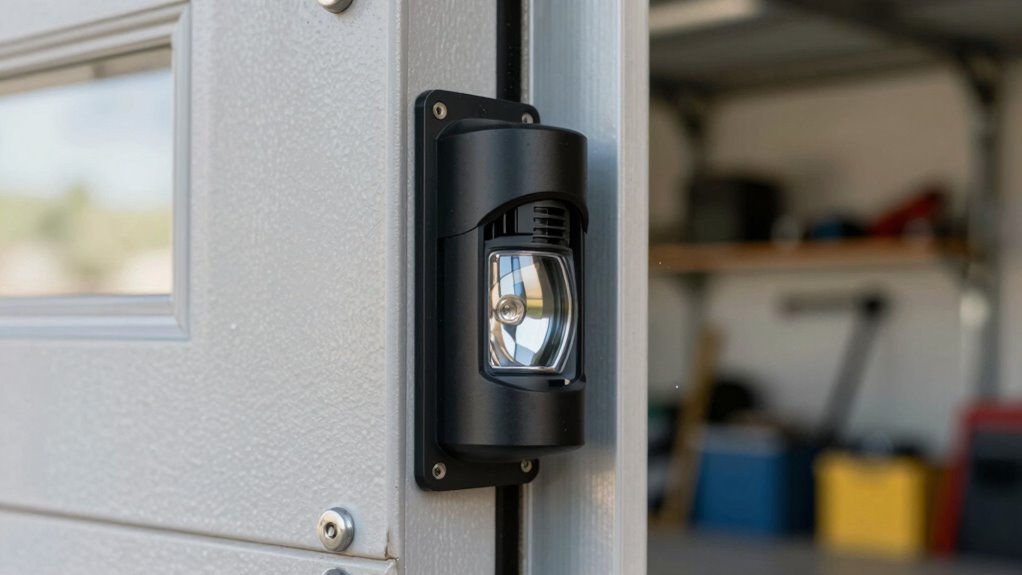
One of the most common reasons garage door sensors stop working is misalignment. When sensors aren’t properly aligned, they can’t communicate effectively, causing the safety system to malfunction. Ensuring the sensor installation height is correct is essential; if they’re too high or too low, the sensors won’t detect each other properly. Additionally, damaged or dirty sensor lenses can interfere with their operation, so keep them clean and free of debris. Proper calibration and understanding of sensor technology can help in diagnosing and fixing sensor issues. Regularly check sensor alignment and cleanliness to prevent malfunctions and keep your garage door functioning smoothly. Just as Polynesian symbols often represent resilience and strength, maintaining your sensors ensures the robustness of your garage door’s safety system. The same principles of electric power generation with bike generators highlight the importance of consistent maintenance to ensure optimal performance and safety. Incorporating mind-body healing techniques can also reduce stress and improve your focus when troubleshooting technical issues.

Upgrade Genie Garage Door Safety Sensor Replacement Kit, Garage Door Safety Sensor Compatible with GSTB-R & STB-BL Models 1993+, Sending & Receiving Sensors
Garage Door Safety Sensor For Genie GSTB-R & STB-BL Garage Door Sensor – Universal Compatibility This replacement sensor…
As an affiliate, we earn on qualifying purchases.
As an affiliate, we earn on qualifying purchases.
How to Troubleshoot Your Garage Door Safety Sensor
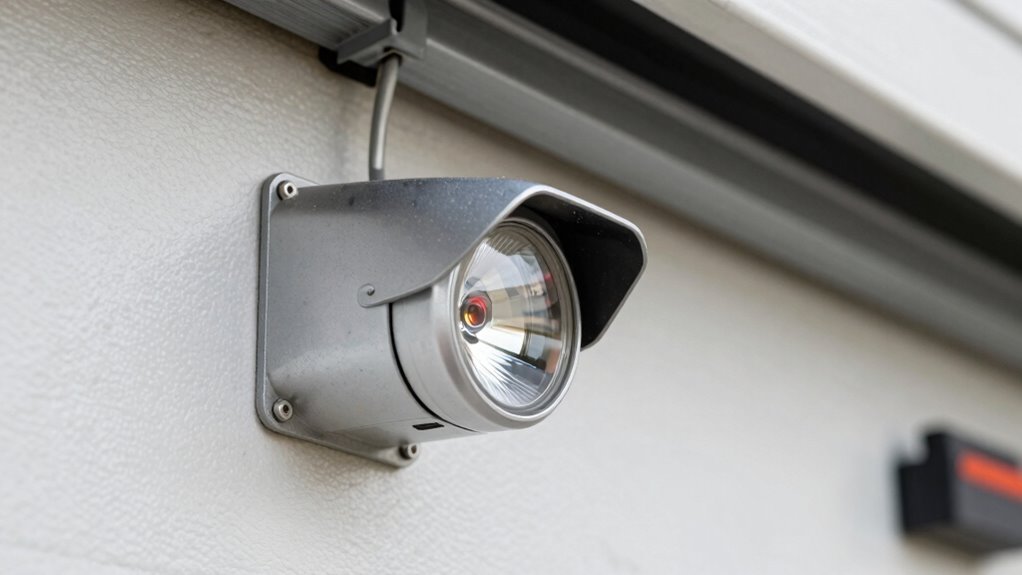
Are your garage door safety sensors not working as they should? Start troubleshooting by checking for proper alignment and clean sensor lenses. Use sensor installation techniques to guarantee they face each other directly and are free of obstructions. Test the sensors by closing the door and waving an object in front of them; if the door doesn’t stop, it’s time to inspect connections or replace faulty sensors. Adjust the sensors if they’re misaligned, and clean the lenses with a soft cloth. If issues persist, check the wiring for damage. Additionally, understanding sensor alignment techniques can help prevent future issues. Regularly inspecting sensor calibration can also ensure optimal performance and reduce the likelihood of malfunctions. Performing proper installation procedures can further improve the longevity and reliability of your sensors. Remember that shipwreck preservation techniques can sometimes be applied to delicate sensor components to avoid damage during maintenance. Being aware of spirituality insights can also foster patience and a calm approach during troubleshooting.
CHAMBERLAIN Smart Garage Control – Wireless Garage Hub and Sensor with Wifi & Bluetooth – Smartphone Controlled, myQ-G0401-ES, White
“Did I shut the garage” No more worrying.
As an affiliate, we earn on qualifying purchases.
As an affiliate, we earn on qualifying purchases.
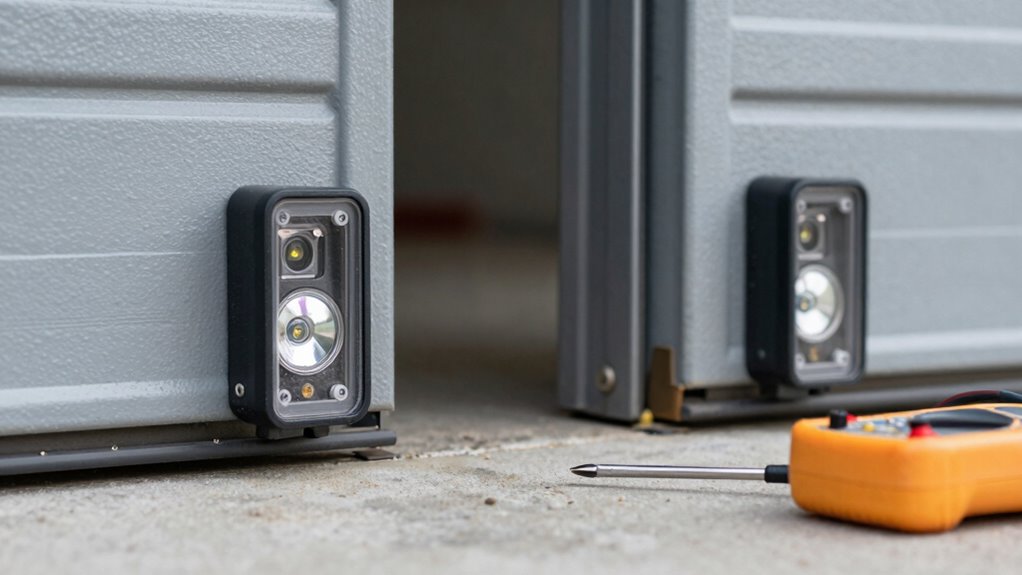
How Dirt and Obstructions Affect Sensor Performance
Even if your sensors are properly aligned and clean, dirt and obstructions can still cause performance issues. Dirt build-up or objects blocking the sensor’s line of sight can interfere with signal transmission, leading to false readings or sensor failure. These obstructions may also affect sensor calibration, making it harder for the system to accurately detect when the door is clear. Environmental interference, like dust, spider webs, or even debris from nearby trees, can further disrupt sensor function. To keep your sensors working smoothly, regularly remove dirt and obstructions and check for potential environmental interference. Be especially vigilant after storms or high winds, which can introduce new debris or disturb sensor alignment. Ensuring your safety sensors are properly maintained helps promote safer and more reliable operation. Proper maintenance guarantees your safety sensors operate reliably and avoid unexpected garage door issues. Additionally, understanding how borderline personality disorder relates to mental health can help in recognizing the importance of sensor maintenance and safety measures in various systems.

100 Feet 22 AWG 2-Pin Garage Door Opener Wire, Universal Garage Door Wire for Sensors, Control Station and doorbell Wiring
Universal Garage Door Wire:100 FT 22 AWG 2-conductor universal garage door wire, perfect as a garage door opener…
As an affiliate, we earn on qualifying purchases.
As an affiliate, we earn on qualifying purchases.
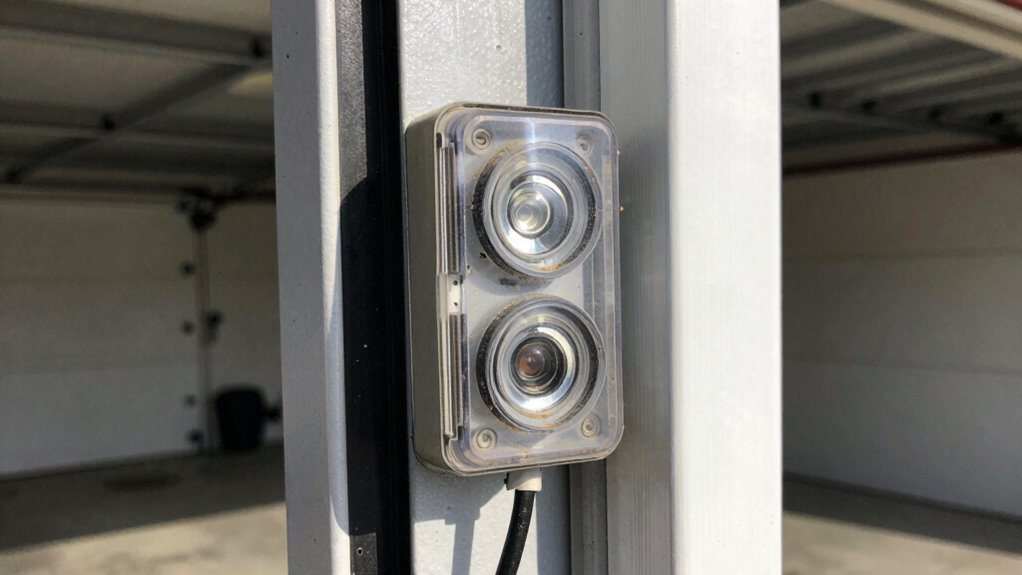
Electrical Wiring Issues Causing Sensor Failures
Electrical wiring issues are a common cause of garage door sensor failures, often resulting from loose connections, frayed wires, or damaged circuits. These problems can disrupt the sensor’s ability to communicate properly with the opener. These issues can also be exacerbated by improper wiring installation practices, which can lead to persistent malfunctions. Wireless interference from nearby electronic devices can also interfere with sensor signals, causing false triggers or failures. Additionally, power surges may damage the wiring or sensor components, leading to malfunctions. Regularly inspect the wiring for signs of wear or damage, especially around connections and circuit boards. Traditional techniques for wiring installation and maintenance can help prevent many common issues. Make sure wires are securely connected and protected from environmental factors. Proper wiring installation practices are essential for ensuring reliable operation and minimizing interference. Using proper wiring techniques can further reduce the risk of malfunctions and extend the lifespan of your system. If you notice persistent issues, consider consulting a professional to check for wiring problems, interference sources, or damage caused by power surges. Proper wiring maintenance guarantees reliable sensor operation. For reliable operation, it’s also helpful to review product roundups and ensure you are using high-quality sensors compatible with your system.
Should You Replace Your Garage Door Sensors?
If your garage door sensors keep malfunctioning despite cleaning and realignment, it might be time to replace them. Consider the cost of new sensors versus the potential safety risks of ongoing issues. Making this decision guarantees your garage operates safely and reliably.
Sensor Malfunction Indicators
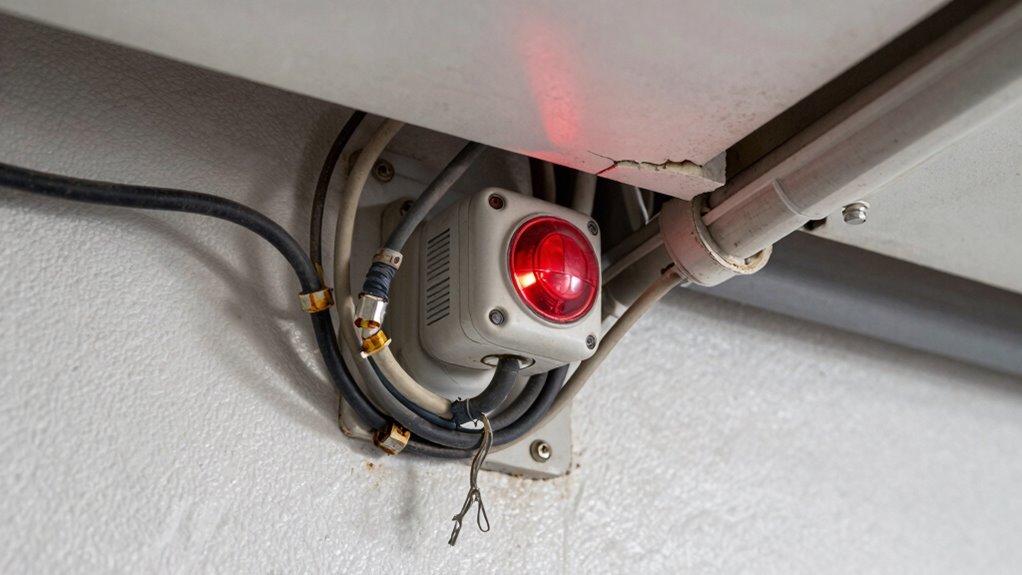
When your garage door safety sensors start acting up, it’s vital to recognize the warning signs that indicate they might need replacing. Common indicators include inconsistent door operation, persistent warning lights, or failure to respond to remote commands. These issues often stem from sensor misalignment, signal interference, or faulty calibration. If you notice the sensors’ lights flickering or blinking unexpectedly, it could mean they need recalibration or replacement. Signal interference from nearby electronic devices can disrupt the sensor’s communication, causing malfunctions. Keep an eye out for these signs:
- Inconsistent door movement
- Persistent sensor warning lights
- Intermittent or no response to remote control
- Proper sensor placement is crucial for reliable operation. Understanding sensor alignment can help prevent many common issues. Additionally, electronic interference from other devices can significantly impact sensor performance. Addressing these issues promptly can prevent further damage and ensure your garage door operates safely.
Cost of Replacement
Replacing garage door sensors can be a straightforward fix if they’re no longer functioning properly. The cost of replacement varies depending on whether you opt for new sensors or professional sensor installation. Basic sensors usually range from $50 to $100 for parts. If you choose professional help, labor costs could add another $50 to $150. Keep in mind that sometimes, sensor calibration can fix alignment issues without replacing the units. Calibration involves adjusting the sensors to ensure they’re properly aligned and working together. Proper calibration can often resolve sensor misalignment issues and extend the lifespan of your current sensors. Additionally, body jewelry measurements and materials can influence the durability of replacement sensors, so selecting high-quality parts is crucial. If your sensors are damaged or consistently misaligned after calibration, replacement might be the best choice. Ultimately, weighing the cost of sensor installation versus ongoing repair hassles will help you decide if substituting your garage door safety sensors is the right move. Additionally, researching companies thoroughly and verifying their credentials can help prevent potential scams or subpar service.
Step-by-Step Troubleshooting for Persistent Sensor Problems
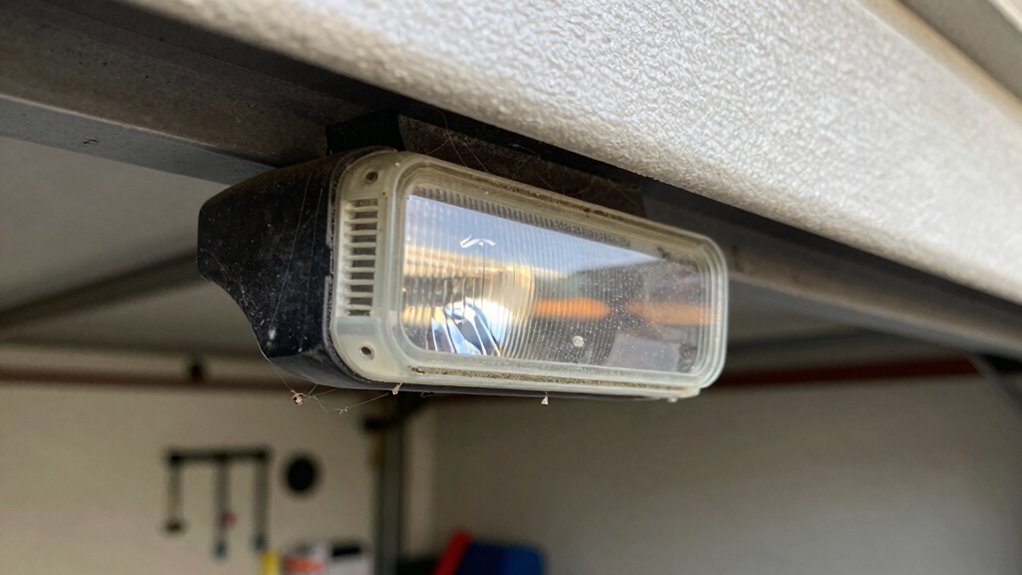
Persistent sensor issues can be frustrating, but systematic troubleshooting can often pinpoint the root cause. Start by inspecting the sensor installation to make sure it’s aligned and unobstructed. Clean the sensor lenses with a soft cloth to remove dust or debris that might interfere with signals. Next, check the sensor calibration—make sure the sensors face each other directly and are at the correct height. If the problem persists, test the wiring connections for loose or damaged wires.
Remember:
- Proper sensor alignment is essential
- Clear obstructions improve performance
- Correct calibration guarantees reliable operation
Tips to Keep Your Garage Door Sensors Working Smoothly
Keeping your garage door sensors working smoothly starts with regular cleaning to remove dirt and debris that can block signals. You also need to make sure they are properly aligned so the safety features function correctly. By maintaining these simple points, you can prevent most sensor issues before they arise.
Regular Sensor Cleaning
Have you noticed your garage door acting oddly or failing to close properly? Regular sensor cleaning is vital to keep your safety sensors functioning correctly. Dirt, dust, or spider webs can block the sensor’s view, causing misreads or false alarms. Clean the sensors gently with a soft cloth and mild detergent, avoiding harsh chemicals that could damage them.
To guarantee peak performance, consider:
- Checking and recalibrating (sensor calibration) the sensors regularly
- Upgrading to newer sensors if yours are outdated
- Ensuring the sensors are free of debris and obstructions
Keeping sensors clean not only prevents false triggers but also prolongs their lifespan. Regular maintenance helps maintain safety and prevents costly repairs or replacements down the line.
Proper Sensor Alignment
Ensuring your garage door sensors are properly aligned is key to their reliable operation. Start by checking that each sensor face is directly opposite the other, with no gaps or misalignment. Proper sensor calibration involves adjusting the brackets until the beams line up perfectly, ensuring the sensors communicate effectively. Keep an eye out for signal interference from nearby electronics or bright lights, which can disrupt the sensor’s function. If the sensors aren’t aligned correctly, the safety system may falsely detect obstructions or fail to activate, causing operational issues. Regularly inspect and realign the sensors as needed, especially after any garage door adjustments or repairs. Maintaining proper alignment minimizes false triggers and keeps your garage door functioning smoothly and safely.
Frequently Asked Questions
Can Weather Conditions Impact Garage Door Sensor Functionality?
Yes, weather conditions can impact your garage door sensor’s functionality. Extreme cold or heat can cause sensor misalignment or calibration issues. Moisture accumulation from rain or humidity may interfere with the sensor’s signals, leading to false alarms or failure to detect obstructions. To keep it working properly, regularly check and calibrate your sensors, and clear any moisture or debris that could obstruct their view.
Are There Specific Brands More Reliable for Garage Door Sensors?
Some brands are more reliable for garage door sensors because they prioritize proper sensor calibration and sensor alignment. Look for brands known for quality, like Genie or Chamberlain, which often feature easier calibration and precise alignment. Regularly check and adjust sensor calibration and sensor alignment to prevent issues. Choosing a reputable brand and maintaining proper sensor setup guarantees consistent safety sensor performance, reducing false alarms and malfunctioning.
How Often Should I Test My Garage Door Safety Sensors?
You should test your garage door safety sensors monthly—because, of course, forgetting to do it might lead to unexpected surprises. During each test, make certain the sensor alignment is perfect and clean the sensors to remove dust and debris. If the sensors aren’t aligned or are dirty, your door might not function safely or correctly. Regular testing keeps your sensors reliable and your garage secure.
What Safety Precautions Should I Take Before Troubleshooting?
Before troubleshooting, guarantee safety by disconnecting the power supply to prevent accidental activation. Check that the sensors are properly aligned; misalignment often causes issues. Keep the sensors clean and free of debris, which can block the signal. Avoid touching the sensors’ wiring or connections until you’re confident the power is off. Taking these precautions helps you safely identify problems related to sensor alignment and power supply without risk.
Can Remote Control Interference Cause Sensor Issues?
Yes, remote control interference can cause sensor issues. When nearby devices emit signals, they can disrupt the sensor’s alignment or operation, leading to false triggers or malfunctions. To prevent this, make certain your garage door sensors are properly aligned and keep remote controls away from potential interference sources. Regularly check for any electronic devices nearby that might interfere with the sensors, and eliminate or relocate them if necessary.
Conclusion
Regularly checking and cleaning your garage door sensors can substantially reduce malfunctions. Did you know that sensor issues account for nearly 60% of garage door problems? Staying proactive with simple troubleshooting and maintenance can save you time and money, ensuring your garage door operates safely and smoothly. Don’t ignore persistent issues—address them promptly to keep your home secure and your garage door functioning flawlessly.