
To seal your garage floor properly, start by thoroughly cleaning the surface to remove dirt, debris, and grease. Repair any cracks or chips and guarantee the surface is dry before applying a compatible sealer, like epoxy or acrylic, using even strokes with a roller or brush. Work in manageable sections, avoiding over-application and pooling. Proper surface prep and technique are key to a smooth, durable finish—continue exploring for detailed tips and troubleshooting advice.
Key Takeaways
- Thoroughly clean and repair the concrete surface to ensure optimal adhesion and a smooth finish.
- Select the appropriate sealer type (penetrating, acrylic, epoxy) based on your garage floor’s usage and existing surface.
- Apply the sealer evenly in manageable sections using a roller or brush, avoiding drips and pooling.
- Follow manufacturer instructions for drying times and layering to prevent issues like peeling or cloudiness.
- Regularly inspect and maintain the sealed floor, reapplying sealant as needed to preserve protection and appearance.

Rust-Oleum 320202 Concrete & Garage Clear Finish Topcoat, Gallon, Gloss Clear
Great for garages, basements, patios and walkways
As an affiliate, we earn on qualifying purchases.
As an affiliate, we earn on qualifying purchases.
What Are Garage Floor Sealers and Why Are They Important?
Have you ever wondered why sealing your garage floor is so essential? Garage floor sealers protect the concrete from stains, moisture, and damage, extending its lifespan. They also improve garage floor aesthetics by providing a clean, smooth appearance. When choosing between sealing vs. coating, sealing generally offers a more straightforward, protective layer without altering the surface’s look dramatically. Sealers penetrate the concrete, creating a barrier that resists spills, dirt, and wear. This prevents cracks and pitting over time. Additionally, using environmentally friendly sustainable textile care practices can reduce the impact of manufacturing and maintenance processes on the environment. Unlike coatings, which add a visible top layer, sealers preserve the natural look of your garage floor while enhancing durability. Proper sealing helps maintain your garage’s cleanliness and structural integrity, making it a smart investment for both appearance and long-term protection. Additionally, selecting the right sealer can help prevent issues like moisture infiltration, which is critical for maintaining the concrete’s integrity over years of use. Implementing proper sealing techniques can also prevent cracks by minimizing the stress and strain on the concrete surface, ensuring your garage floor remains durable and in good condition for years to come. Moreover, understanding the concrete sealing process can help you choose the most effective products and methods for your specific needs.

Complete Self Leveling Cement Tool Kit, Professional Epoxy Floor Kit Tools with Spiked Roller with Splash Guard, Spike Shoes, Paint Roller, Trowel, Scraper & Extension Pole
【Complete Self-Leveling Tool Kit】A one-stop self-leveling tool set includes spiked rollers, paint rollers, spike shoes, stainless steel scraper,…
As an affiliate, we earn on qualifying purchases.
As an affiliate, we earn on qualifying purchases.
How to Choose the Best Garage Floor Sealer for Your Needs

When choosing a garage floor sealer, you need to take into account if it’s compatible with your floor type to ensure proper adhesion. Durability and wear resistance are also key, especially if your garage sees heavy foot or vehicle traffic. By focusing on these points, you’ll select a sealer that protects your floor effectively and lasts over time. Additionally, understanding different content formats can help you find the most effective sealing products suited for your specific needs. Incorporating the right testing accuracy methods can also ensure that your application is evenly spread and effective. Being aware of your floor material can further improve your sealing results and long-term performance. To enhance your sealing process, considering regional flavor influences can provide insights into suitable products and techniques for various environments. Knowing about storage and backup options can help you safeguard any important data related to your home improvement projects.
Compatibility With Floor Type
Choosing the right sealer depends heavily on your garage floor’s material, as not all sealers work well with every surface. If your floor has a coat of floor paint or an epoxy coating, you’ll want a sealer compatible with those finishes. Some sealers might cause peeling or cloudiness on painted or epoxy surfaces, so check manufacturer recommendations. For concrete floors without additional coatings, penetrating sealers work well to protect against stains and moisture. If you plan to add a new layer of floor paint later, verify the sealer won’t interfere with adhesion. Epoxy coatings often require specific sealers that won’t compromise their chemical bonds. Matching the sealer to your floor type guarantees better adhesion, protection, and a professional-looking finish. Additionally, understanding floor surface compatibility is essential to ensure the longevity and effectiveness of your sealing project. Always consider sealant compatibility with existing finishes to prevent potential damage or adhesion issues. Being aware of material-specific sealers can help you select options designed for your particular surface, enhancing durability and appearance.
Durability and Wear Resistance
Selecting a sealer that can withstand the daily wear and tear of your garage is essential for long-term protection. Different sealant types offer varying levels of durability and wear resistance, so choose one suited for heavy use. Epoxy sealers, for example, provide excellent hardness and chemical resistance, making them ideal for high-traffic areas. Acrylic sealers are more affordable and easier to apply but may wear faster under constant use. To guarantee durability, use proper application tools like rollers or brushes designed for concrete sealers, which help achieve an even coat and proper adhesion. Proper surface prep and following manufacturer instructions will maximize the wear resistance of your chosen sealant, extending the lifespan of your garage floor. Additionally, understanding weatherproof tool storage options can help protect your sealing tools from damage and maintain their effectiveness over time. Incorporating innovative art techniques can also inspire creative ways to enhance your garage’s appearance and durability.

1 Gallon Concrete Sealer, Penetrating Water Sealers Spary Safe for Pets and Plants Suitable for Indoor Use, Water-Based Silane Siloxane Sealer for Outdoor, Driveways, Patios, Masonry, Garge Floor
WATER RESISTANCE: Our Zero-VOC formulated penetrating concrete sealer forms a protective barrier on the concrete surface, preventing water…
As an affiliate, we earn on qualifying purchases.
As an affiliate, we earn on qualifying purchases.
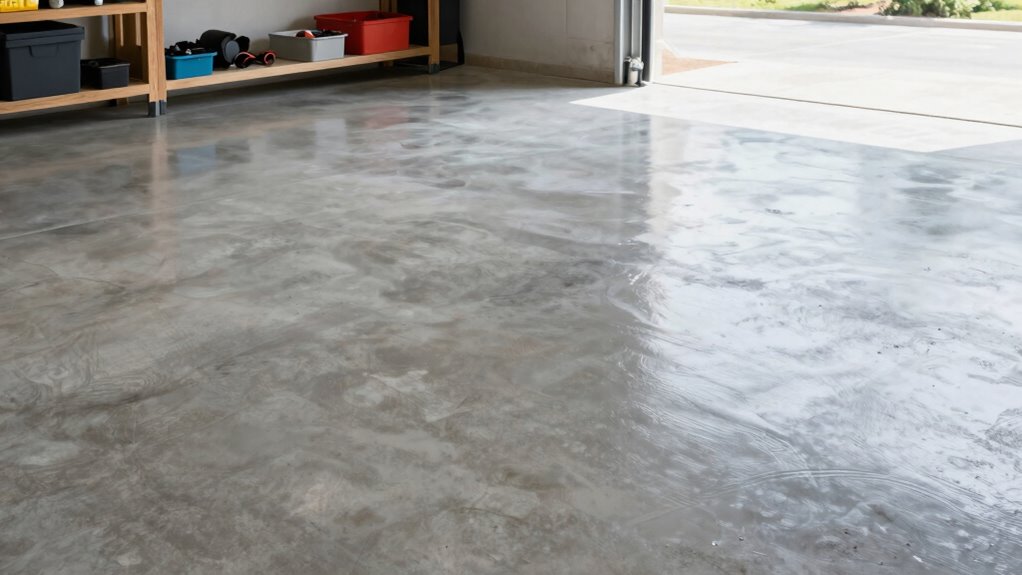
Preparing Your Garage Floor for Sealing
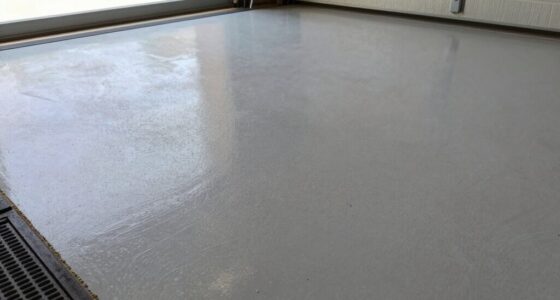
Before sealing your garage floor, you need to properly prepare the surface to guarantee a long-lasting finish. Start by cleaning thoroughly, removing dirt, grease, and oil stains that can prevent proper adhesion. Use a concrete cleaner or degreaser if necessary, then rinse and allow the floor to dry completely. This step is essential for maintaining your garage decor, ensuring a clean, attractive space. Next, inspect for cracks or chips and repair them with a concrete patch or filler. A smooth, even surface promotes better sealing results and helps with storage organization by preventing uneven floors or tripping hazards. Finally, eliminate any loose debris or dust with a broom or vacuum, ensuring the surface is spotless before applying the sealer. Proper preparation sets the foundation for a durable, professional-looking finish.

DAP Liquid Cement Crack Filler (Ready to Use), Gray, 32 Oz (7079837584)
Ready-to-use, concrete patch and repair formula is ideal for repairing horizontal cracks in interior or exterior concrete
As an affiliate, we earn on qualifying purchases.
As an affiliate, we earn on qualifying purchases.
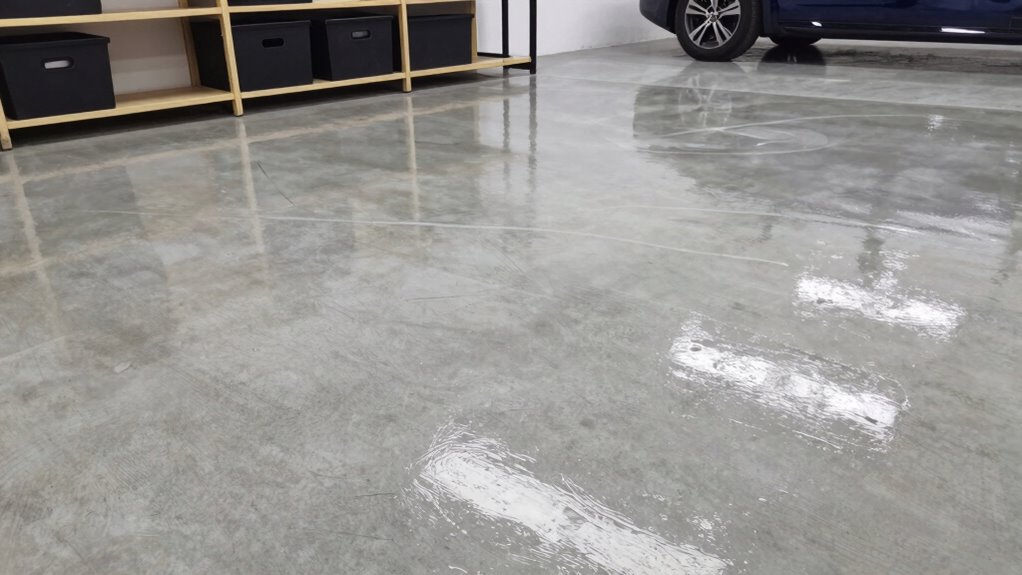
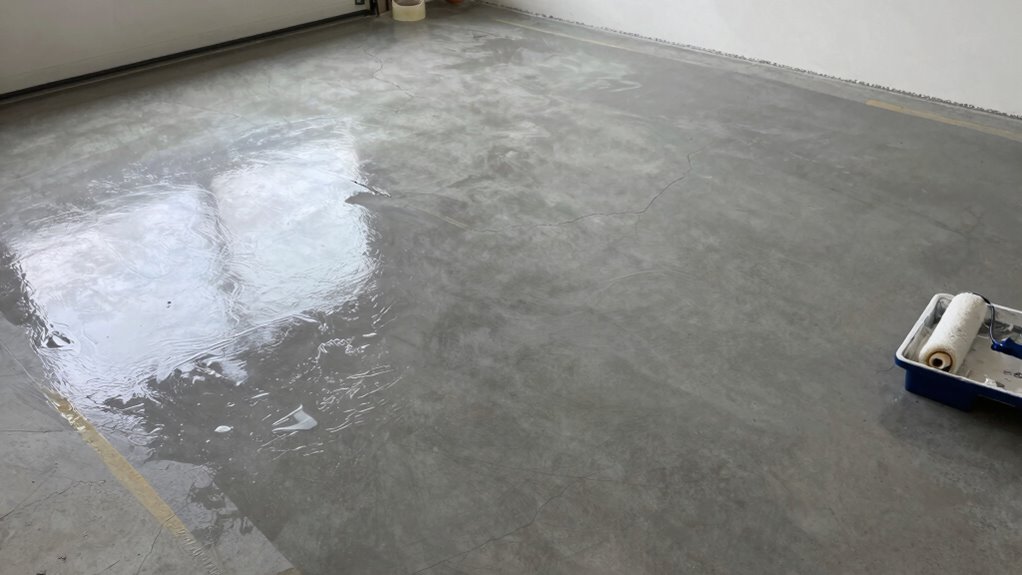
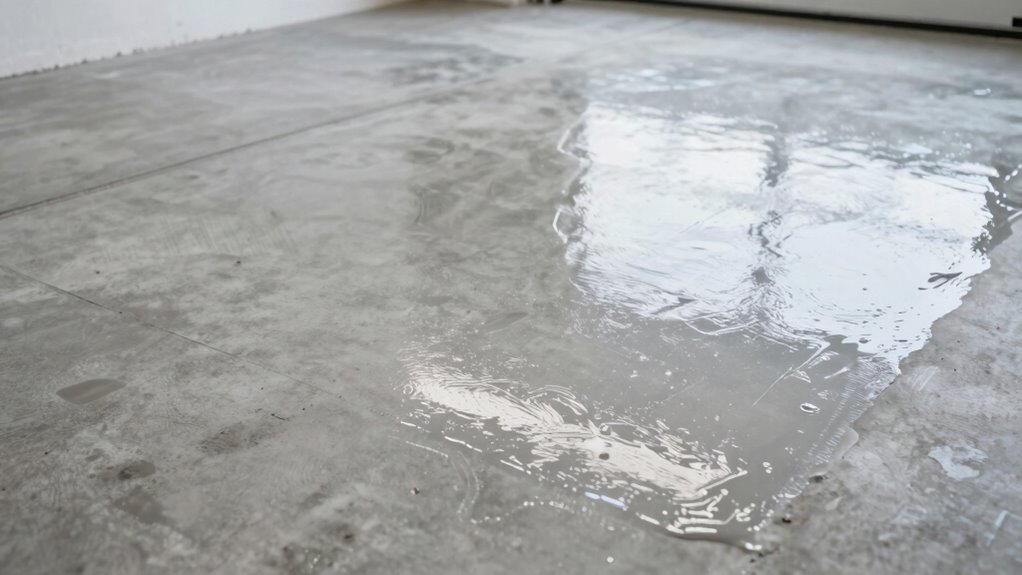
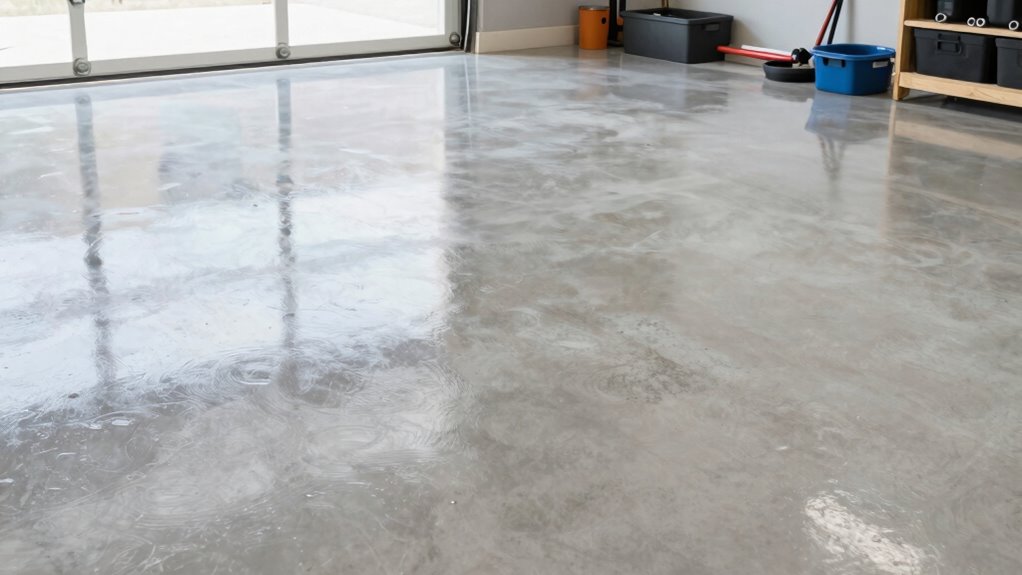
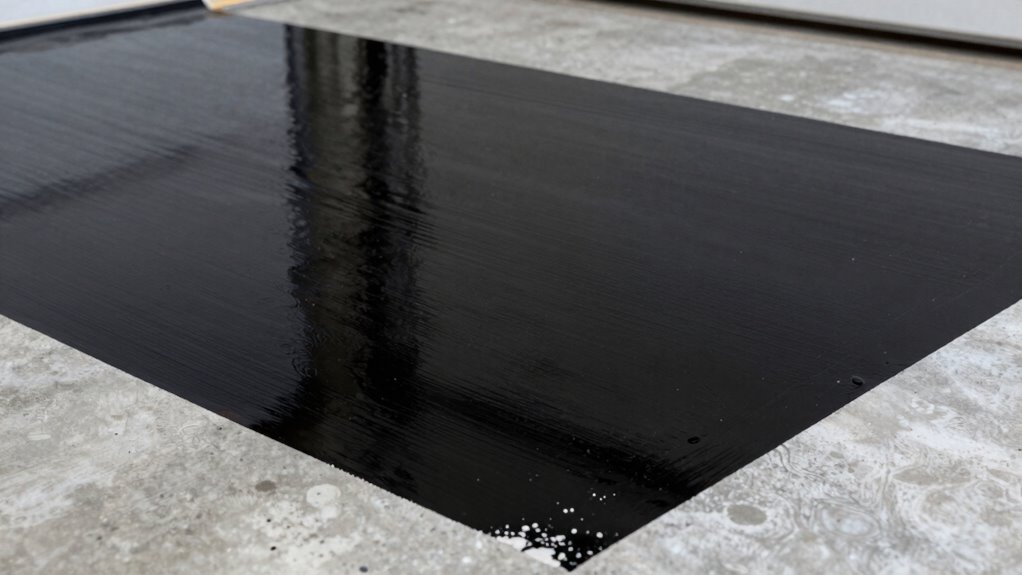
Applying Garage Floor Sealer for a Smooth Finish
To get a smooth finish, you need to start by preparing the surface properly, ensuring it’s clean and dry. When applying the sealer, use even strokes to cover the area consistently. With careful application, you’ll achieve a sleek, professional look that protects your garage floor for years to come. Additionally, using appropriate cabling solutions during installation can help prevent future issues and maintain a tidy appearance. Proper lighting can also enhance your work, allowing you to see every detail clearly and ensure thorough coverage. Incorporating storm safety tips can further safeguard your space during adverse weather, helping to keep your garage and belongings secure. Remember, proper surface preparation is crucial to ensure the sealer adheres effectively and provides long-lasting protection. Paying attention to quality control measures throughout the process can also help you achieve the best results.
Preparing the Surface
Have you prepared the garage floor properly? Before applying the sealant, confirm the surface is clean, dry, and free of debris. Proper garage ventilation is essential during preparation to prevent fumes from building up and to help the surface dry faster. If the floor is damp, the sealant won’t adhere correctly, increasing sealant drying time and risking uneven coverage. Use a broom or vacuum to remove dust and dirt, then wash the surface with a degreaser if needed. Allow ample time for the floor to dry completely, considering the sealant drying time specified by the manufacturer. Adequate preparation ensures a smooth finish, minimizes imperfections, and helps the sealer bond effectively to the concrete surface. Additionally, understanding the concrete sealer basics can help you choose the right product for a long-lasting, professional-looking finish. Proper surface preparation is crucial for sealer adhesion and durability over time. Being aware of the power and performance of your tools can also aid in achieving a uniform coat and avoiding missed spots. Using high-quality products and understanding the market options available can further enhance the longevity of your sealed surface.
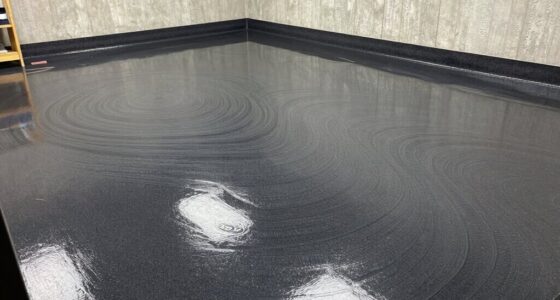
Applying Sealer Evenly
Applying the sealer evenly is essential for achieving a professional, smooth finish on your garage floor. To do this, work in manageable sections, using a roller or brush to spread the sealer consistently. Pay attention to color options, choosing a shade that enhances your garage’s look while complementing your space. An even application prevents streaks and patchy spots, ensuring durability and a polished appearance. Additionally, consider the environmental impact of your chosen sealer—look for low-VOC or eco-friendly formulations to reduce emissions. Take your time to layer the sealer carefully, avoiding drips and pooling. Consistent application not only improves the appearance but also maximizes protection, extending your floor’s lifespan and minimizing the need for future repairs. Proper sealing techniques can also prevent moisture damage, helping maintain your garage’s integrity over time.
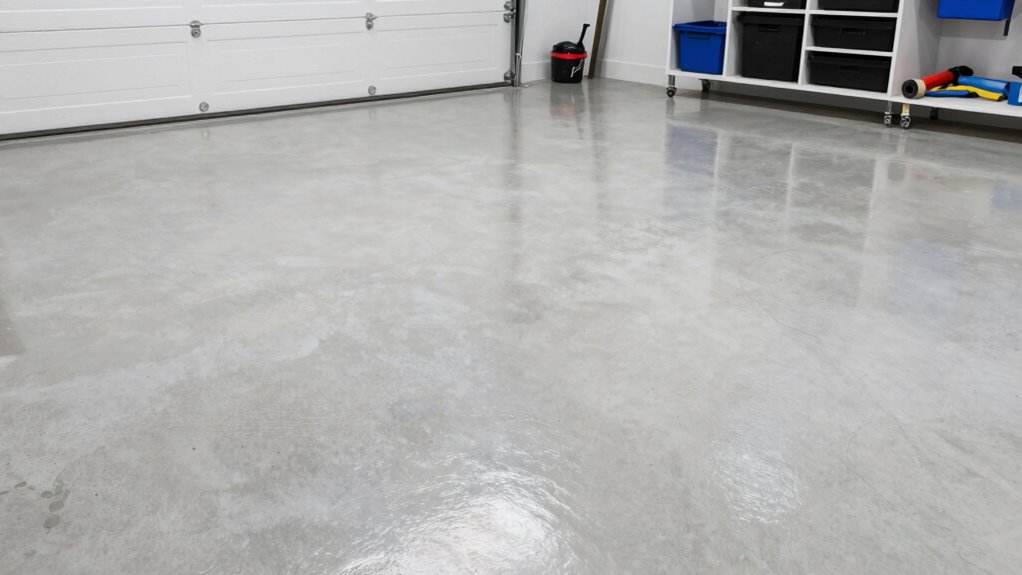
Achieving a Smooth Finish
Once you’ve spread the sealer evenly across your garage floor, the next step is to achieve a smooth, professional finish. To enhance garage floor aesthetics, use a roller or squeegee to gently level the sealer, smoothing out any ridges or puddles. Work in small sections to maintain control and guarantee consistency. Remember, sealing myths suggest that more coats mean better protection, but a smooth application often requires just the right amount. Avoid over-brushing or over-rolling, which can create uneven textures. Take your time, and don’t rush the process. A well-applied, smooth sealer layer not only looks better but also provides a durable, long-lasting surface. Your effort results in a polished, professional garage floor that stands the test of time.
Common Mistakes to Avoid When Sealing Your Garage Floor
Sealing your garage floor can substantially improve its durability and appearance, but rushing the process or overlooking key steps can lead to costly mistakes. One common mistake is neglecting proper surface preparation, which compromises garage safety and the sealer’s effectiveness. Skipping cleaning or not repairing cracks before sealing can cause peeling or uneven spots, reducing aesthetic enhancement. Applying sealer in extreme temperatures or high humidity can result in poor adhesion and a blotchy finish. Another error is using the wrong type of sealer for your specific concrete, which can diminish longevity. Finally, rushing the drying process or applying multiple coats too quickly can trap moisture, affecting both safety and appearance. Avoid these mistakes to guarantee a professional, long-lasting seal.
How Long Does a Garage Floor Sealer Last & When to Reapply

Garage floor sealers typically last between 2 to 5 years, depending on factors like the type of sealer used, traffic levels, and environmental conditions. Over time, the sealer may wear down, affecting your garage’s aesthetics by making the surface look dull or faded. Reapplication is necessary when you notice it losing its shine or if there are visible cracks or stains that no longer repel water. Regularly inspecting your sealed floor helps determine the right time for re-sealing, ensuring continued protection and appearance. Keep sealing cost considerations in mind—reapplying at the right intervals can save money by preventing more extensive repairs later. Proper timing maintains your garage’s look and prolongs the life of your concrete surface.
Maintaining Your Sealed Garage Floor for Long-Term Protection
To guarantee your sealed garage floor stays protected over the long term, regular maintenance is essential. Inspect the surface periodically for signs of wear or damage, like cracks or dull patches. Clean the floor routinely to remove dirt, grease, and debris, which can compromise the sealing benefits. Use a gentle, pH-neutral cleaner to preserve the sealant’s integrity. Maintaining your floor also enhances garage aesthetics, keeping it looking fresh and well-kept. Avoid harsh chemicals that can degrade the sealant over time. Reapply a topcoat when you notice the sealant weakening or loss of shine. Proper upkeep not only prolongs the sealing benefits but also preserves the appearance and durability of your garage floor, ensuring it remains functional and visually appealing for years.
Troubleshooting Sealant Problems and Fixing Common Issues
Even with proper sealing, issues can arise that compromise your floor’s protection. Common problems include uneven sealant application, premature peeling, or surface adhesion issues. To troubleshoot, start by inspecting your surface preparation—ensure the concrete was clean, dry, and free of contaminants before applying the sealant. If you notice bubbles or peeling, it might be due to moisture or improper application temperature. For fixing issues, consider lightly sanding the affected area and reapplying the sealant after thorough cleaning. Here’s a quick guide:
| Issue | Possible Cause | Solution |
|---|---|---|
| Peeling or bubbling | Moisture, poor surface prep | Re-sand, clean, reapply sealant |
| Uneven finish | Inconsistent application | Recoat after proper surface prep |
| Lack of shine | Sealant not cured properly | Allow more curing time |
| Cracking or peeling | Application in cold temperatures | Wait for ideal weather, reapply |
| Sticking or tackiness | Excess sealant applied | Remove excess, reapply thin coat |
Frequently Asked Questions
Can I Seal a Concrete Floor That Has Cracks or Damage?
Yes, you can seal a concrete floor with cracks or damage, but first, you need to do proper surface preparation. Start by cleaning the surface thoroughly, then repair cracks with a suitable concrete filler or patch. Allow the repairs to cure completely before applying the sealer. This guarantees the sealer bonds well and protects your garage floor effectively, preventing further damage and prolonging its lifespan.
Is It Necessary to Remove Existing Sealers Before Applying a New Coat?
Yes, you should remove existing sealers before applying a new coat. Proper surface preparation guarantees the new sealer bonds well and lasts longer. Use a scraper or a chemical stripper if needed, and clean the surface thoroughly. Check sealer compatibility to avoid adhesion issues. Skipping this step can lead to peeling or uneven finishes, so taking the time to prep the surface properly guarantees a durable, professional-looking seal.
How Long Should I Wait Before Parking on a Newly Sealed Garage Floor?
Don’t count your chickens before they hatch, especially with sealing your garage floor. You should wait at least 24-48 hours before parking on a freshly sealed surface. During this time, guarantee proper cleaning preparation and let the sealing process fully cure. Rushing can damage the finish, so patience pays off. This waiting period helps guarantee the sealer bonds well, giving you a durable, long-lasting finish.
Does Sealing a Garage Floor Increase Its Resistance to Oil Stains?
Sealing your garage floor does increase its resistance to oil stains, thanks to improved oil resistance and stain prevention. When you apply a quality concrete sealer, it creates a protective barrier that prevents oil and other liquids from penetrating the surface. This makes cleanup easier and keeps your floor looking better longer. Regular sealing maintenance enhances this protection, ensuring your garage floor stays resistant to oil stains and looks great over time.
Are There Eco-Friendly Garage Floor Sealers Available?
Sure, eco-friendly garage floor sealers do exist, even if it sounds too good to be true. You can choose sustainable sealers made from natural or low-VOC materials that protect your floor without harming the environment. These eco-friendly options not only reduce chemical emissions but also support healthier living spaces. So, yes, you get a durable, well-sealed garage floor that’s kinder to the planet—without sacrificing performance.
Conclusion
Think of your garage floor sealer as a shield, a steady guardian that guards your space like a fortress against stains, cracks, and wear. With proper preparation and care, this shield becomes a resilient armor, shining brightly through time. When you maintain and reapply as needed, you’re not just protecting concrete—you’re nurturing a foundation of durability and pride. Embrace this process, and your garage will stand strong as a symbol of your commitment to quality and longevity.