To prep your garage floor for an upgrade, start by inspecting it for cracks, chips, or surface damage, and note any signs of moisture or wear. Clean the surface thoroughly, removing dirt, oil, and debris, then etch or roughen it for better adhesion. Repair cracks with the appropriate filler, and apply a bonding agent if needed. Finish by curing and sealing the surface properly. If you keep going, you’ll discover detailed steps to guarantee a lasting, professional finish.
Key Takeaways
- Clear debris, dust, and stains from the floor, then clean with a degreaser for optimal adhesion.
- Inspect for cracks or damage and repair using concrete filler or patching compounds.
- Etch the surface with a concrete etcher or wire brush to enhance bonding.
- Apply a bonding primer evenly to improve adhesion of new coatings or overlays.
- Cure and seal the surface properly to prevent moisture issues and ensure durability.

Rust-Oleum 301012 Concrete Patch & Repair, 24 oz, Gray
Ideal for indoor/outdoor use to repair concrete cracks and holes in concrete
As an affiliate, we earn on qualifying purchases.
As an affiliate, we earn on qualifying purchases.
How to Assess Your Garage Floor’s Condition Before Starting
Before you begin prepping your garage floor for an upgrade, it is vital to evaluate its current condition. Check the garage flooring for cracks, chips, or surface damage, as these issues can affect the durability of the concrete. Look for signs of moisture or staining, which may indicate underlying problems. Assess the overall integrity of the concrete; if it feels soft or crumbles easily, it might need repairs before proceeding. Consider the age of the garage floor—older concrete may require more attention to guarantee lasting results. Proper surface preparation is essential for ensuring a successful upgrade. Attention to detail during this inspection helps identify potential issues early on. Additionally, understanding industry trends can help you choose the most durable and modern solutions for your project. Recognizing concrete condition early ensures you select the right repair or upgrade method to support long-term performance. Being aware of material properties can also guide you in selecting appropriate repair materials for your specific concrete type. Recognizing these factors early guarantees your upgrade is durable and long-lasting.
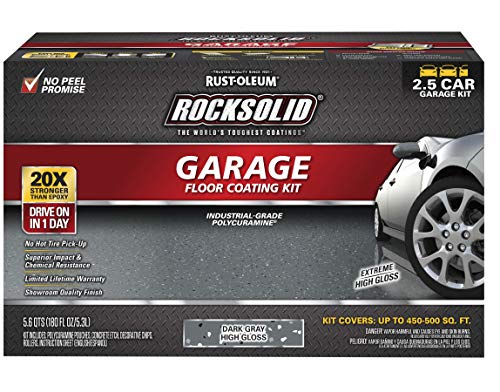
Rust-Oleum 317284 RockSolid Polycuramine Garage Floor Coating, 2.5 Car Kit, High Gloss Dark Gray
Durable, polycuramine concrete coating works on interior concrete surfaces including garage floors, workshops, basements, family rooms and more
As an affiliate, we earn on qualifying purchases.
As an affiliate, we earn on qualifying purchases.
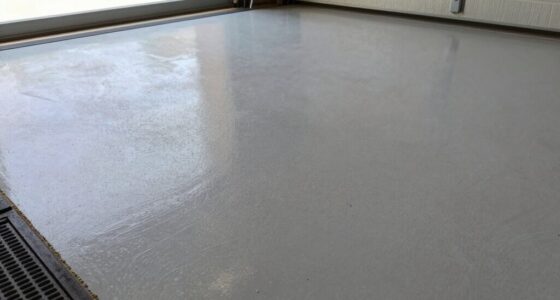
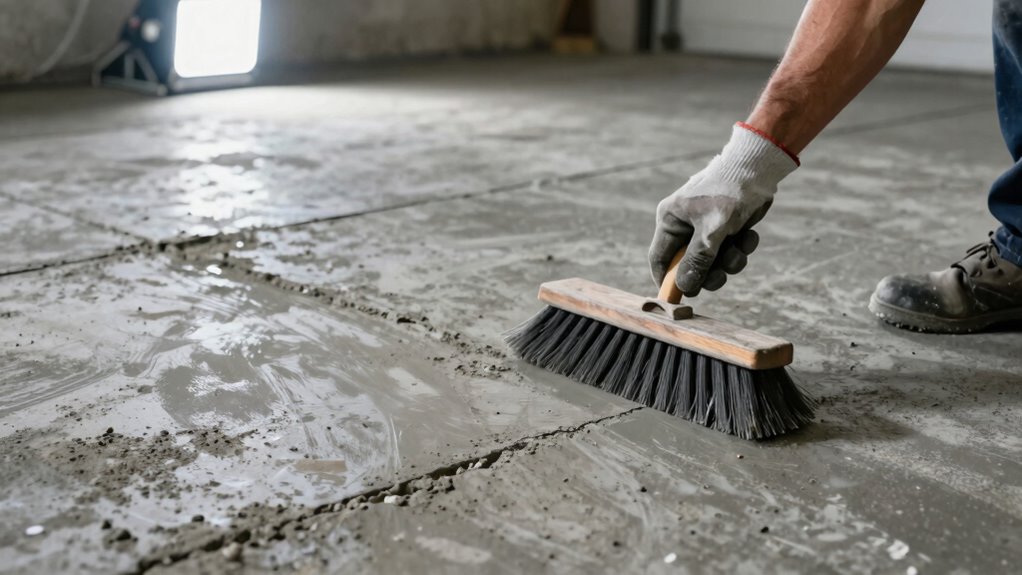
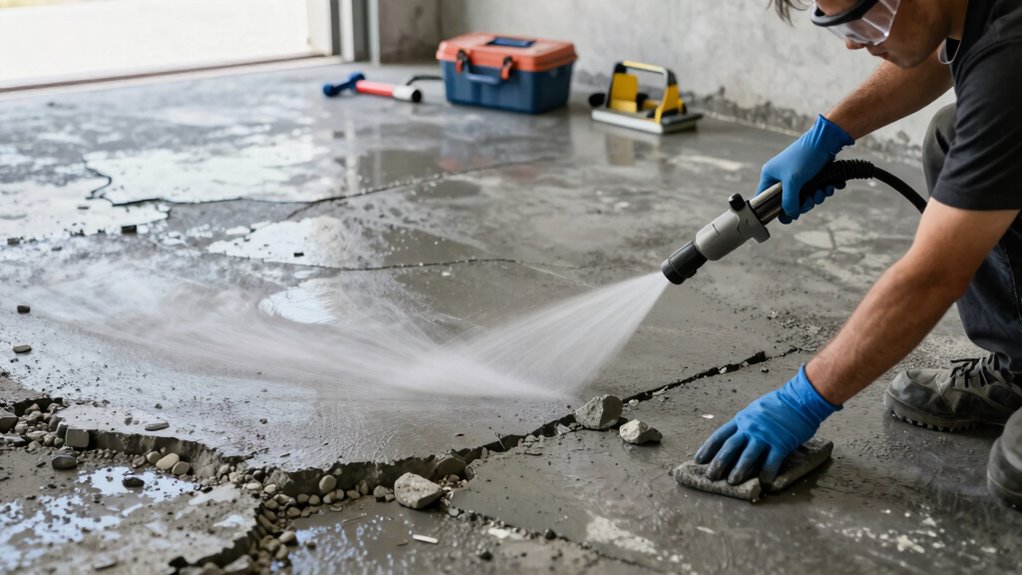
How to Clean and Prepare Your Garage Floor for Painting or Coating

To make certain your garage floor is ready for painting or coating, thorough cleaning and proper preparation are essential. Start by sweeping away dirt, dust, and debris from the garage flooring. Then, clean the surface with a degreaser or a concrete cleaner to remove oil stains and grease. Rinse thoroughly and let it dry completely. For maximum adhesion, etch the surface with a concrete etcher or use a wire brush if needed. If you plan to use specific paint types, such as epoxy or latex paints, ensure the floor is free of loose particles and surface contaminants. Proper preparation guarantees your chosen paint adheres well and lasts longer. Skipping these steps can result in chipped or peeling coating, undermining your upgrade efforts. Additionally, ensuring the surface has the appropriate surface texture can significantly impact the effectiveness of your coating.

Eco Etch Pro Concrete Cleaner & Etcher Dissolver – Efflorescence, Rust & Dirt Remover from Brick, Driveway, Garage – Gentle Substitute for Citric & Muriatic Acid – Non-Toxic & Safe – 1 Gallon
𝗖𝗼𝗻𝗰𝗿𝗲𝘁𝗲 𝗘𝘁𝗰𝗵𝗲𝗿 – Safely etches concrete floors and precast concrete surfaces to create a suitable surface profile and…
As an affiliate, we earn on qualifying purchases.
As an affiliate, we earn on qualifying purchases.
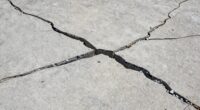
How to Repair Cracks and Surface Damage Effectively
Cracks and surface damage can compromise the integrity of your garage floor, so addressing them promptly is essential for a lasting upgrade. Start by cleaning the damaged area thoroughly to remove dirt and loose debris. For cracks, use crack filling products designed for concrete; apply them with a putty knife or caulking gun, ensuring the material fills the crack completely. Once filled, smooth out the surface and let it cure as per manufacturer instructions. After repairing cracks and surface damage, consider applying a concrete sealing product to protect the surface from future moisture and damage. Proper crack filling and sealing not only improve the appearance but also extend your floor’s lifespan, creating a solid base for your garage upgrade. Additionally, exploring hydrotherapy options can help improve your physical recovery if you’re dealing with discomfort or stress related to home repairs. Recognizing the importance of emotional well-being during home improvement projects can also support your overall health and resilience. Being aware of emerging digital publishing trends can further assist you in accessing helpful tutorials and resources for your project.
garage floor sealing products
As an affiliate, we earn on qualifying purchases.
As an affiliate, we earn on qualifying purchases.
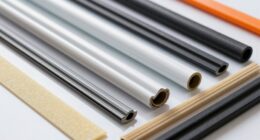
How to Apply a Bonding Agent for Better Adhesion
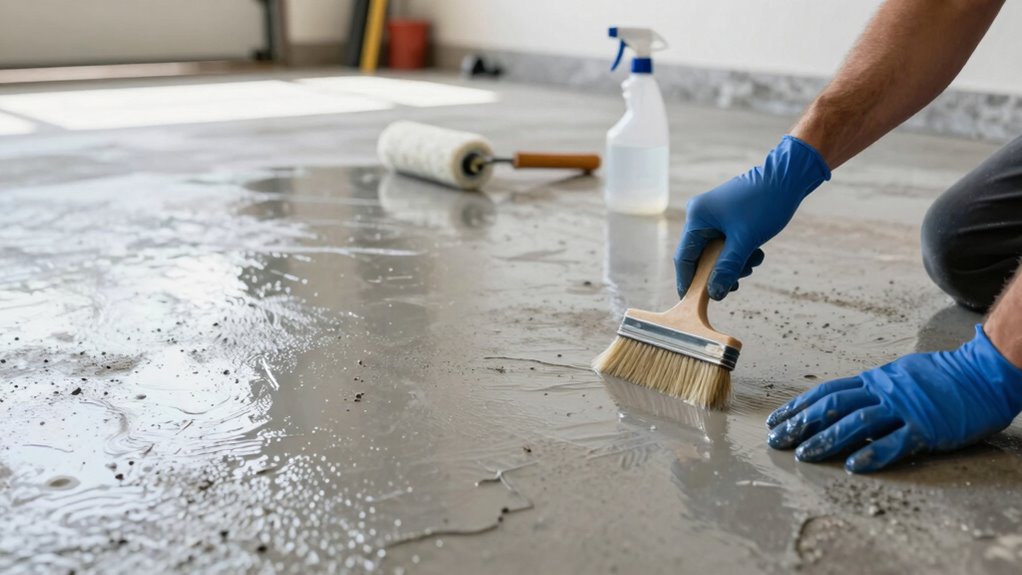
Applying a bonding agent properly is essential to guarantee that your new concrete layer adheres strongly to the existing surface. Start by cleaning the surface thoroughly to remove dust, grease, and debris, ensuring maximum adhesion. Use adhesion techniques like etching or roughening the surface if needed, to improve bonding. Next, select the right bonding primers, which are specially formulated to promote adhesion between old and new concrete. Follow the manufacturer’s instructions carefully for mixing and application. Usually, you’ll apply the primer with a brush, roller, or sprayer, ensuring an even coat. Allow the bonding primer to become tacky, but not dry, before pouring or placing the new concrete. Proper application of bonding agents helps prevent future delamination and guarantees a durable garage floor upgrade. Additionally, understanding common cable failures in projector installations can help you choose the best methods for securing wiring and avoiding hazards. Using proper surface preparation techniques is crucial for long-term durability and performance of the bonded concrete.
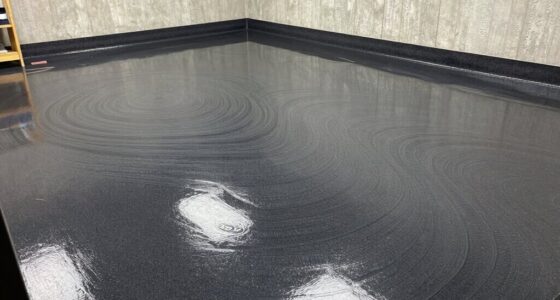
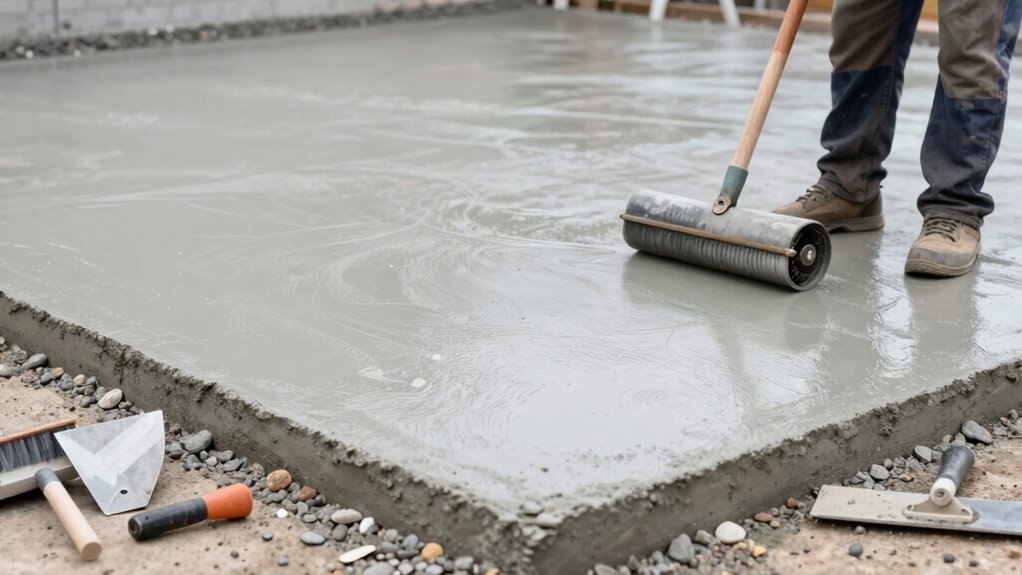
Tips for Proper Curing and Final Surface Preparation
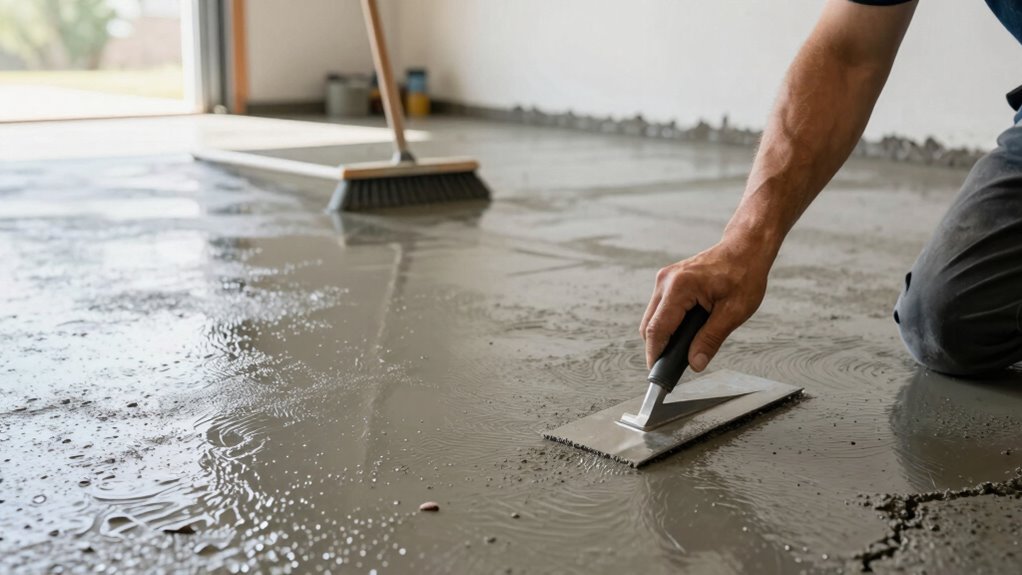
Ensuring proper curing and final surface preparation is essential for achieving a durable and smooth garage floor. After the concrete has set, keep it moist by covering it with plastic or applying a curing compound. This prevents cracking and ensures strength development. Once cured, focus on surface texturing if needed; light brooming or light grinding can improve traction. Before sealing, clean the surface thoroughly to remove dust, debris, and any loose particles. Applying concrete sealing will protect your floor from stains, moisture, and wear, extending its lifespan. Taking the time to properly cure concrete helps maintain optimal moisture levels, which is crucial for a strong and durable finish. Proper curing and surface preparation create a solid foundation for your upgrade, enhancing both appearance and longevity of your garage floor.
Frequently Asked Questions
What Safety Precautions Should I Take During Floor Preparation?
You should wear personal protective equipment like gloves, goggles, and a dust mask to guard against debris and dust. Guarantee proper ventilation safety by opening windows or using fans to prevent inhaling harmful fumes from adhesives or sealants. Keep your workspace clean and free of tripping hazards, and follow all manufacturer instructions for tools and chemicals. Taking these precautions helps protect your health and makes the project safer.
How Long Should I Wait Before Parking on the New Surface?
Think of your new garage floor as a sleeping giant that needs rest. You should wait at least 7 days before parking on it, giving it ample curing time. This parking delay guarantees the concrete gains strength and prevents cracks or surface damage. Rushing the process can compromise durability, so patience is key. Trust the curing time, and your upgraded floor will stand strong for years to come.
Can I Use DIY Methods for Large Cracks or Only Professional Repairs?
You can handle DIY repairs for large cracks if they’re not extensive or structurally compromising. For small to medium cracks, DIY methods like epoxy or concrete filler work well. However, for very large cracks or those indicating structural issues, it’s best to consult a professional. They have the expertise and tools to guarantee proper repair, preventing future damage and maintaining your garage floor’s stability and safety.
What Are the Best Tools for Applying Concrete Primer?
You’ll want to use a brush, roller, or sprayer for applying concrete primer effectively. These tools help you achieve even concrete sealing and proper primer application techniques. A brush is ideal for detailed areas, while a roller covers large surfaces quickly. A sprayer offers a smooth, uniform coat, especially for textured or uneven concrete. Choose the right tool based on your garage floor size and the type of primer you’re using.
How Do Weather Conditions Affect the Curing Process?
Weather impact can turn your perfect concrete curing process into a rollercoaster ride of delays. Extreme heat causes rapid evaporation, leading to cracking, while cold temperatures slow down hydration, causing curing delays. Rain or high humidity can weaken the bond and compromise strength. You need to monitor weather closely, plan your pour during mild conditions, and take precautions like covering the surface to guarantee proper curing and a durable garage floor.
Conclusion
Now that you’ve laid the groundwork, your garage floor is set to shine. With a little patience and care, you’re guiding it toward a fresh, durable finish that’ll serve you well for years to come. Think of this process as giving your space a gentle, yet transformative touch — a quiet upgrade that whispers of pride and practicality. Before long, your garage will welcome visitors with a subtle, confident charm.