To patch and paint your garage drywall like new, start by inspecting the walls for damage, cleaning the surface thoroughly, and covering floors with drop cloths. Use the right tools and patching materials to repair holes and cracks, then sand smooth once dry. Prepare the surface for painting by cleaning and priming, and choose a durable, moisture-resistant paint with your desired finish. Following proper techniques guarantees a seamless, professional look—keep exploring for detailed step-by-step instructions.
Key Takeaways
- Assess damage carefully and clean surfaces before repairing to ensure seamless patching and painting.
- Use quality joint compound and proper tools to fill holes, cracks, and dents smoothly.
- Sand patches thoroughly after drying to achieve a flawless, even surface for painting.
- Prime repaired areas to enhance paint adhesion and color consistency.
- Apply thin, even coats of paint with proper preparation for a professional, like-new finish.

Drywall Repair Kit Drywall Hole Repair Patch Kits Wall Spackle Repair Paste with 8.5OZ White Wall Repair Putty with Scraper, Wall Surface Hole Fill Quick and Easy Solution (1Pack)
Complete Repair Kit: Contains 1 pieces repair putty(8.5oz), 2 inch wall repair patches(2pcs), 4 inch wall repair patches(1pcs),…
As an affiliate, we earn on qualifying purchases.
As an affiliate, we earn on qualifying purchases.
Why Patching and Painting Are the Best Ways to Refresh Your Garage Walls

Patching and painting are effective ways to quickly improve the appearance of your garage walls because they address both damage and dullness. When you repair holes and cracks, your garage instantly looks more organized and well-kept. A fresh coat of paint not only covers imperfections but also brightens the space, making lighting improvements more noticeable. Enhanced lighting helps you see better and makes your garage feel more inviting, which encourages better garage organization. These simple updates can transform the area into a cleaner, more functional space without the need for extensive renovations. By patching and painting, you refresh your garage walls efficiently, creating a more appealing environment that supports your storage and workspace needs. Additionally, choosing eco-friendly paints can reduce your environmental impact while maintaining a vibrant, fresh look. Incorporating environmentally conscious options is part of exploring digital content and research in sustainable home improvement practices. Understanding proper surface preparation can also ensure that your paint job lasts longer and looks more professional. Moreover, using low-VOC paints can improve indoor air quality during and after your project. Being aware of regional paint formulations can help you select products that are best suited for your climate and local environment.

Zinsser 02774 PERMA-WHITE Mold & Mildew Proof Interior Paint, Quart, Eggshell White
Self-Priming formula – requires no sanding
As an affiliate, we earn on qualifying purchases.
As an affiliate, we earn on qualifying purchases.
How to Assess Damages on Your Garage Drywall
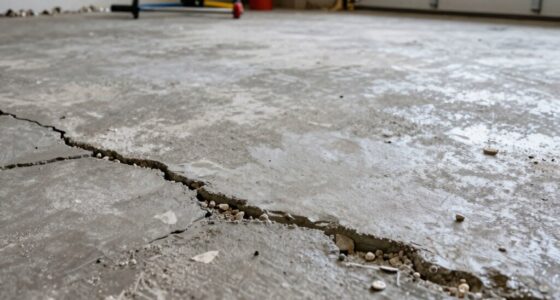
Before you start repairing, it’s important to carefully examine your garage drywall to determine the extent of the damage. Look for holes, cracks, or dents that may compromise the wall’s integrity. Check if the damage has affected the garage insulation behind the drywall, as this can impact temperature control and energy efficiency. Also, observe the wall texture—if the damaged area has a specific pattern, you’ll want to match it during repairs to keep the finish uniform. Small holes or cracks might only require patching, but larger damage could mean replacing sections. Assess whether the damage is superficial or structural, and note any areas where the drywall has become loose or sagging. Properly evaluating the damage guarantees you choose the right repair approach and restore your garage’s appearance and function effectively. Additionally, consider whether water damage has led to mold growth, which requires prompt attention to prevent health issues and further deterioration. Recognizing signs of damage assessment techniques can also help you address underlying issues that might affect the longevity of your repairs. Understanding how to identify drywall damage signs is essential for effective repairs and to avoid future problems. Incorporating knowledge about Glycolic Acid benefits and proper application methods can be useful if your drywall repairs involve moisture or surface prep that impacts underlying materials.

Red Devil 0542 ONETIME Lightweight Spackle Wall Repair, Spackling for Holes Drywall, 1/2 Pint, White, 8 Ounce, Made in USA
EFFORTLESS REPAIRS: Fill holes, cracks, and dents in one easy application, saving time and effort on your DIY…
As an affiliate, we earn on qualifying purchases.
As an affiliate, we earn on qualifying purchases.
What Tools and Materials You Need for Patching
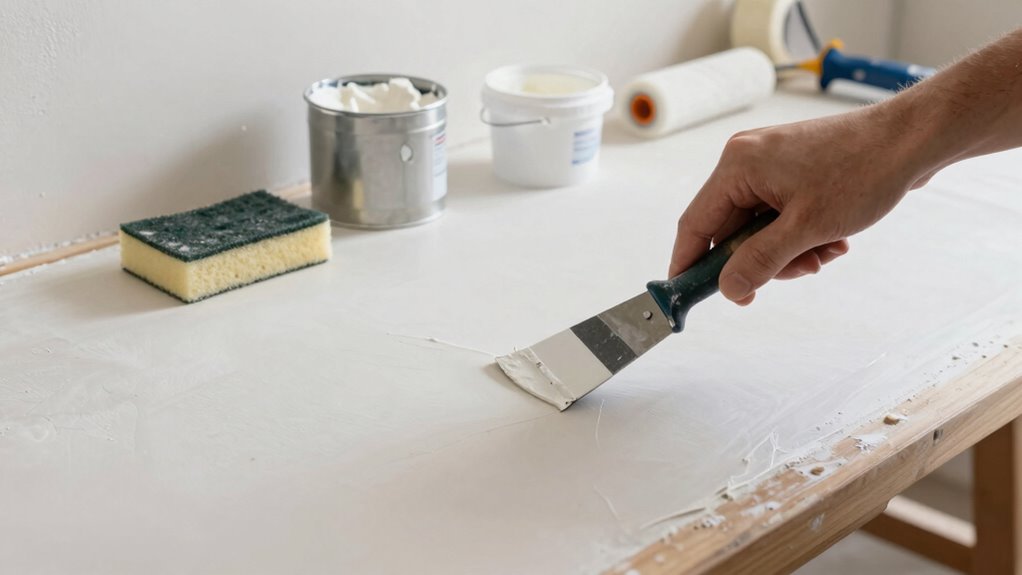
To patch your garage drywall effectively, you’ll need essential tools like a putty knife, sanding sponge, and utility knife. Make sure you have the necessary repair materials, including joint compound, drywall patches, and primer. Having these tools and materials ready will make your repair smoother and more efficient. Additionally, understanding the proper preparation techniques can help ensure a seamless repair that blends well with the existing wall. Proper care and maintenance of the patched area can also prevent future damage and keep your garage looking fresh.
Essential Patching Tools
Having the right tools and materials on hand makes patching drywall much easier and more efficient. Essential patching tools include a putty knife or drywall knife, which helps spread compound smoothly. A utility knife is vital for trimming damaged drywall or taping edges. Sanding sponges or sandpaper ensure a smooth finish after drying. A joint compound or spackle is necessary for filling holes and cracks. To save time and effort, consider DIY shortcuts like pre-mixed compounds or patch kits. Always prioritize safety precautions—wear protective goggles and a dust mask when sanding or working with drywall dust. Having these tools ready before you start simplifies the process and helps you achieve professional-looking results with less frustration. Proper preparation ensures a seamless repair and minimizes the need for repeated touch-ups. Using quality materials can also improve the durability of your patch and paint job. Additionally, understanding drywall repair techniques can greatly enhance the final outcome of your project, especially when selecting the best formulations for patching compounds to ensure optimal adhesion and finish. Incorporating accurate measurement tools can further improve the precision of your repairs and prevent unnecessary rework.
Necessary Repair Materials
When you start patching drywall, gathering the right repair materials is crucial to guarantee a smooth and lasting repair. You’ll need joint compound, drywall tape, drywall patches, and a sanding sponge to smooth out surfaces. Keep your garage organized to easily find these materials and avoid delays. Quality tools like a putty knife, utility knife, and drywall saw are essential for precise work. Remember, good tool maintenance ensures your tools stay in top condition, making repairs easier. Have a spray bottle for water to help with sanding dust and a clean rag for wiping excess compound. Properly storing your materials and tools not only maintains their effectiveness but also speeds up future projects. Staying organized and maintaining your tools lead to professional-looking drywall repairs. Additionally, understanding patch and paint techniques can help achieve a seamless finish. Incorporating proper surface preparation ensures the repair blends seamlessly with the existing drywall, especially when using high-efficiency solar panels for energy solutions around your home. To further improve your drywall repairs, considering sustainable practices can enhance your project’s environmental impact.

BONCART 8.6oz Drywall Patch Repair Kit – Professional All-in-1 Tool Set (Scrapers/Sandpaper/Texture Sponge/Gloves/Putty Knife) for Fast Wall Hole Repair
All-in-One Repair Solution:BONCART Wall Mending Agent combines patching and priming in one step, eliminating multiple product purchases. Perfect…
As an affiliate, we earn on qualifying purchases.
As an affiliate, we earn on qualifying purchases.
Step-by-Step: How to Patch Holes and Cracks in Your Garage Walls

To start patching holes and cracks, gather the necessary tools and materials. Next, prepare the damaged areas by cleaning and smoothing them out. Finally, apply the patch and finish it for a seamless repair.
Gather Necessary Tools
Before you start patching holes and cracks in your garage walls, it’s vital to gather all the necessary tools. Well-organized garage storage solutions make this easier, so you can quickly find what you need. Essential tools include a putty knife, sanding sponge, utility knife, and a drywall compound or patching plaster. You’ll also need a primer and paint for finishing. You might consider using quality drywall materials to ensure a durable repair. Having a damp cloth or sponge on hand helps clean the area before patching. Keep a drop cloth or plastic sheeting nearby to protect your flooring. Proper garage organization ensures your tools are within reach, saving time and frustration. Incorporating eco-friendly repair practices in your repair process can help reduce waste and environmental impact, aligning with eco-friendly backyard design principles. Collecting everything beforehand helps streamline the repair process, so you can focus on making your garage walls look like new.
Prepare Damaged Areas
Preparing damaged areas is essential to ensuring a smooth patching process. Start by clearing clutter and organizing your garage to give yourself easy access to the damaged spots. Good garage organization helps you work more efficiently and keeps tools within reach. Next, clean the surface around holes and cracks using a brush or vacuum to remove dust and debris, ensuring proper adhesion. Improving lighting is also vital; brighten the area with portable work lights to see every detail clearly. If the walls are dark or stained, consider washing the surface with a mild cleaner to create a clean, uniform base. Proper preparation minimizes complications later and sets the stage for a seamless repair, making your garage walls look like new with less effort. Additionally, incorporating smart home safety devices like leak detectors or air monitors can help protect your garage during repairs and afterward.
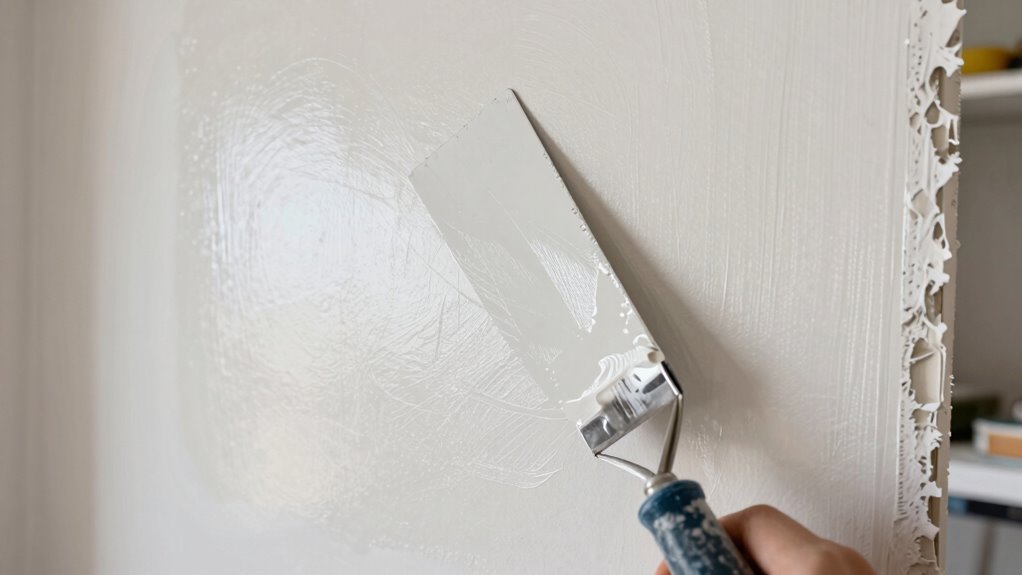
Apply and Finish Patch
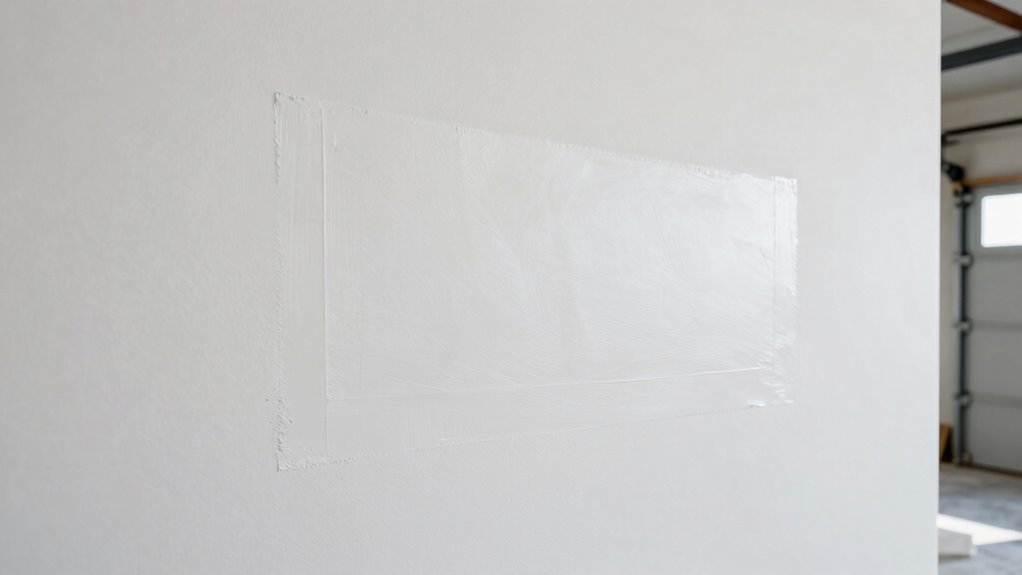
Once you’ve prepared the damaged area, it’s time to apply the patch and achieve a smooth finish. If you’re patching a garage ceiling, ensure the patch blends seamlessly with the surrounding drywall. Spread a thin layer of joint compound over the patch, feathering the edges to blend with the existing wall. For cracks or holes near insulation repair areas, be careful not to disturb the insulation behind the drywall. Use a drywall knife to smooth out the compound, removing any excess. Allow it to dry completely, then sand lightly for a flawless surface. Repeat as needed for a seamless finish. Once smooth, you’re ready for primer and paint, making your garage walls look as good as new.
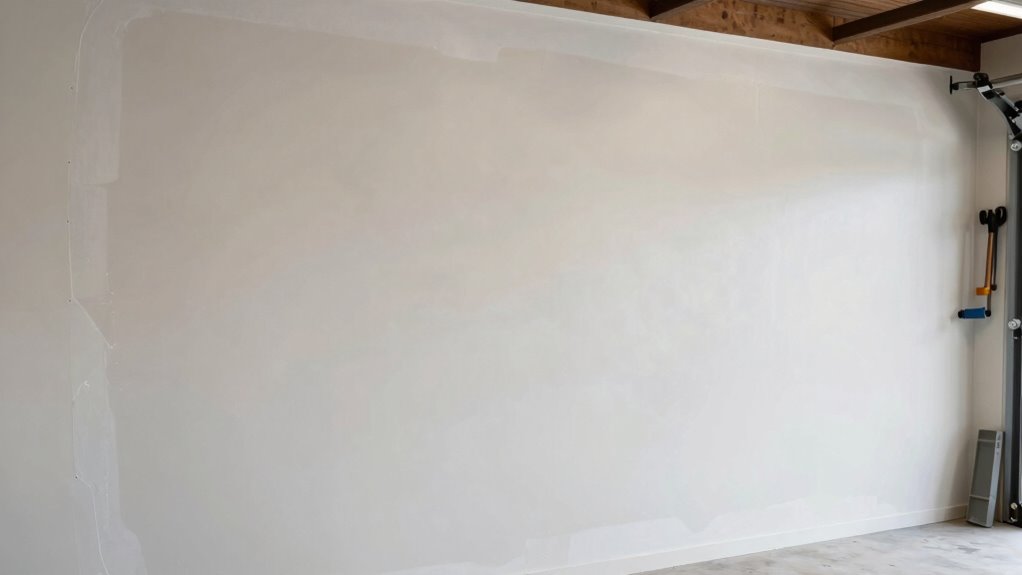
How to Prepare Your Garage Walls for a Smooth Paint Finish
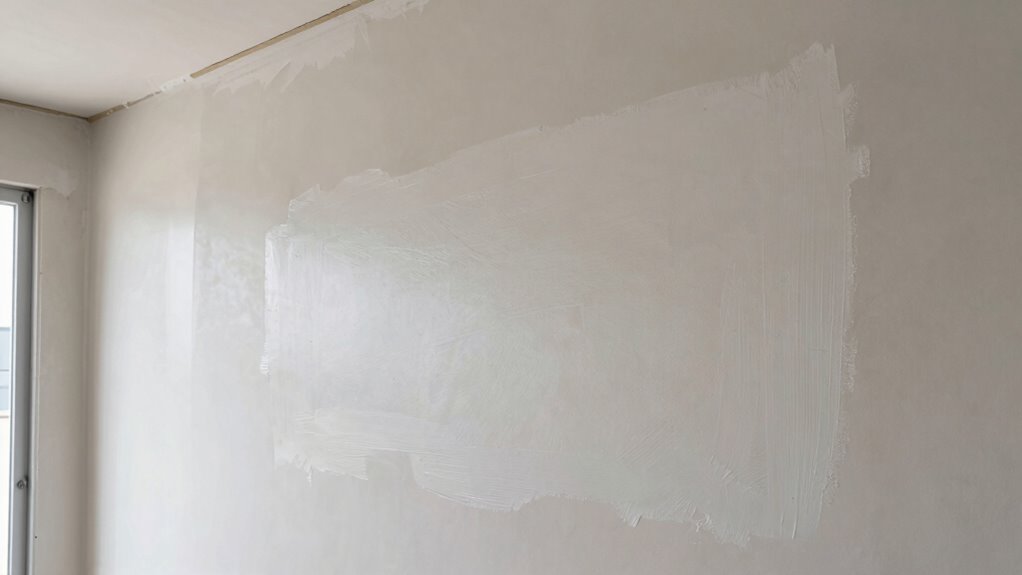
To achieve a smooth, professional-looking paint finish on your garage walls, proper preparation is vital. Start by cleaning the walls thoroughly to remove dust, grease, and dirt that can affect paint adhesion. Sand any rough patches or uneven surfaces to create a smooth base. Fill holes and cracks with spackle, then sand again once dry for a seamless surface. Consider your garage decor and storage solutions—clear the space and organize tools to avoid accidental damage while prepping. Cover floors and nearby surfaces with drop cloths to protect against paint splatters. Priming the walls is essential, especially if repairs were recent or if the surface is porous. With these steps, you’ll guarantee your garage walls are perfectly prepared for a flawless paint finish.
Choosing the Right Paint and Finish for Your Garage Drywall

Choosing the right paint and finish for your garage drywall is essential to guarantee durability and a professional look. Since garage lighting can vary, opt for a paint that enhances visibility and resists fading under different light conditions. A semi-gloss or satin finish works well because it’s durable, easy to clean, and reflects light, making your space brighter and more functional. If you’re using your garage for storage organization, select a paint with stain resistance to prevent marks from tools or spills. Consider using a high-quality, moisture-resistant paint if your garage is prone to humidity. Proper lighting and organized storage make your garage more inviting, so choose a finish that complements these features while standing up to everyday wear and tear.
Tips to Achieve a Seamless, Professional-Looking Paint Job
Achieving a seamless, professional-looking paint job in your garage requires careful preparation and technique. Start by organizing your garage to keep tools and supplies within reach, minimizing clutter that can interfere with your work. Good lighting is essential; improve it with bright, even fixtures to spot uneven areas or drips. Before painting, guarantee the wall surface is smooth and clean, and tape off edges for sharp lines. Use high-quality brushes or rollers and apply paint in thin, even coats, allowing proper drying time between layers. Consistent lighting helps you see the true color and coverage, preventing missed spots. Proper garage organization and lighting improvements make it easier to achieve a flawless finish, giving your garage that professional touch.
Common Mistakes to Avoid When Patching and Painting Your Garage Walls
When patching and painting your garage walls, it’s easy to make mistakes that can ruin the final look. To avoid this, watch out for these common errors:
- Skipping proper prep work, like sanding and cleaning, which can cause uneven surfaces and poor adhesion, especially when applying decorative finishes.
- Not choosing the right insulation options, leading to inconsistent wall thickness and affecting paint absorption.
- Rushing the drying process or applying paint too thickly, which can cause drips and uneven textures, ruining smooth finishes.
Frequently Asked Questions
How Long Does Garage Drywall Patching and Painting Typically Take?
Patching and painting your garage drywall usually takes about a day or two, depending on the size of the repair. You’ll want to gather tools needed like a putty knife, sanding sponge, and paintbrush. For a smooth finish, consider a cost estimate that encompasses materials and labor. You can often do it yourself to save money, but professional help might speed things up and ensure a flawless look.
Can I Patch and Paint Over Existing Wallpaper or Textured Walls?
You can patch and paint over existing wallpaper or textured walls, but first, you need to remove the wallpaper and prepare the textured surface. Start with wallpaper removal to guarantee a smooth, clean surface. Then, sand and prime the textured wall to promote adhesion. Properly prepping your walls helps your patch and paint job look professional and long-lasting, making it worth the extra effort upfront.
Is It Necessary to Remove All Old Paint Before Patching?
Think of your wall as a blank canvas, waiting for a fresh start. You don’t always need to remove all old paint before patching, but wallpaper removal is essential to guarantee a smooth surface. Check paint compatibility to avoid peeling or bubbling later. By preparing thoroughly, you create a strong foundation for your new coat, transforming your garage into a space that feels renewed and inviting, like a masterpiece reborn.
How Do I Prevent Future Cracks or Damage After Repairs?
To prevent future cracks or damage, you should focus on proper garage insulation and wall reinforcement. Make sure your walls are well-insulated to reduce temperature fluctuations that cause drywall stress. Reinforce weak spots with joint compound and drywall tape, and consider installing additional wall supports if needed. Regularly inspect your garage for signs of movement or moisture, and address issues promptly to maintain a durable, crack-resistant drywall surface.
Are There Eco-Friendly or Low-Voc Paint Options for Garages?
Yes, you can choose eco-friendly paints and low-VOC options for your garage. These paints emit fewer harmful chemicals, making your space healthier and more environmentally conscious. Look for products labeled “low-VOC” or “zero-VOC,” and opt for brands committed to sustainability. They work just as well as traditional paints, providing a durable finish that protects your drywall while keeping indoor air quality safe for you and your family.
Conclusion
Revitalizing your garage walls through patching and painting can boost your space’s appearance and value. Did you know that a well-maintained garage can increase your home’s resale price by up to 5%? By following these simple steps, you’ll transform those unsightly holes and cracks into a smooth, professional finish. With a little effort, your garage will look like new—ready to impress visitors and make your daily tasks more enjoyable.