
To do a simple DIY garage floor moisture test, clean a small area, then tape a plastic sheet over it, sealing the edges tightly. Leave it for 24-48 hours, then check for condensation or water droplets underneath. High moisture indicates water intrusion or poor ventilation. For detailed steps and tips on interpreting results, continue exploring how you can protect your garage from hidden moisture issues effectively.
Key Takeaways
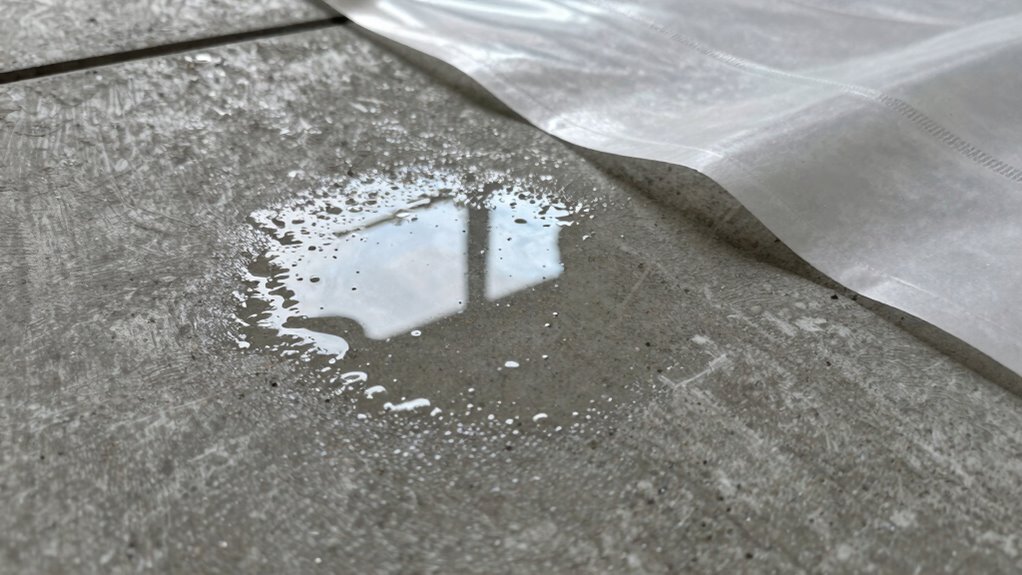
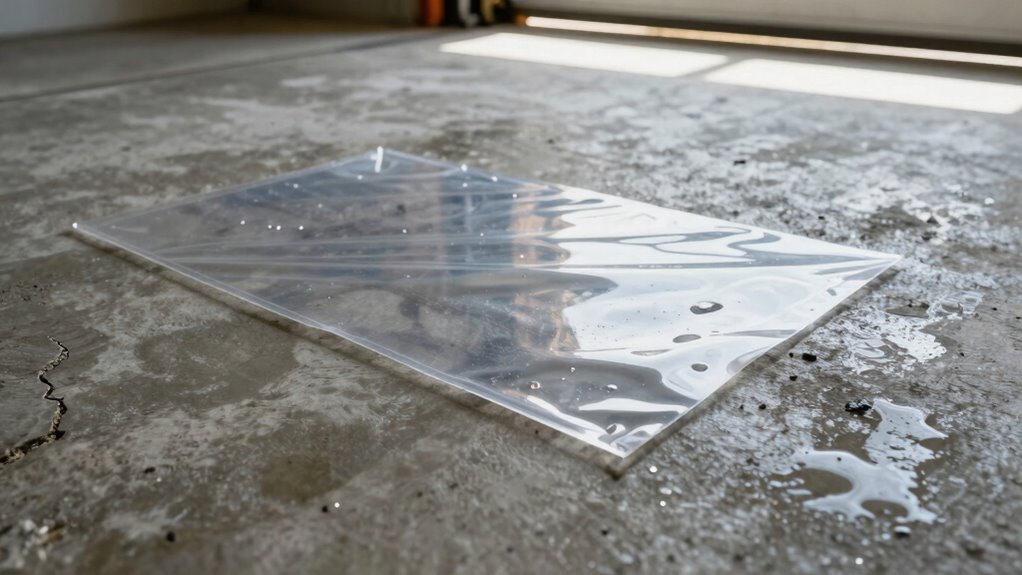
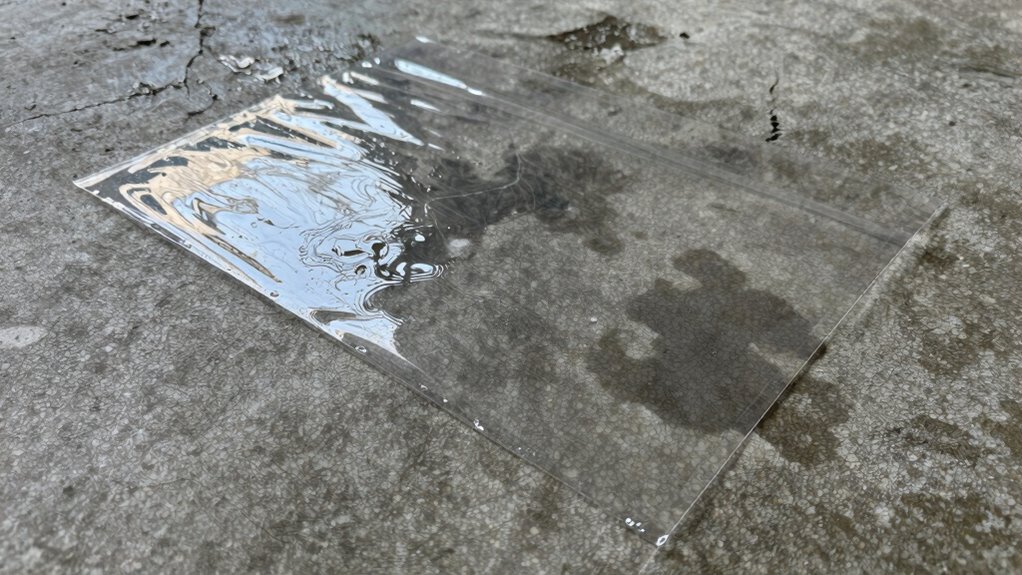
- Use a plastic sheet test by covering a small concrete area, sealing edges, and checking for moisture after 24-48 hours.
- Ensure proper garage ventilation and remove standing water before testing for accurate results.
- Seal cracks and improve drainage outside to prevent water entry and enhance test reliability.
- Interpret high moisture levels as a sign to improve airflow, seal leaks, and consider moisture barriers.
- Conduct multiple tests in different areas for a comprehensive assessment of garage floor moisture.

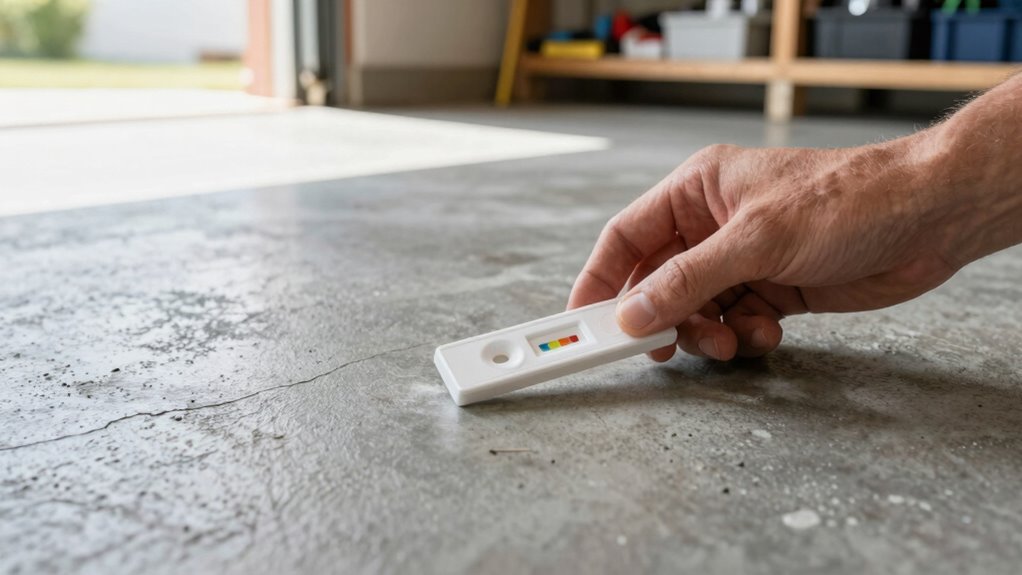
Moisture Test – Calcium Chloride Test Kit (Single Unit)
ASTM 1869 Certified Accuracy: Reliable moisture vapor emission testing for concrete slabs to meet ASTM F1869 standards; helps…
As an affiliate, we earn on qualifying purchases.
As an affiliate, we earn on qualifying purchases.
Why Moisture in Your Garage Floor Matters: And How to Detect It
Moisture in your garage floor can cause serious problems if left unchecked, affecting both the structural integrity and your belongings. High indoor humidity levels can lead to persistent moisture buildup, which seeps through cracks or porous concrete. Detecting this early is essential; signs include damp spots, mold, or a musty smell. Using moisture barriers beneath your garage floor can help prevent moisture from rising and seeping into your space. These barriers act as a protective layer, reducing the risk of water damage and maintaining a dry environment. Regularly monitoring indoor humidity levels and inspecting your concrete for signs of moisture can save you from costly repairs and preserve the longevity of your garage. Additionally, understanding the role of contrast ratio in building a home cinema can help you create a more comfortable and visually appealing space. Staying proactive is key to a dry, safe garage. Employing simple DIY moisture testing methods can help you detect issues early without professional assistance. Being aware of concrete porosity can further improve your detection and prevention strategies.

Warmoon 10ft Self-Absorbing Flood Barriers – Ideal for Home Doorways, Garage Floors & Commercial Entrances, Quick Water Activation (10ft (Pack of 1))
【Ideal Size for Any Situation】At 10 feet long and 10 inches wide dry, these bags fit doorways, windowsills,…
As an affiliate, we earn on qualifying purchases.
As an affiliate, we earn on qualifying purchases.
Getting Your Garage Ready for Moisture Testing
Before you start testing for moisture, it’s important to prepare your garage to guarantee accurate results. Begin by ensuring proper garage ventilation to reduce humidity levels that could skew your readings. Open windows or doors and turn on fans if necessary. Check the soil drainage outside your garage; poor drainage can cause excess moisture seepage. Clear any debris or obstructions around the garage perimeter to promote good drainage. Seal any cracks or gaps in the garage floor that might allow water entry during rainy periods. Additionally, remove any recent spills or standing water from the surface. These steps help create a stable environment, making your moisture test more reliable and providing you with a clearer picture of your garage’s moisture levels. Maintaining good indoor air quality can also help prevent excess moisture buildup over time. Proper moisture control strategies are essential for accurate testing and long-term garage health. Ensuring proper ventilation can also assist in maintaining consistent moisture levels during the test.

DAP Concrete and Mortar Filler and Sealant, Gray, 10.1 Oz (7079818096)
Concrete patch filler seals cracks and holes in exterior or interior concrete and masonry surfaces
As an affiliate, we earn on qualifying purchases.
As an affiliate, we earn on qualifying purchases.
How to Choose the Best DIY Garage Floor Moisture Test
When selecting a DIY garage floor moisture test, you should compare different test types to find one that suits your needs. Consider how accurate and reliable each option is, so you get trustworthy results. Don’t forget to keep your budget in mind to choose a test that offers the best value for your money. Additionally, understanding system efficiency can help you choose the most effective testing method to ensure your garage remains dry and protected. Knowing how building performance impacts moisture control can further guide you in selecting the right test for your situation. Regularly monitoring moisture levels can help identify potential issues early on, saving you time and money on repairs. Incorporating traditional Indonesian decor masks into your space can also serve as a reminder of the importance of harmony and balance in your environment, much like maintaining proper moisture levels. Being aware of moisture management techniques can enhance your ability to prevent long-term damage and maintain a healthy garage environment.
Test Types Comparison
Choosing the right DIY garage floor moisture test depends on understanding the different types available and their strengths. Each method suits different conditions and preferences.
- Plastic Sheet Test: Simple and affordable, it detects moisture through condensation, ideal if garage ventilation is limited.
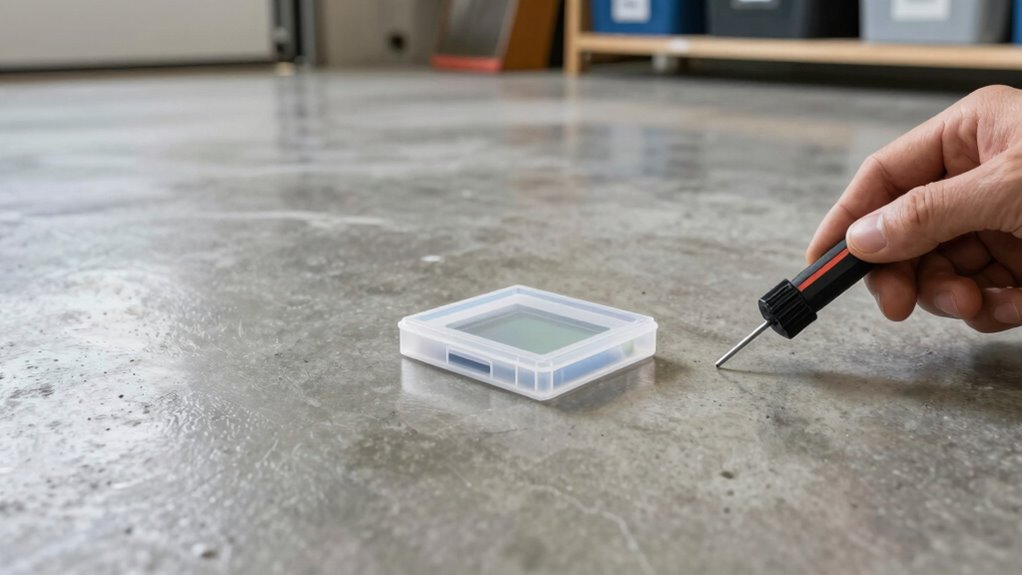
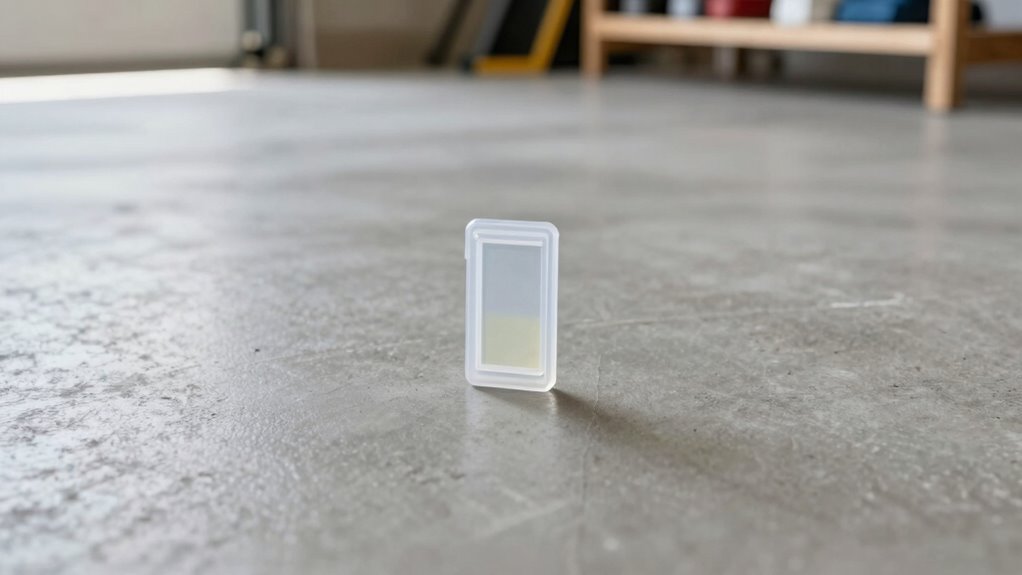
- Calcium Chloride Test: Measures moisture vapor emission rate, helping you assess if soil drainage affects moisture levels.
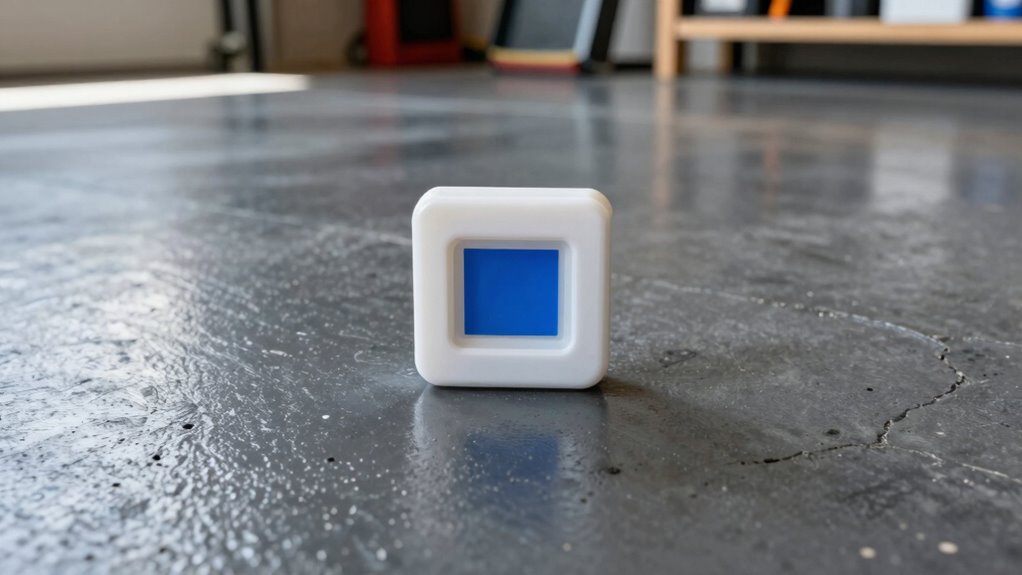
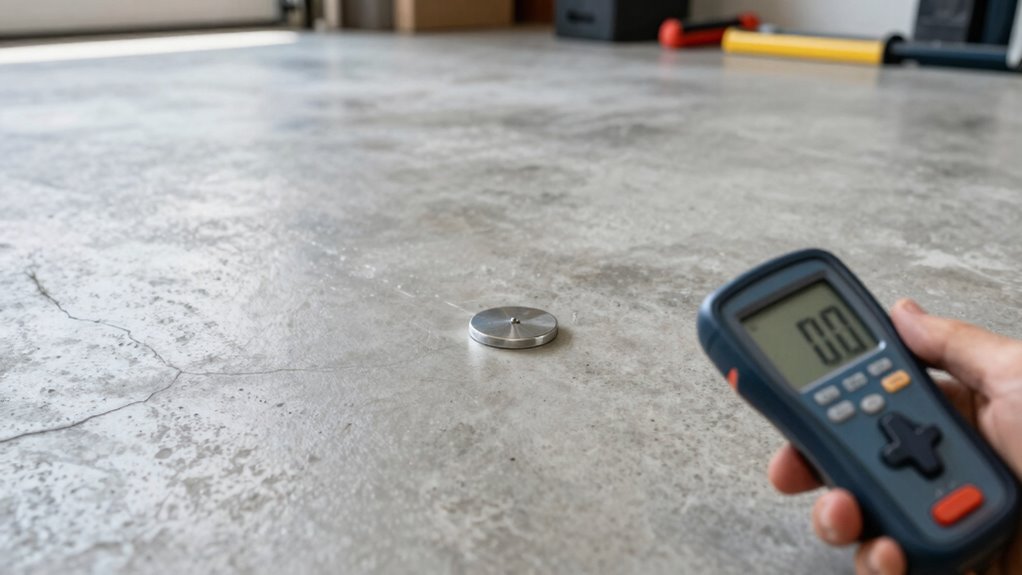
- Pin-Pointed Moisture Meter: Provides precise readings at specific spots, useful for identifying uneven moisture distribution.
- Relative Humidity Probe: Monitors indoor humidity to infer garage floor moisture, especially when soil drainage issues cause persistent dampness.
Choose based on your garage’s ventilation, soil drainage, and the level of detail you need for accurate results.
Accuracy and Reliability
Selecting the most accurate and reliable moisture test for your garage floor depends on understanding how each method performs under different conditions. Humidity sensors are useful for continuous monitoring, providing real-time data that can reveal ongoing moisture issues. They are especially effective when paired with proper placement and calibration. Moisture barriers, on the other hand, improve reliability by preventing moisture migration from beneath the slab, making tests more consistent. When choosing a method, consider how well it accounts for environmental factors like humidity levels and surface conditions. Reliable tests minimize false positives or negatives, giving you a clear picture of your garage’s moisture status. Combining different approaches, such as humidity sensors with moisture barriers, can enhance accuracy and guarantee you make informed decisions about your garage floor’s condition. Additionally, understanding digital concepts can help in selecting and interpreting the most suitable testing methods for your needs. Being aware of how sensor calibration impacts the accuracy of readings is also crucial for ensuring reliable results. Regularly reviewing test results and understanding the factors that influence them can further improve your assessment’s accuracy.
Budget Considerations
If you’re trying to keep costs down while testing your garage floor for moisture, understanding your budget is essential. Opting for cost-effective solutions can help you avoid unnecessary expenses. Here are four tips to help you choose the best DIY garage floor moisture test within your budget:
- Use simple materials like plastic sheets or DIY test kits instead of expensive professional equipment.
- Focus on DIY troubleshooting techniques that require minimal tools for quick, affordable results. Additionally, selecting tests with proven reliability can help ensure accurate results, reducing the need for multiple tests and saving money in the long run.
- Prioritize tests with proven reliability to avoid repeat testing and save money long-term.
- Research online reviews to find affordable yet accurate testing methods suited for your budget.
Additionally, considering moisture mitigation techniques can help you address underlying issues without costly repairs.

iLIVING 12" Wall Mounted Shutter Exhaust Fan, Automatic Shutter, with Thermostat and Variable Speed controller, 0.6A, 960 CFM, 1400 SQF Coverage Area Silver (ILG8SF12V-ST)
POWERFUL AIR VENTILATOR – 960 CFM, 115V, 0.6A, 1/20 Horse Power, 1650 RPM, Coverage up to 1400 square…
As an affiliate, we earn on qualifying purchases.
As an affiliate, we earn on qualifying purchases.
Step-by-Step: How to Test Your Garage Floor for Moisture
Want to determine if your garage floor has excess moisture? Start by cleaning the surface thoroughly to remove dirt and debris. Next, tape a square piece of plastic or heavy-duty polyethylene (around 18×18 inches) onto the floor, sealing all edges tightly with painter’s tape to create a moisture barrier. Leave it undisturbed for 24 to 48 hours. After the time is up, check underneath the plastic for condensation, dampness, or water droplets. If moisture appears, your garage floor may have moisture issues. Consider applying sealant options designed for concrete or installing additional moisture barriers to prevent further problems. This simple test gives you a clear indication of moisture levels without expensive equipment. Monitoring moisture levels with home technology and smart home basics can also help you monitor and manage moisture more effectively, especially in regions with bucolic beauty or varying climate conditions.
Understanding Your Garage Floor Moisture Test Results
Understanding your garage floor moisture test results is essential for determining whether your concrete needs attention. High moisture readings indicate excess humidity, which can compromise your floor and overall garage environment. Here’s what to look for:
- Low moisture levels: Usually mean your garage ventilation is effectively reducing humidity.
- High moisture levels: Suggests a need for better airflow or moisture barriers to prevent dampness.
- Persistent dampness: Indicates ongoing issues with moisture intrusion, requiring additional solutions, such as unplanned weather changes that can cause unexpected moisture buildup.
- Uneven moisture distribution: Points to localized problems, such as poor ventilation or drainage issues. Proper home soundproofing strategies can also help reduce humidity and improve overall comfort. Monitoring and addressing moisture levels is key to maintaining a healthy garage environment.
Practical Tips to Reduce Garage Floor Moisture
Reducing garage floor moisture involves practical measures you can implement immediately to create a drier, more stable environment. Improving garage ventilation helps by increasing airflow, which reduces humidity and prevents moisture buildup. Ensure vents are unobstructed and consider installing an exhaust fan for better air circulation. Concrete sealing is also essential; applying a high-quality sealant creates a waterproof barrier that prevents moisture from seeping through the slab. Regularly inspect and reseal as needed to maintain effectiveness. Additionally, keep gutters and downspouts directed away from the garage to prevent water intrusion. Proper moisture control techniques are vital for maintaining a healthy garage environment. By combining good ventilation with proper sealing, you’ll greatly reduce moisture problems, protect your flooring, and create a healthier, more durable garage space. Incorporating architectural solutions can further enhance moisture control and improve overall structural integrity. Using appropriate materials during construction or renovation can also help minimize future moisture issues.
Common Testing Mistakes and How to Avoid Them
Many common garage floor moisture tests are misperformed because people overlook simple mistakes that can skew results. These testing misconceptions can lead to inaccurate readings, causing unnecessary concern or false reassurance. To avoid these common pitfalls:
- Don’t test on a hot or windy day—temperature and humidity affect moisture levels.
- Make certain the surface is clean and dry before testing to prevent false positives.
- Use the test kit correctly, following instructions precisely, to avoid misinterpretation.
- Test in multiple areas for a thorough assessment instead of relying on a single spot.
What to Do After Testing Your Garage Floor for Moisture

Once you’ve tested your garage floor for moisture, you need to address any excess levels immediately. Implement proper sealing measures to prevent future problems and safeguard your concrete. Taking these steps helps ensure a dry, durable surface that lasts.
Address Excess Moisture Levels
Have you discovered excessive moisture levels in your garage floor? Addressing this promptly can prevent damage and mold growth. Here’s what to do next:
- Improve ventilation – Increase airflow with exhaust fans or open windows to reduce humidity.
- Install drainage solutions – Ensure proper grading outside your garage to direct water away from the foundation.
- Seal cracks and leaks – Repair any visible cracks or gaps that allow water ingress.
- Use dehumidifiers – Keep indoor moisture levels low, especially during humid seasons.
These steps help manage moisture effectively, protecting your garage and foundation. Focusing on ventilation improvements and drainage solutions will make a significant difference in controlling excess moisture levels.
Implement Proper Sealing Measures
After addressing excess moisture levels, sealing your garage floor becomes the next essential step to prevent future water intrusion. Start with a thorough sealant application designed specifically for concrete surfaces. Clean the floor completely before applying the sealant to guarantee proper adhesion. Use a roller or brush to evenly spread the sealant across the entire surface, paying extra attention to cracks and joints. Consider installing moisture barriers beneath the coating for added protection, especially if moisture issues persist. These barriers act as a protective layer, preventing water vapor from seeping through the concrete. Once the sealant dries, it forms a durable barrier that minimizes water penetration, helping your garage stay dry and protected in the long run.
Frequently Asked Questions
How Often Should I Test My Garage Floor for Moisture?
You should test your garage floor for moisture at least once every six months, especially if you’re preparing for new flooring or want to guarantee material durability. Regular testing helps you catch excess moisture early, preventing damage and ensuring a solid foundation. Proper garage preparation includes maintaining low moisture levels, which extends the lifespan of your flooring and preserves its integrity. Stay proactive to avoid costly repairs down the line.
Can Weather Affect the Moisture Test Results?
Like a fickle weather vane, your garage floor’s moisture levels can shift with the weather impact, causing moisture variability. Rain, humidity, or temperature changes can skew your test results, making them appear wetter or drier than they truly are. To obtain accurate readings, perform tests during stable weather conditions and avoid testing immediately after storms or during high humidity. This guarantees your assessment reflects the true moisture status of your floor.
What Tools Do I Need for a DIY Garage Floor Moisture Test?
To perform a DIY garage floor moisture test, you’ll need basic testing equipment like moisture indicators or test kits designed for concrete. These indicators typically include moisture-sensitive pads or cards that change color when they detect moisture. You might also want a level or ruler to guarantee proper placement, and a clean cloth for surface preparation. With these tools, you can accurately check your garage floor’s moisture levels.
How Accurate Are DIY Moisture Tests Compared to Professional Ones?
DIY moisture tests can be surprisingly accurate, but they rarely match the precision of professional tools. While you might get a decent idea of your garage floor’s moisture level, the accuracy isn’t foolproof. For critical projects, professional comparison is the gold standard, offering detailed insights that DIY methods can’t always provide. Think of DIY tests as a helpful first step, but for certainty, consulting a professional is your best bet.
Is There a Specific Time of Day Best for Testing Moisture Levels?
The ideal testing times are typically in the morning or late afternoon when seasonal variations have less impact. During these periods, temperatures are more stable, and moisture levels are less affected by daily fluctuations. Avoid testing during midday or after heavy rain, as seasonal variations can skew results. Choosing consistent, stable times helps guarantee your DIY moisture test provides more accurate, reliable readings.
Conclusion
Now that you’ve mastered the method to measure moisture, remember: meticulousness minimizes mistakes, and maintenance maximizes moisture management. By following simple steps, you prevent problems before they start, protecting your garage and its flooring. Keep consistent checks, stay proactive, and prioritize proper preparation. With diligence and dedication, you’ll dodge damage, defend your space, and enjoy a dry, durable garage. Moisture management might be minimal effort for maximum peace of mind!