
Before coating your garage floor, you need to fix any cracks first. Inspect for hairline cracks or bigger gaps, and determine if they show signs of movement or widening. Clean and prepare the surface thoroughly, removing debris and loose concrete. For small cracks, use epoxy or polyurethane fillers; larger or structural cracks may need reinforcement like epoxy injections. Addressing these issues guarantees a long-lasting, smooth finish. Keep going to discover detailed steps for successful repairs.
Key Takeaways
- Thoroughly clean and remove debris from cracks to ensure proper adhesion of repair materials.
- Assess crack severity and determine if reinforcement or professional evaluation is necessary.
- Use appropriate crack fillers (epoxy, polyurethane, hydraulic cement) based on crack size and movement.
- Properly prepare the surface and allow full curing before applying coatings.
- Address underlying issues like soil movement or foundation shifts to prevent future cracking.

DAP Concrete Crack Filler, Gray, 1.62 lb (7079860500)
Concrete crack filler repairs horizontal cracks in concrete, stone and other masonry materials
As an affiliate, we earn on qualifying purchases.
As an affiliate, we earn on qualifying purchases.
What Causes Garage Floor Cracks and How to Recognize Them
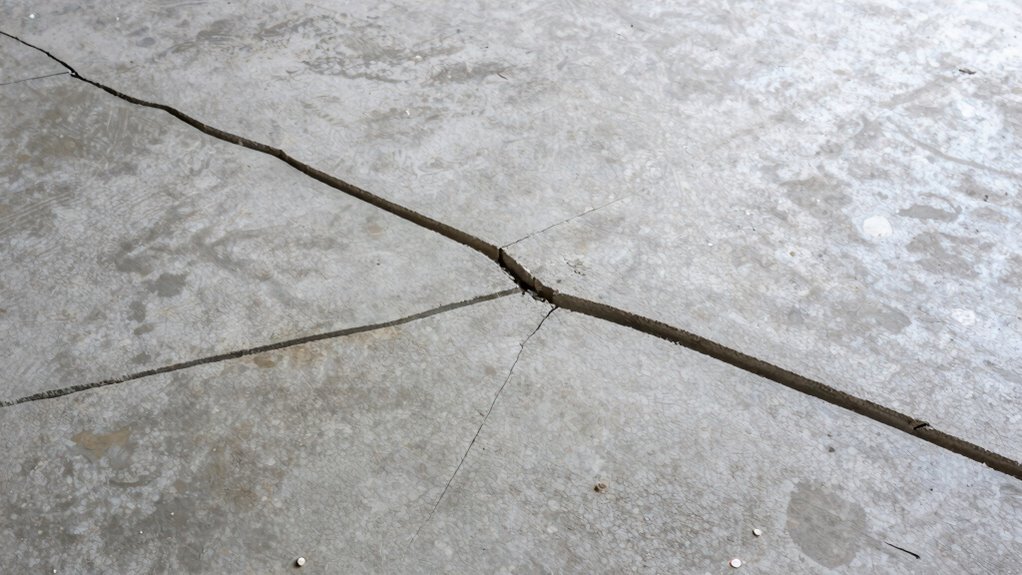
Have you ever wondered what causes garage floor cracks? Your garage surface endures a lot—weight, temperature changes, and settling can all lead to cracks. These fractures often start small but can expand if ignored. Cracks diagnosis begins with inspecting the surface carefully. Look for hairline fractures or larger gaps, and note their location. Temperature fluctuations cause concrete to expand and contract, which weakens the material over time. Heavy vehicles or shifting ground add pressure to the surface, making cracks more likely. Moisture infiltration can also weaken the garage surface, leading to further damage. Recognizing early signs of cracks helps you determine whether they’re minor surface issues or signs of deeper problems. Proper diagnosis is essential for effective repair and long-lasting results. Additionally, understanding the underlying causes, such as soil movement, can help prevent future issues. Being aware of concrete deterioration can also guide you in choosing the right repair methods and maintenance strategies. Monitoring for structural stress can provide early warnings and help avoid costly repairs later on. Regularly inspecting your garage floor for early warning signs can help catch issues before they become major problems. Recognizing the signs of foundation shifting is also important in assessing the severity of the cracks and planning appropriate repairs.

RadonSeal Complete DIY Foundation Crack Repair Kit – 10 Ft – Low-Viscosity Urethane Injection Sealant for Crawl Spaces & Concrete Basement Walls, Stops Water Leaks, Drill-Free Filler
Water-Resistant Seal: Formulated to remain flexible, accommodating natural concrete movement while its hydrophobic properties repel water, preventing shrinkage…
As an affiliate, we earn on qualifying purchases.
As an affiliate, we earn on qualifying purchases.
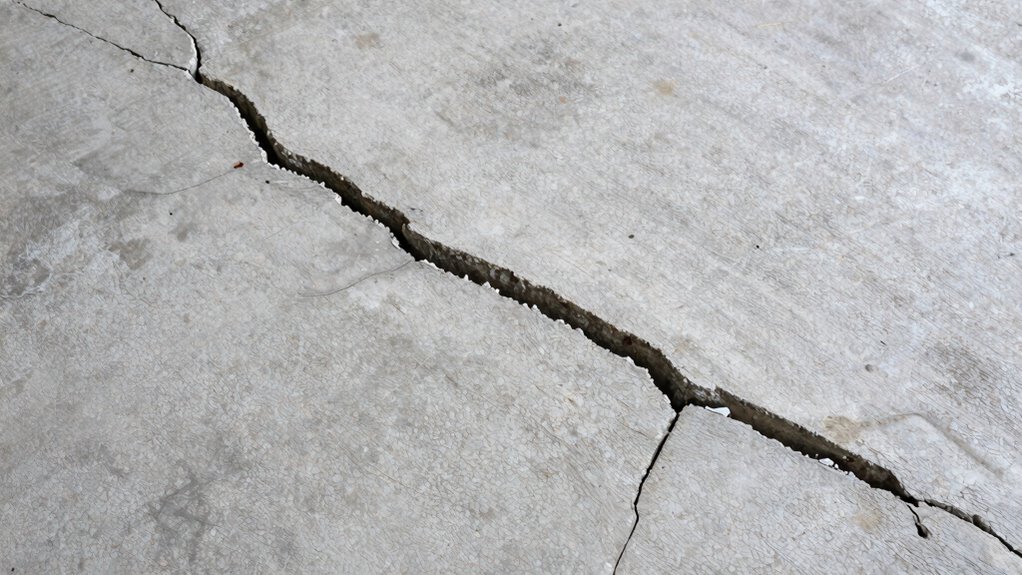
Assessing How Severe Your Garage Floor Cracks Are
Determining the severity of your garage floor cracks is essential to deciding the appropriate repair approach. Small, hairline cracks may only need surface sealing, while larger, deeper cracks could indicate structural issues. Assess whether cracks are active or stable—active cracks often widen or shift over time, signaling ongoing movement. Consider how cracks affect your garage aesthetics; visible, unsightly cracks can detract from the overall look. Also, think about paint compatibility; some paints may not adhere well to cracked or damaged surfaces, leading to peeling or failure. By accurately evaluating crack size, depth, and movement, you can choose the most effective repair method and guarantee a smooth, durable surface ready for coating. Proper assessment prevents future problems and enhances your garage’s appearance. Additionally, understanding concrete deterioration factors can help identify underlying issues contributing to the cracks. Recognizing signs of structural damage early can save you from costly repairs down the line. Being aware of water intrusion effects can also help prevent further damage and deterioration. Identifying cracks caused by foundation settlement can further inform your repair choices and long-term maintenance strategies. Conducting a thorough inspection can reveal whether soil movement is influencing the cracks, guiding more effective repairs.

Rust-Oleum 251965 EPOXYSHIELD Garage Floor Coating Kit, 1 Car, Gloss Gray
Durable, 2-part epoxy formula works on interior concrete surfaces, such as garage floors, workshops, basements and more
As an affiliate, we earn on qualifying purchases.
As an affiliate, we earn on qualifying purchases.
Tools and Materials Needed for Garage Floor Crack Repairs
To successfully repair your garage floor cracks, you’ll need a few essential tools like a chisel, wire brush, and a caulking gun. Along with these, gather the necessary repair materials such as crack filler, epoxy, or hydraulic cement. Having everything ready guarantees a smooth and efficient repair process. Using the right DIY tools and safety tips can help prevent accidents and ensure a more durable repair. Properly preparing your workspace can also minimize damage, making the repair process more manageable and effective. Additionally, understanding the proper cleaning techniques for concrete surfaces can improve the adhesion of repair materials. Incorporating appropriate storage solutions for your repair supplies can also keep your workspace organized and prevent contamination of materials. Embracing a curious mindset about innovative repair methods can lead to more efficient and long-lasting results.
Essential Repair Tools
Fixing garage floor cracks requires the right tools and materials to guarantee a durable repair. First, you’ll need a chisel and hammer to widen and clean the crack. Second, a concrete grinder or wire brush helps remove loose debris and smooth the surface. Third, a caulking gun is essential for applying crack filler or epoxy. Proper tool maintenance ensures your equipment stays effective, especially when working within your garage layout, which can affect accessibility. Keep tools clean and well-lubricated after each use to prevent rust and damage. Having these essential tools on hand makes crack repair more efficient and helps achieve a lasting fix before coating your garage floor. Proper tool readiness saves time and ensures a professional-looking finish. Additionally, understanding the different types of crack filler or epoxy can further enhance the longevity of your repair. Using the appropriate AI tools can also assist in planning and assessing the extent of repairs, leading to better results. Being aware of common repair mistakes can help you avoid costly errors and ensure your repair holds up over time.
Necessary Repair Materials
Having the right repair materials on hand makes garage floor crack repairs more effective and long-lasting. You’ll need quality fillers, patching compounds, and sealants to restore your garage floor’s aesthetics and prepare it for decorative finishes. Choose a crack filler suitable for your concrete type, along with a primer and bonding agent for better adhesion. Using proper tools ensures a smooth finish and durable repair. Here’s a quick overview:
| Material / Tool | Purpose | Notes |
|---|---|---|
| Epoxy or Concrete Filler | Fill cracks and chips | For a long-lasting, seamless repair |
| Primer / Bonding Agent | Improve adhesion of repair materials | Essential for decorative finishes |
| Trowel or Putty Knife | Apply and smooth repair materials | Ensures a level surface |
| Sandpaper or Grinder | Prep surface for coating | Removes debris and rough spots |
| Sealant or Topcoat | Protects repair and enhances aesthetics | Final step before decorative finishes |
Additionally, choosing the right repair materials can prevent future damage and ensure a durable, professional-looking finish. Proper surface preparation, such as surface cleaning, is also crucial to ensure the longevity of your repairs.
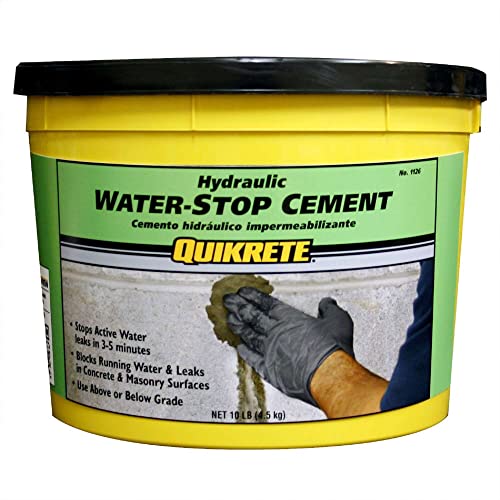
Quikrete Rapid Setting, Hydraulic Water Stop Cement, Sets in 3 to 5 Minutes to Patch Concrete & Masonry, For Pools and Foundations, 10 Pounds
Stop leaks once and for all with the ultimate water-stopping fix. Seal up leaks tight with the Quikrete…
As an affiliate, we earn on qualifying purchases.
As an affiliate, we earn on qualifying purchases.
How to Prepare Your Garage Floor for a Long-Lasting Repair

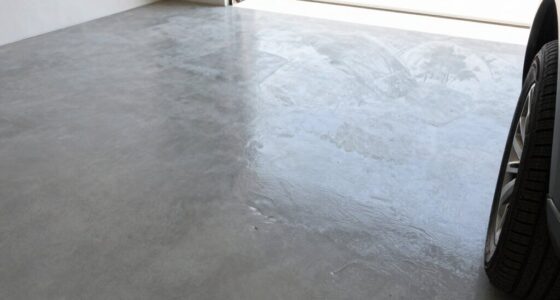
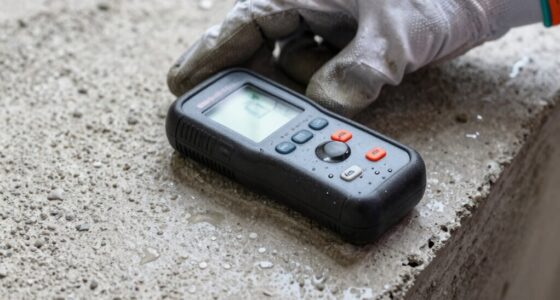
Before you start repairing your garage floor, it’s vital to properly prepare the surface to guarantee the repair lasts. First, clean the area thoroughly to remove dirt, grease, and loose debris, which can affect adhesion. Next, confirm the surface is dry; moisture can compromise paint compatibility and cause future cracks. Finally, etch or lightly sand the area to create a rough texture, improving adhesion and enhancing garage aesthetics. Remember, a well-prepared surface promotes long-lasting repairs and a smooth finish. Proper prep not only extends the life of your repair but also guarantees your garage looks sharp and cohesive after painting. Additionally, understanding seasonal conditions can help you choose the best time for repairs, ensuring optimal curing and adhesion. Being aware of climate factors such as temperature and humidity can also significantly impact the success of your repair process.
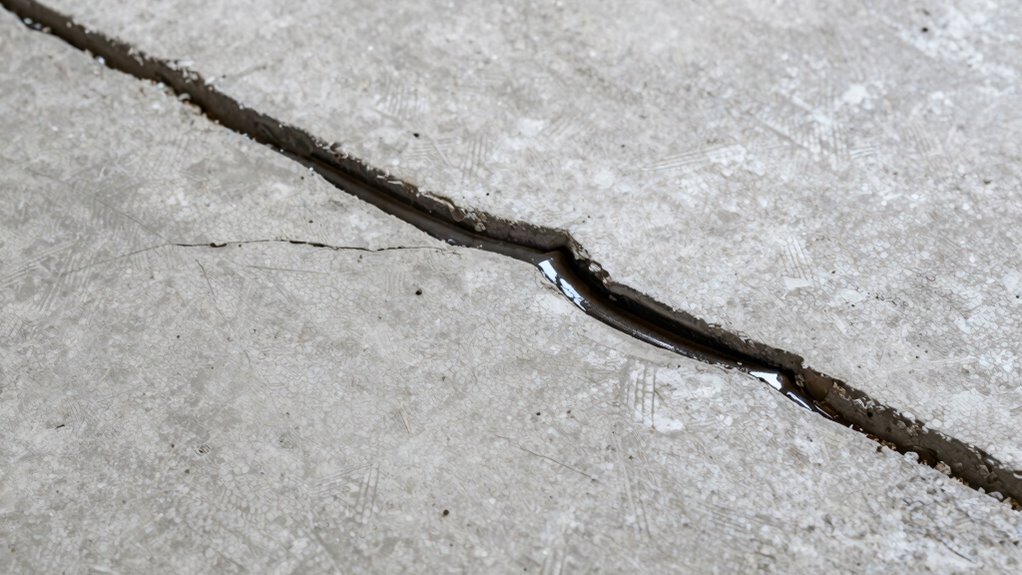
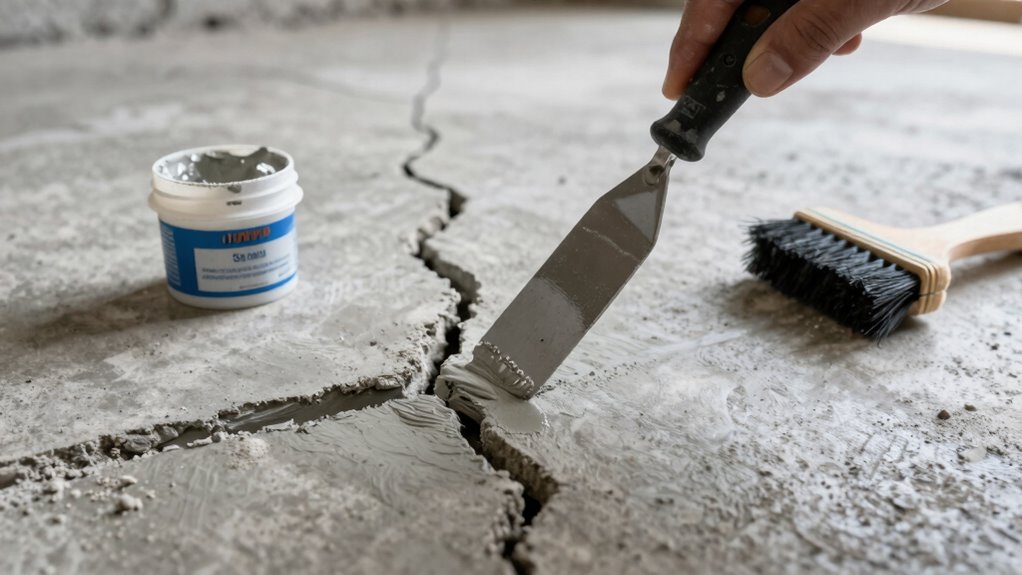
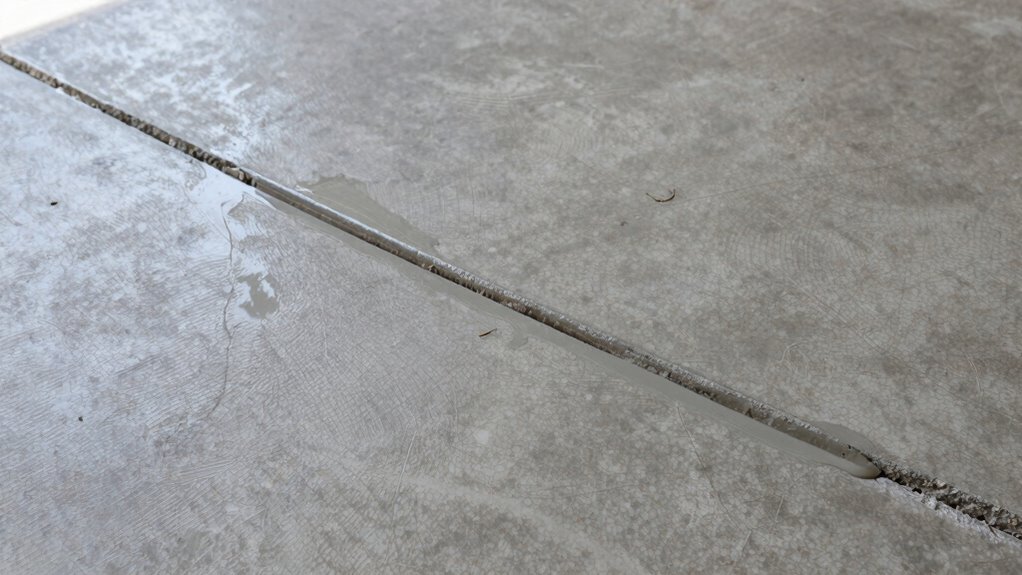
Step-by-Step: Filling and Sealing Surface Cracks
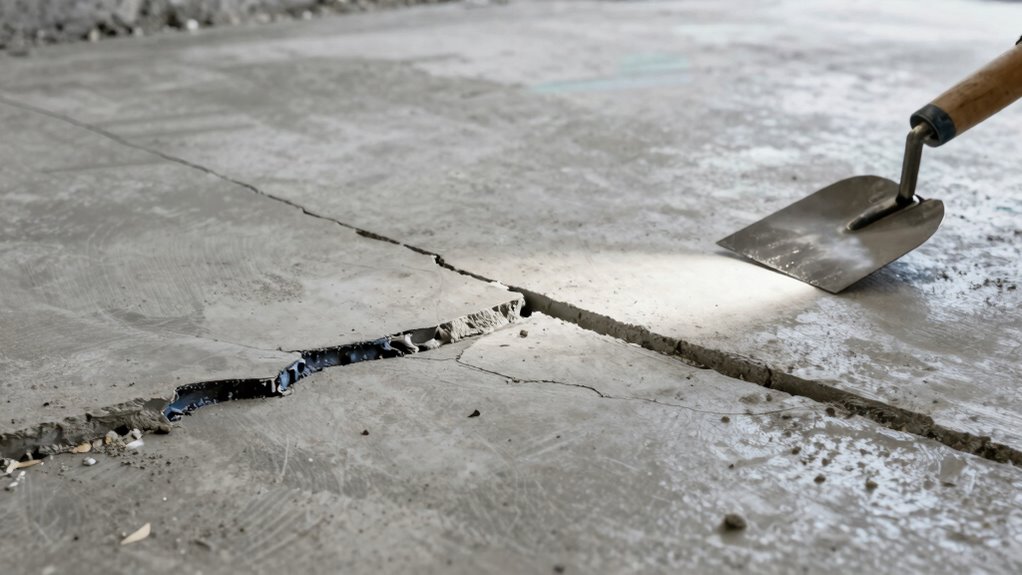
To effectively repair surface cracks in your garage floor, start by selecting the right filling material. Use a high-quality epoxy or polyurethane patch to ensure durability and crack prevention. Clean the crack thoroughly, removing debris and loose concrete. Fill the crack with the chosen product, pressing firmly to eliminate air pockets. Smooth the surface with a putty knife and let it cure fully before sealing. Sealing not only enhances garage aesthetics but also protects against water infiltration and further cracking. Proper garage floor maintenance can extend the lifespan of your surface and prevent future issues. Here’s a quick guide:
| Step | Tip |
|---|---|
| Choosing the filler | Use epoxy for small cracks, polyurethane for larger ones |
| Preparing the crack | Remove debris and dampen if necessary |
| Applying and sealing | Smooth with a putty knife and let cure |
This process helps maintain your garage’s integrity and appearance.
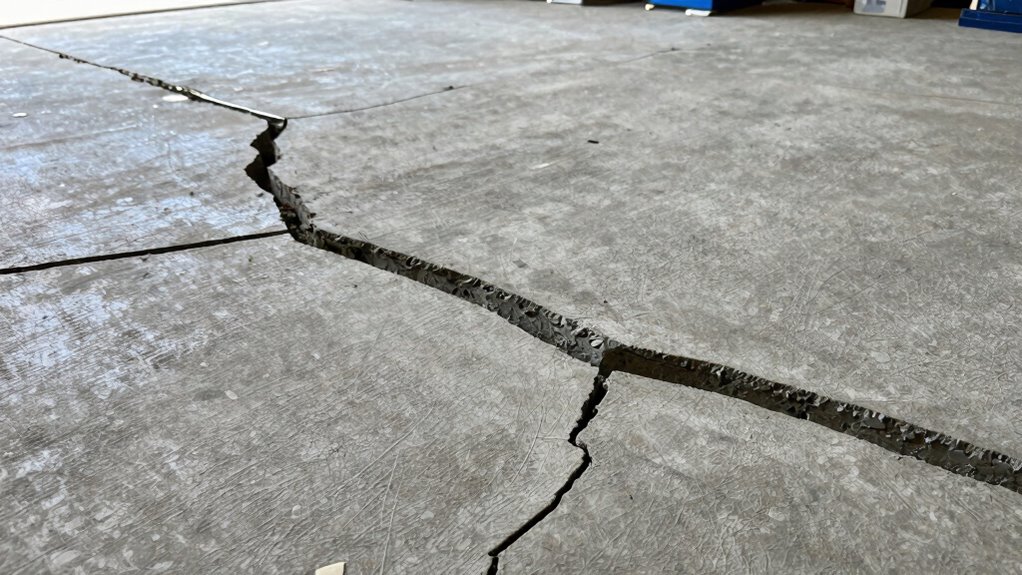
When and How to Reinforce Larger or Structural Cracks
You need to evaluate the severity of larger or structural cracks to determine if reinforcement is necessary. Proper techniques, like epoxy injections or steel pins, guarantee the repair holds. Knowing when and how to reinforce will help prevent future damage and maintain your garage’s stability.
Assess Crack Severity
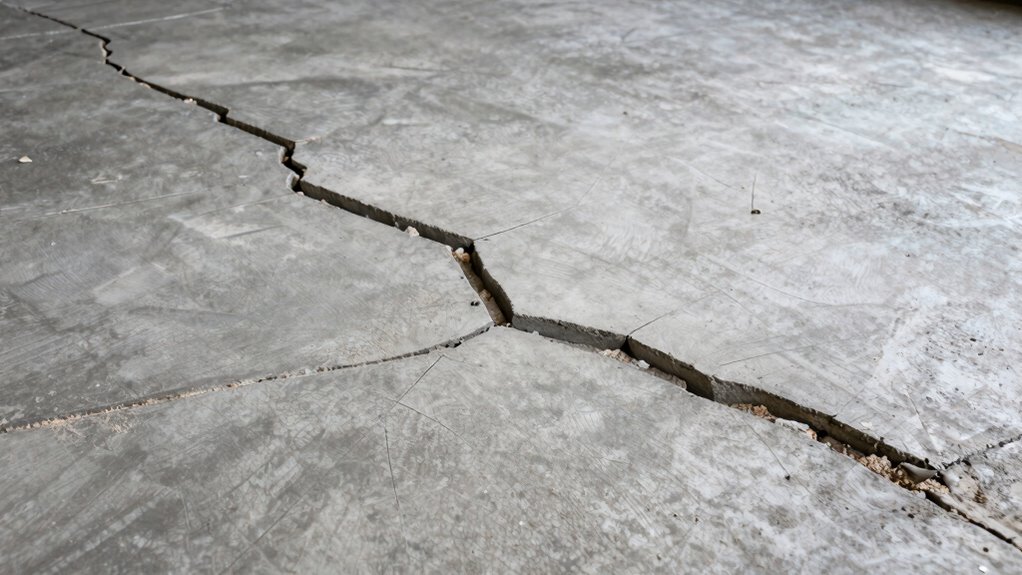
Determining whether a crack in your garage floor requires reinforcement hinges on its size, pattern, and stability. If you notice surface discoloration around the crack or signs of crack expansion, it’s a red flag. Larger or widening cracks often indicate underlying structural issues. To assess severity, consider these points:
- Width of the crack—more than 1/4 inch usually needs reinforcement.
- Pattern—stair-step or jagged cracks suggest movement.
- Stability—if the crack grows or shifts, it’s likely structural.
If any of these signs are present, reinforcement is necessary before coating. Ignoring serious cracks can lead to further damage, making repairs more costly. Proper assessment helps you determine when to reinforce larger or structural cracks effectively.
Use Proper Reinforcement Techniques
When dealing with larger or structural cracks in your garage floor, proper reinforcement is essential to prevent further damage and guarantee stability. You should consider installing steel reinforcement bars or epoxy injections to strengthen the crack and distribute stress evenly. This not only enhances the garage’s structural integrity but also improves garage aesthetics by providing a smooth, stable surface. Reinforcing cracks carefully ensures that the surface remains level, which helps with paint adhesion later on. Skipping proper reinforcement can lead to ongoing movement, worsening the crack, and making your coating prone to peeling or cracking. Always follow manufacturer instructions for reinforcement materials, and make sure the surface is clean and prepared before applying any repair products. This approach guarantees a durable, long-lasting repair that supports your garage’s stability and appearance.
Tips to Avoid Common Mistakes During Garage Floor Repairs

To ensure a successful garage floor repair, it’s essential to recognize and avoid common mistakes that can compromise the durability of your work. First, neglecting proper surface preparation can lead to poor adhesion, affecting both structural integrity and garage aesthetics. Second, rushing the curing process or skipping the recommended drying times can cause cracks or peeling. Finally, ignoring decorative finishing options might result in an uneven surface that detracts from the garage’s appearance. Keep these points in mind:
- Prepare the surface thoroughly before applying any repair material.
- Follow curing instructions carefully for long-lasting results.
- Consider decorative finishing to enhance your garage’s look and protect the repair.
Avoiding these mistakes ensures your garage floor remains strong and visually appealing.
How to Maintain Your Garage Floor and Prevent Future Cracks
Maintaining your garage floor properly can considerably extend its lifespan and keep cracks from forming or worsening. Regular cleaning removes dirt and debris that can cause surface wear, while sealing your concrete helps prevent moisture intrusion that leads to cracking. Consider applying a high-quality epoxy or coating that enhances garage aesthetics and offers an extra layer of protection. For a decorative touch, explore options like decorative flakes or stamped overlays, which not only improve appearance but also add durability. Address small cracks promptly to prevent them from expanding. Proper drainage around your garage also minimizes water pooling that can weaken the concrete. Consistent maintenance, combined with thoughtful decorative options, keeps your garage floor looking good and structurally sound for years to come.
When to Call a Professional for Garage Floor Crack Repairs
Cracks in your garage floor can indicate underlying issues that require more than just DIY repairs, especially if they continue to grow or appear suddenly. If you notice large, wide, or rapidly expanding cracks, it’s time to call a professional. They can assess whether the damage affects your garage decor or storage solutions and recommend appropriate repairs. You should seek expert help if:
- The cracks are wider than a quarter inch or worsen over time
- There’s visible shifting or unevenness in the slab
- You suspect structural or foundational problems
Professional repair ensures stability and prevents further damage, protecting your garage’s functionality and appearance. Avoid DIY fixes if the cracks are signs of severe issues, as expert intervention is key to long-term durability.
Frequently Asked Questions
How Long Should I Wait After Repair Before Applying a Coating?
You should wait at least 24 to 48 hours after repair before applying a coating, depending on the curing time of the repair material. Timing considerations are vital to ensure the crack fully cures and bonds well with the coating. Check the manufacturer’s instructions for specific curing times, as rushing the process can compromise adhesion and durability. Patience guarantees a smooth, long-lasting finish on your garage floor.
Can I Repair Cracks Myself or Should I Hire a Professional?
You can absolutely tackle crack repairs yourself with DIY methods, but beware—those tiny cracks might hide bigger issues beneath the surface! If you’re confident and prepared, DIY can save you money and give you a sense of achievement. However, for perfect, long-lasting results and peace of mind, hiring professional services is often the wiser choice. They have the expertise to ensure your garage floor is flawless before coating.
What Are the Best Sealants for Garage Floor Cracks?
For garage floor cracks, epoxy and polyurethane sealants are your best options due to their high sealant durability. Epoxy works well for wider cracks and provides a strong, long-lasting bond, while polyurethane is flexible, ideal for cracks caused by ground movement. Consider crack types when choosing your sealant, and opt for products designed specifically for concrete. Proper prep and application guarantee your repair holds up over time.
How Do I Prevent Cracks From Forming in the First Place?
Like a vigilant castle guard, you can prevent cracks by maintaining your garage floor through regular garage maintenance. Control concrete expansion by ensuring proper drainage and avoiding excessive moisture, which causes concrete to swell and contract. Use quality sealants and avoid heavy impacts. Keep the slab dry and stable, and address minor issues promptly. These steps forge a strong shield, keeping your garage floor crack-free and resilient over time.
Are There Eco-Friendly Options for Garage Floor Crack Repair?
Yes, you can choose environmentally friendly options for garage floor crack repair. Look for sustainable materials like eco-friendly epoxy or latex-based crack fillers that emit fewer volatile organic compounds (VOCs). These options are safe for the environment and your family while providing durable repairs. By selecting sustainable materials, you’re reducing environmental impact and ensuring your garage remains a safe, eco-conscious space. Always check product labels for eco-friendly certifications before purchasing.
Conclusion
Remember, a stitch in time saves nine—addressing garage floor cracks promptly can save you money and hassle down the line. By understanding the causes, evaluating severity, and following proper repair steps, you’ll maintain a durable, smooth surface that lasts. Don’t wait until small cracks turn into big problems; your proactive approach now will pay off in the long run. Keep your garage in top shape and avoid future headaches with timely repairs.