To test concrete moisture before coating, start by cleaning the surface thoroughly and ensuring it’s fully cured. Use moisture meters—either pinless for quick checks or pin-type for precise readings—and calibrate them correctly. Perform surface tests like the plastic sheet test for 24-48 hours to spot hidden moisture, or use calcium chloride tests for more detailed readings. Proper testing helps prevent coating failures; keep exploring further to master this essential step.
Key Takeaways
- Ensure the concrete has fully cured and is clean, dry, and free of contaminants before testing.
- Perform a plastic sheet test by sealing a plastic film over the surface for 24-48 hours to check for moisture.
- Use moisture meters (pinless or pin-type) to measure surface and subsurface moisture levels accurately.
- Conduct calcium chloride tests by placing moisture-absorbing discs and measuring weight gain over 24 hours.
- Interpret test results to determine if moisture levels are within acceptable limits for coating application.
concrete moisture meter
As an affiliate, we earn on qualifying purchases.
As an affiliate, we earn on qualifying purchases.
Why Is Moisture Testing Critical Before Coating Concrete?
Moisture testing is essential before coating concrete because excess moisture can prevent the coating from adhering properly and lead to future issues like peeling or bubbling. Historically, coatings were applied without thorough moisture checks, often resulting in failures and increased costs. Today, awareness of environmental impact emphasizes the importance of proper testing to reduce waste and prevent the need for rework. Moisture issues can cause coatings to degrade faster, leading to more frequent replacements and environmental waste. By testing moisture accurately, you minimize these risks, ensuring a longer-lasting finish. Additionally, understanding the testing accuracy trends highlights how modern practices prioritize sustainability, making moisture testing a crucial step to protect both your investment and the environment. Incorporating inclusive standards in the industry promotes more responsible and sustainable practices across all aspects of construction and coating projects. Recognizing the impact of moisture on coating durability further underscores the need for precise testing methods to maintain quality over time. Advances in testing technology now allow for faster and more reliable results, helping professionals make informed decisions quickly. Ensuring proper testing procedures can also reduce costly rework, saving time and resources in the long run.
plastic sheet moisture test kit
As an affiliate, we earn on qualifying purchases.
As an affiliate, we earn on qualifying purchases.
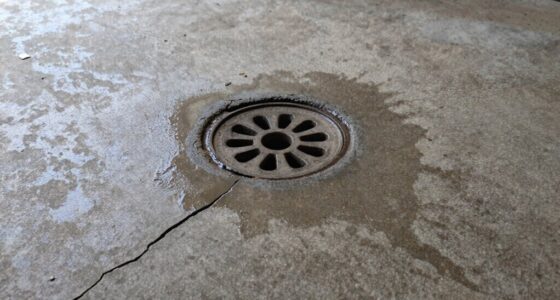
Signs of Excess Moisture in Concrete Surfaces
Recognizing the signs of excess moisture on concrete surfaces helps you identify potential problems early. You’ll notice issues like efflorescence—white, powdery deposits—indicating water movement through the surface. Surface porosity also plays a role; highly porous concrete absorbs more moisture, leading to visible stains or damp patches. Weather conditions considerably impact moisture levels; high humidity or rain can increase surface moisture, making it harder for coatings to adhere properly. You might see blistering, peeling, or bubbling in the finish, which signals trapped moisture beneath. Proper surface preparation is essential to ensure moisture issues are addressed before applying coatings. Additionally, understanding indoor air quality can help identify sources of moisture infiltration that contribute to these problems. Regularly monitoring building ventilation can also help control internal humidity levels and prevent moisture buildup. Improving humidity control strategies can significantly reduce the risk of moisture-related issues in concrete surfaces. Being aware of moisture testing methods can further assist in accurately assessing surface conditions. If you observe these signs, it’s a clear indication that moisture levels are too high, and testing is necessary before proceeding with any coating application. Recognizing these clues ensures you avoid future coating failures.
calcium chloride moisture test
As an affiliate, we earn on qualifying purchases.
As an affiliate, we earn on qualifying purchases.
How to Prepare Your Concrete for Moisture Testing
Before testing for moisture, you need to guarantee the concrete surface is properly prepared to get accurate results. Ascertain the concrete has fully cured, as incomplete curing can skew moisture readings. Proper surface cleaning is essential; remove dirt, dust, grease, and any loose debris that could interfere with testing. Use a stiff brush or vacuum to clean the area thoroughly. Avoid applying coatings or sealers before testing, as they can trap moisture and give false readings. Wait until the surface is dry and free of contaminants. If the surface appears damp or wet, allow it to dry completely before conducting your test. Proper preparation ensures that your moisture measurements are reliable, helping you determine the right time for coating or sealing your concrete. Additionally, understanding the importance of proper curing can help prevent inaccurate moisture assessments. Being aware of moisture barriers can also aid in interpreting test results more effectively. Recognizing the effect of surface contaminants can further improve the accuracy of your moisture readings. Ensuring the concrete is free from surface moisture prior to testing is crucial for obtaining valid results. Incorporating a thorough inspection for potential moisture sources can also help identify underlying issues that may affect the test outcomes.
pinless moisture meter for concrete
As an affiliate, we earn on qualifying purchases.
As an affiliate, we earn on qualifying purchases.
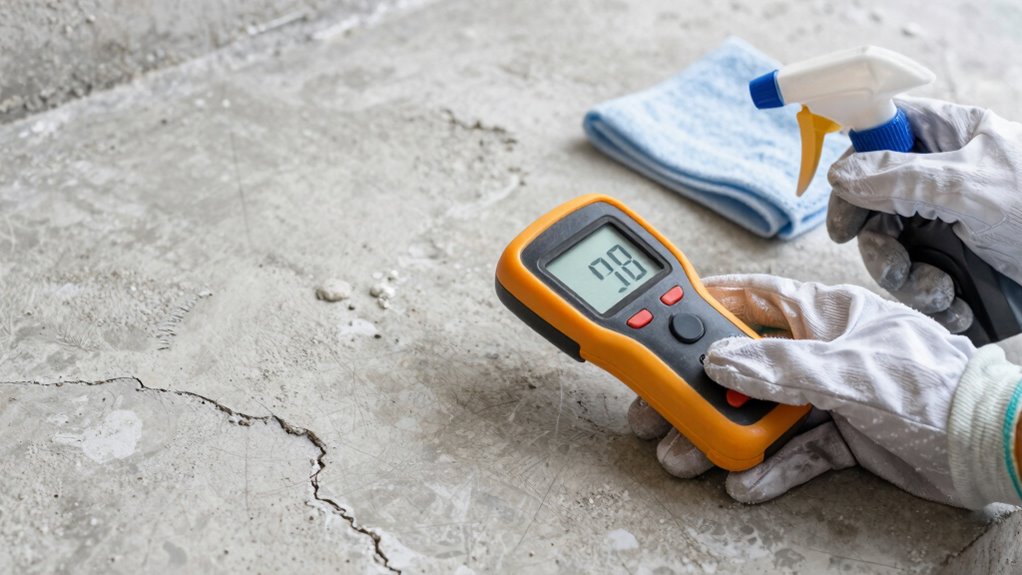
Choosing the Right Moisture Meter for Your Project
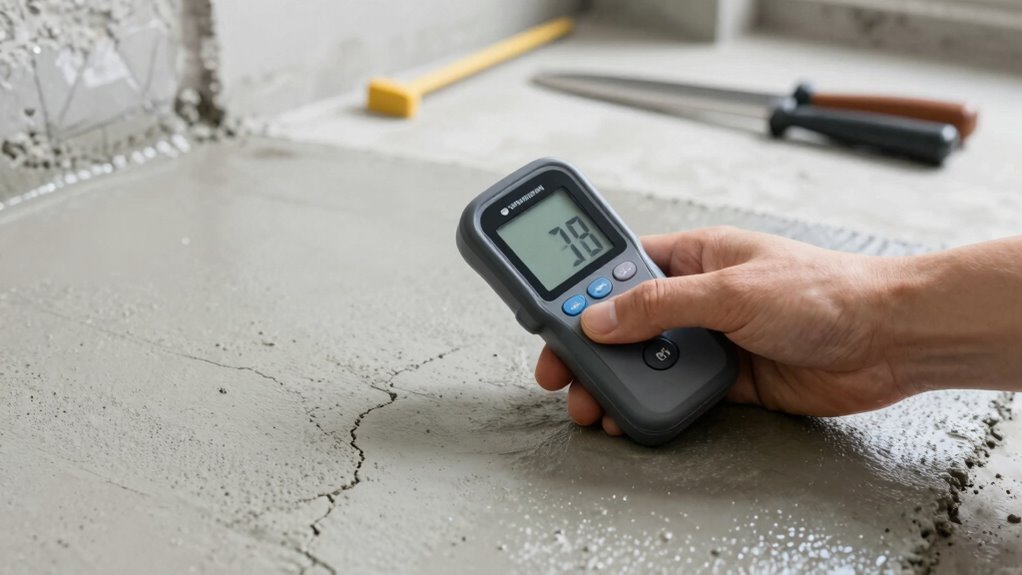
Choosing the right moisture meter for your project depends on the specific requirements of your testing and the type of concrete you’re working with. You’ll need a moisture meter suited to your needs, whether it’s a pinless or pin-type device. Pinless meters are ideal for quick, non-destructive measurements, but may be less accurate on thicker slabs. Pin-type meters provide precise readings but require insertion into the concrete. Regardless of the type, proper calibration procedures are essential to guarantee accuracy. Regular calibration against a known moisture level helps maintain reliability. Consider factors like measurement depth, ease of use, and compatibility with your concrete’s conditions when selecting your meter. Making an informed choice helps ensure accurate moisture testing before applying coatings. Understanding moisture measurement techniques can further improve your testing accuracy and project outcomes. Additionally, being aware of industry standards ensures your testing methods align with best practices for quality and compliance. Moreover, understanding the holistic approach to SEO can help you optimize your testing guides for better online visibility and reach a wider audience.
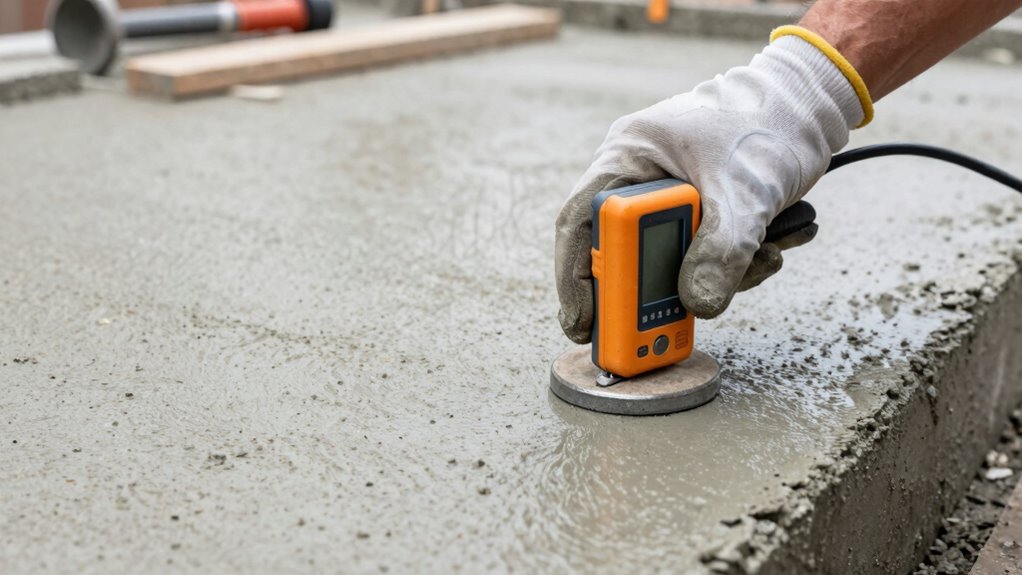
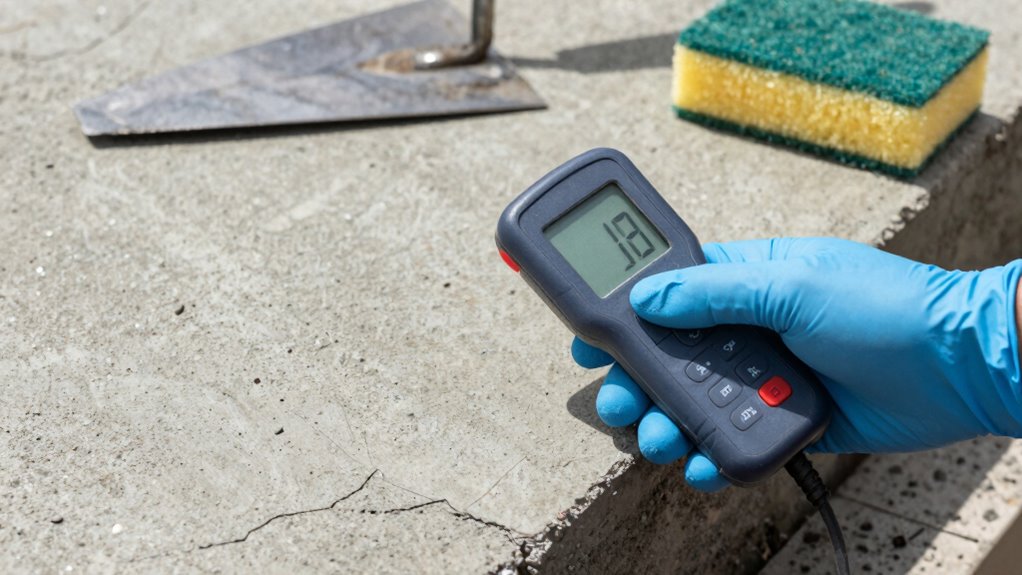
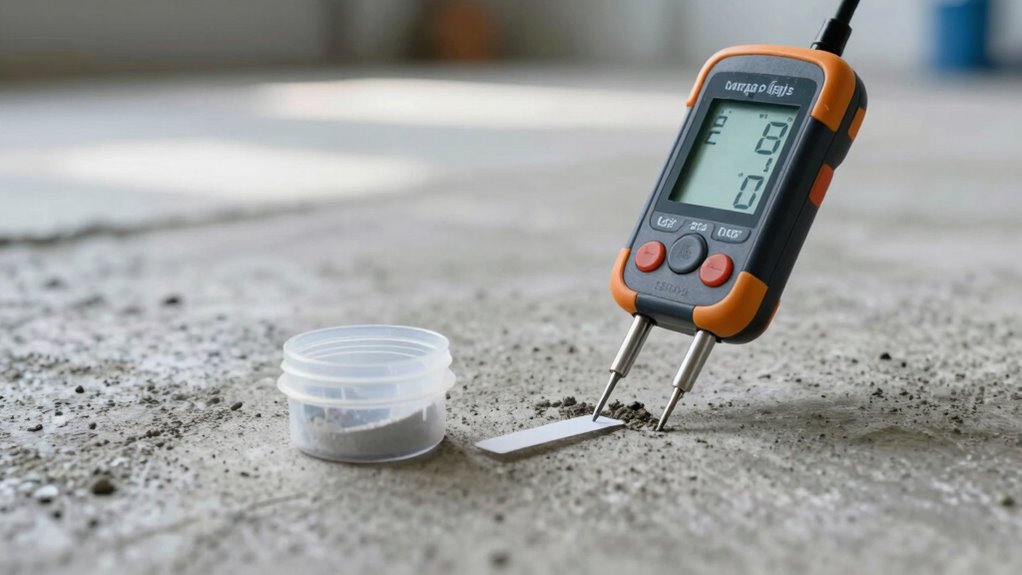
How to Use Moisture Meters Effectively

To use moisture meters effectively, it’s essential to follow proper testing techniques and understand how to interpret the readings accurately. Begin by ensuring your moisture sensor is correctly calibrated, following the manufacturer’s calibration procedures. This step guarantees precise measurements and reliable results. When testing, insert the moisture sensor into the concrete at various points and depths, maintaining consistent pressure. Take multiple readings to account for variability across the surface. Always record the data carefully and compare it to the recommended moisture levels for coating application. Regular calibration procedures help prevent measurement errors over time. Additionally, being aware of regional climate factors and the influence of additives like chicory can also impact coating choices and application techniques. Properly understanding moisture content is vital for ensuring a successful coating bond and long-lasting finish. To improve accuracy, consider using advanced moisture testing methods that can detect subtle variations in moisture levels. Research shows that understanding sound wave frequencies can enhance the effectiveness of certain moisture detection techniques. By adhering to these practices, you’ll obtain accurate moisture content readings, allowing you to make informed decisions about whether the concrete is ready for coating.
Performing the Plastic Sheet Test to Detect Moisture
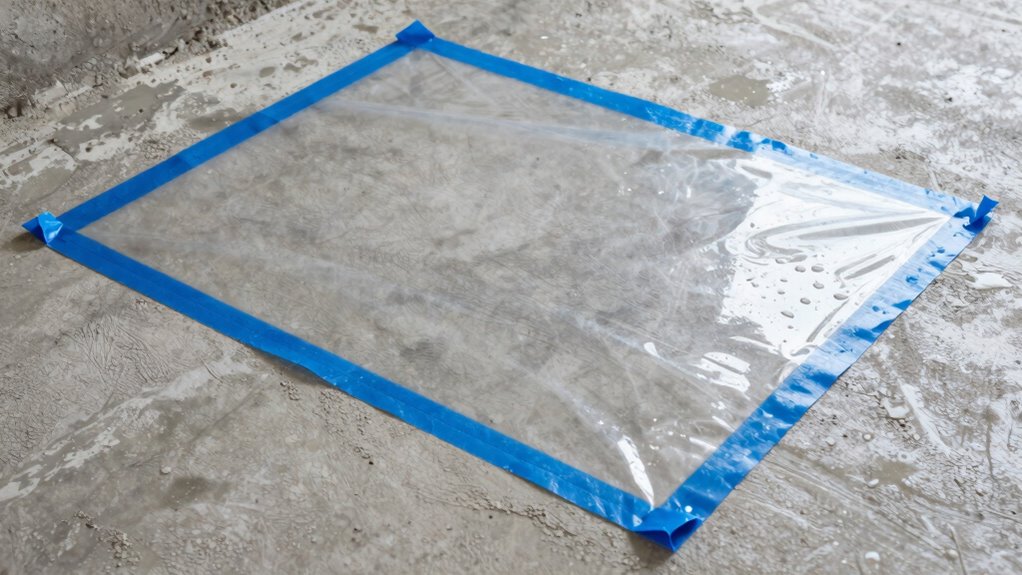
To perform the plastic sheet test, first choose an area of your concrete slab that’s representative and free of cracks. Next, tape a clear plastic sheet tightly over the surface and seal the edges. After 24-48 hours, check the sheet for signs of moisture to interpret whether your concrete is dry or needs further treatment. This simple testing method helps ensure proper surface conditions for coating adhesion. To prevent moisture issues, consider eco-friendly disposal methods for any excess materials or contaminated waste generated during surface preparation.
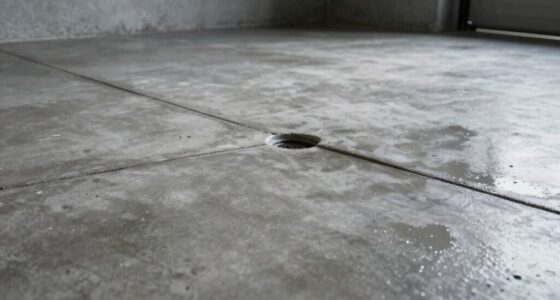
Selecting the Right Area
Selecting the right area for the plastic sheet test is essential to accurately detect moisture issues. Historically, testing methods focused on spot checks, which could overlook widespread problems. By choosing representative sections, you guarantee more reliable results. Consider areas prone to moisture buildup, such as near walls, vents, or drains, because these spots often reflect broader issues. Additionally, select locations that have minimal environmental impact—avoiding areas disturbed by recent construction or cleaning. Properly chosen test zones help prevent moisture problems from spreading or causing damage, protecting both your project and the environment. Accurate area selection minimizes unnecessary testing and reduces waste, supporting sustainable practices. Overall, careful selection ensures you detect moisture issues early, safeguarding your coating’s durability and longevity.
Applying the Plastic Sheet
Applying the plastic sheet is a simple but effective way to detect moisture in concrete. You’ll place a plastic sheet directly on the surface, creating a moisture barrier. Make certain the sheet is sealed tightly around the edges to prevent moisture escape. Leave it in place for 24 to 48 hours, then check for signs of moisture underneath or around the edges. This test helps identify whether moisture is migrating through the concrete, potentially affecting coatings.
| Step | Key Point | Result to Watch For |
|---|---|---|
| Place the plastic sheet | Use a heavy-duty plastic sheet as barrier | Make certain it’s sealed tightly |
| Wait period | 24 to 48 hours | Moisture accumulation underneath |
| Check for moisture | Inspect for dampness or water droplets | Presence indicates moisture issues |
Interpreting Test Results
After you’ve removed the plastic sheet, carefully examine the underside and edges of the concrete surface. Look for visible signs of moisture, such as dampness or staining, which can reveal historical moisture trends affecting the surface. Interpreting these results is essential to prevent coating failures and minimize environmental impact.
Consider these points:
- No visible moisture indicates low risk, but continue monitoring for consistency.
- Moist areas suggest ongoing moisture issues needing further testing.
- Past moisture signs might impact coating longevity and environmental sustainability.
Understanding these results helps you assess the concrete’s condition accurately. Recognizing historical moisture trends ensures you choose the right coating, reduces environmental impact, and promotes long-term durability.
Step-by-Step Guide to the Calcium Chloride Test
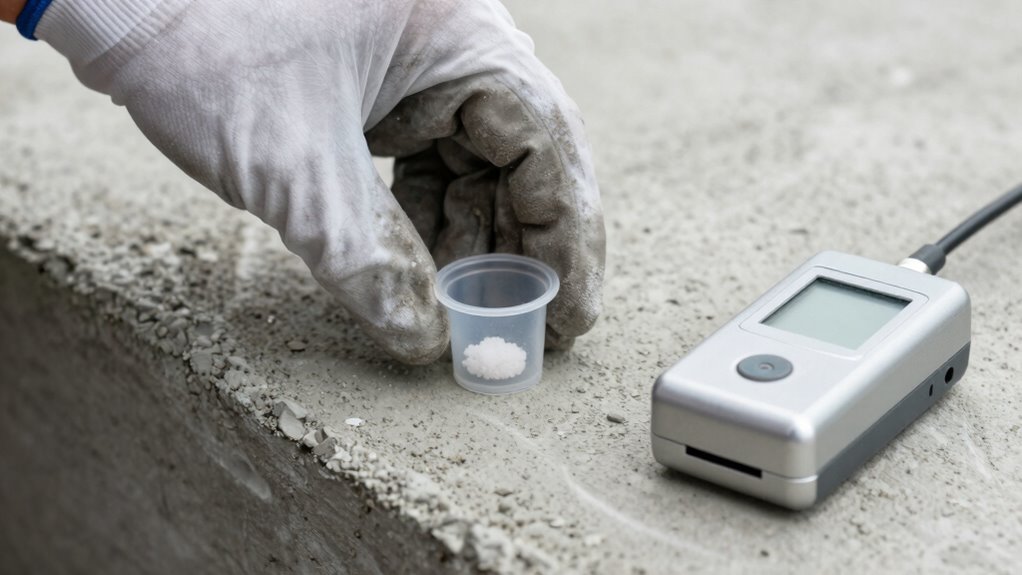
To accurately measure the moisture content in concrete, the calcium chloride test is a widely used method that provides quick and reliable results. Begin by cleaning the test area to remove dust or debris, ensuring accurate measurements. Next, secure the plastic dish or container to the prepared surface, making sure it’s flush with the concrete. Fill the dish with a known quantity of calcium chloride crystals, following the manufacturer’s instructions. Cover the dish with a plastic lid or seal it with plastic wrap to prevent evaporation. Place the test kit in a location with stable temperature and avoid direct sunlight. Record the weight of the calcium chloride before and after 24 hours. This test accounts for concrete porosity, which affects moisture absorption, and considers curing methods that influence moisture levels.
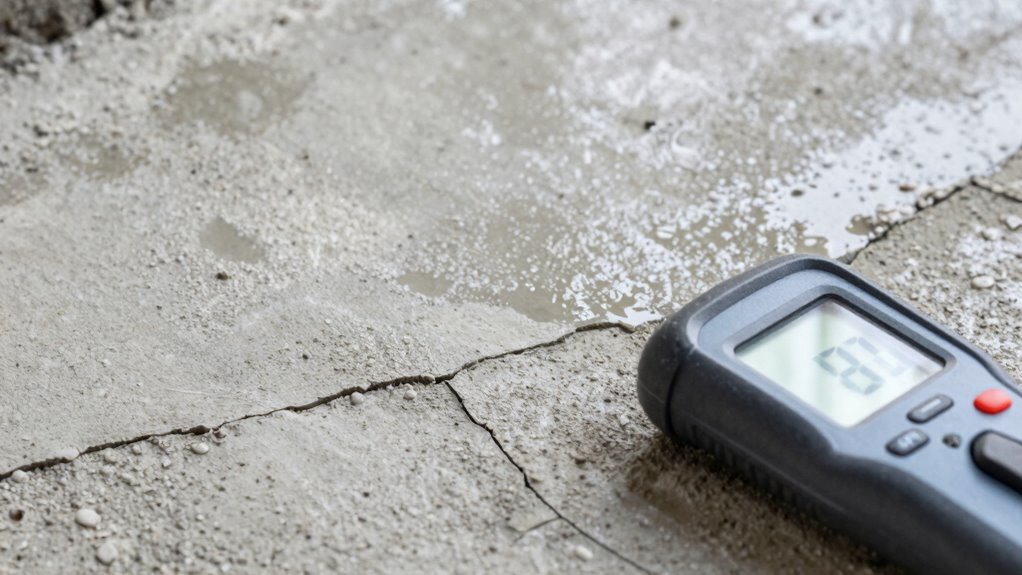
Interpreting Moisture Test Results to Decide If Your Surface Is Ready
Interpreting your concrete moisture test results accurately is essential to determine if the surface is ready for the next construction phase. If moisture levels are too high, applying coatings can lead to issues like peeling and environmental impact. To decide if your surface is ready:
Accurate moisture testing ensures surface readiness, preventing peeling and environmental issues from improper coatings.
- Check your moisture percentage—most coatings require levels below 4-5%.
- Consider environmental factors—high humidity or recent rain can skew results, so wait if needed.
- Reflect on historical preservation—older surfaces may need more thorough testing to avoid damaging fragile materials.
Tips for Ensuring Long-Lasting Concrete Coatings
To guarantee your concrete coating lasts, you need to follow proper moisture testing techniques to identify any issues early. Preparing the surface thoroughly is vital, as it helps the coating adhere properly and prevents future problems. Additionally, selecting the right coating products for your specific conditions will maximize durability and longevity.
Proper Moisture Testing Techniques
Ensuring accurate moisture testing is essential for achieving long-lasting concrete coatings. Proper techniques prevent future issues and align with historical trends favoring sustainable practices. To get reliable results:
- Use a calcium carbide meter or moisture probe, ensuring calibration for the specific concrete mix.
- Conduct tests at multiple spots and depths to account for variability in moisture content.
- Follow standardized procedures, considering environmental impact to avoid false readings caused by surface moisture or temperature fluctuations.
Accurate testing helps you identify moisture levels before coating, minimizing the risk of delamination or mold growth. It also supports eco-friendly choices by preventing unnecessary re-coating and waste, aligning with current environmental standards and trends. Proper technique ensures your coating lasts longer and performs better over time.
Surface Preparation Essentials
Proper surface preparation is essential for achieving durable, long-lasting concrete coatings. Start by thoroughly cleaning the surface to remove any surface contamination like dirt, grease, or loose debris, which can hinder adhesion. Use appropriate cleaning methods such as shot blasting or etching to ensure a clean, roughened surface. Check for residual moisture, as high moisture levels can cause coating failure. Additionally, consider the curing methods used on the concrete; improper curing can lead to uneven surfaces and reduced adhesion. Allow the concrete to cure fully before applying any coating, following recommended curing times. Proper surface prep ensures the coating bonds effectively, resists peeling, and endures over time. Taking these steps will greatly improve the longevity of your concrete coating.
Choosing Suitable Coating Products
After preparing the surface thoroughly, selecting the right coating product becomes key to achieving long-lasting results. Consider these tips for choosing suitable coatings:
- Match the coating to your surface sealing needs, ensuring it’s compatible with concrete and resistant to environmental conditions like moisture and temperature fluctuations.
- Check the product’s specifications for moisture tolerance, especially if testing indicates residual moisture.
- Opt for coatings designed for outdoor or high-traffic areas if environmental conditions are challenging, such as exposure to rain or UV rays.
Frequently Asked Questions
How Often Should I Test Concrete Moisture Levels Before Coating?
You should test concrete moisture levels regularly, especially before coating, to guarantee proper adhesion. Follow testing frequency recommendations based on your project, typically testing at least once during surface preparation and before applying coatings. Make sure your moisture meter is properly calibrated for accurate results. Frequent testing helps catch any moisture issues early, preventing coating failures and ensuring a durable, long-lasting finish.
Can Moisture Testing Be Done on Painted or Sealed Concrete Surfaces?
Moisture testing can be done on painted or sealed concrete surfaces, but it’s more challenging. Studies show that 60% of coating failures are due to moisture vapor issues. When testing, you might get false readings because paint or sealants block moisture vapor transmission. To guarantee good paint adhesion, consider testing the moisture vapor emission rate (MVER) beneath the coating, not just on the surface.
Are There Environmental Conditions That Affect Moisture Test Accuracy?
Environmental factors like humidity, temperature, and airflow can greatly impact testing accuracy. High humidity or fluctuating temperatures may cause moisture levels to appear higher or lower than they truly are, leading to unreliable results. To guarantee accurate moisture testing, you should perform tests in stable environmental conditions, ideally when humidity and temperature are controlled. This helps you get precise readings, preventing coating failures caused by unseen moisture issues.
What Are the Safety Precautions When Performing Moisture Tests?
When performing moisture tests, you should wear safety gear like gloves, goggles, and a mask to protect against dust and chemicals. Make certain of proper ventilation by working in well-ventilated areas to avoid inhaling fumes or dust. Follow ventilation procedures carefully, and keep the testing area clear of unnecessary personnel. These precautions help you stay safe while accurately evaluating moisture levels, preventing health hazards and ensuring reliable results.
How Do I Interpret Moisture Readings for Different Coating Types?
You interpret moisture readings based on coating type by comparing the numbers to manufacturer guidelines. For proper accuracy, guarantee your moisture meter is calibrated regularly and your testing equipment is well-maintained. Low readings typically suit coatings like epoxy, while higher readings may suit sealers or paints. Always follow specific product recommendations and consider testing multiple spots for consistent results before proceeding. Proper interpretation prevents coating failure and ensures durability.
Conclusion
Think of testing concrete moisture like checking the weather before heading out—if you ignore it, you risk getting soaked or facing unexpected storms. By thoroughly testing, you guarantee your coating bonds perfectly and lasts longer. Remember, a small step now can save you from costly repairs later. Just like preparing for a trip, testing your concrete sets the stage for a smooth, successful project—so don’t skip this essential step!