
To create a tool wall you’ll keep using, start by evaluating your current tools and storage needs. Choose a sturdy wall in a high-traffic area, and select durable materials like plywood or metal. Organize tools by type and frequency of use, using hooks, bins, or magnetic strips for easy access. Maintain the system with regular reviews and adjustments to keep everything functional and attractive. If you want expert tips on making it last, you’ll find useful strategies ahead.
Key Takeaways
- Assess your tool needs and categorize items to determine the most accessible layout for frequent use.
- Choose a sturdy, wall-mounted surface away from heat and moisture to support your tools safely.
- Use clear labels, visual signage, and modular storage solutions like magnetic strips for quick identification.
- Regularly review and reorganize your tool wall to maintain accessibility and adapt to changing tool collections.
- Incorporate both practical storage and aesthetic elements to create an inviting, functional workspace you’ll want to maintain.

SEDY Magnetic Tool Holder Storage Organizer: 7-Piece Garage Wall Mount Rack Organization Strip Power Magnet Organizers Mounted Workbench Board Slatwall Van Hanger
EXCEPTIONAL DURABILITY – Boasting of high-quality alloy steel construction, this Magnetic Tool Holder Storage Organizer provides unmatched sturdiness…
As an affiliate, we earn on qualifying purchases.
As an affiliate, we earn on qualifying purchases.
Assess Your Current Tool Storage and Needs
Before building a tool wall, you need to evaluate your current storage setup and determine what tools you actually use. Start by taking inventory of all your tools, creating a clear tool inventory list. This process not only helps you identify which tools are essential but also encourages you to consider media literacy to distinguish between useful tools and those that may be outdated or unnecessary. Additionally, understanding the horsepower of electric dirt bikes can inspire you to organize power tools and related equipment for maximum efficiency. Recognizing the importance of sound vibrations in enhancing focus and relaxation can also help you design a space that promotes a calm and productive environment. Paying attention to ergonomic design principles can further improve your workspace by reducing fatigue and increasing comfort during use. Moreover, incorporating systematic organization techniques can streamline your workflow and make tool retrieval quicker and easier. Next, establish your storage priorities based on frequency of use and importance. Keep your most-used tools within easy reach, while less frequently used items can be stored elsewhere. This step guarantees your new tool wall will be functional and tailored to your needs. Knowing exactly what you need and what can be stored away helps you design a space that’s efficient, organized, and easy to maintain in the long run.
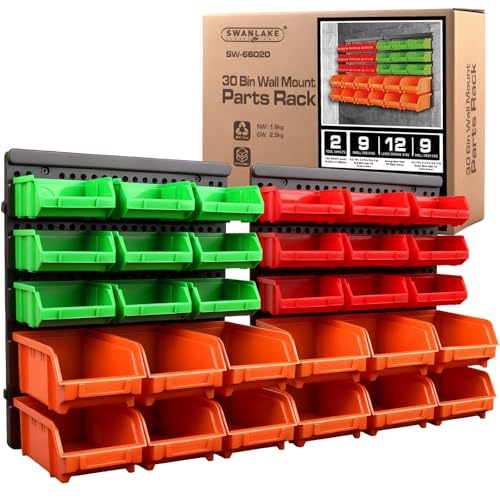
SWANLAKE GARDEN TOOLS 30-Bin Wall-Mounted Storage Bins, Heavy-Duty Garage Tool Organizer for Screws, Nuts, Bolts, Nails, Small Hardware Parts – Easy Installation and Customizable
1.30PCS adjustable and removable bins make a easy organization of parts and tools.
As an affiliate, we earn on qualifying purchases.
As an affiliate, we earn on qualifying purchases.
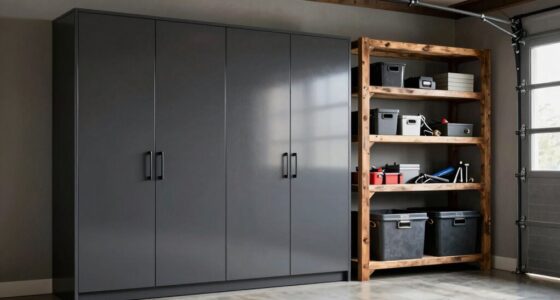
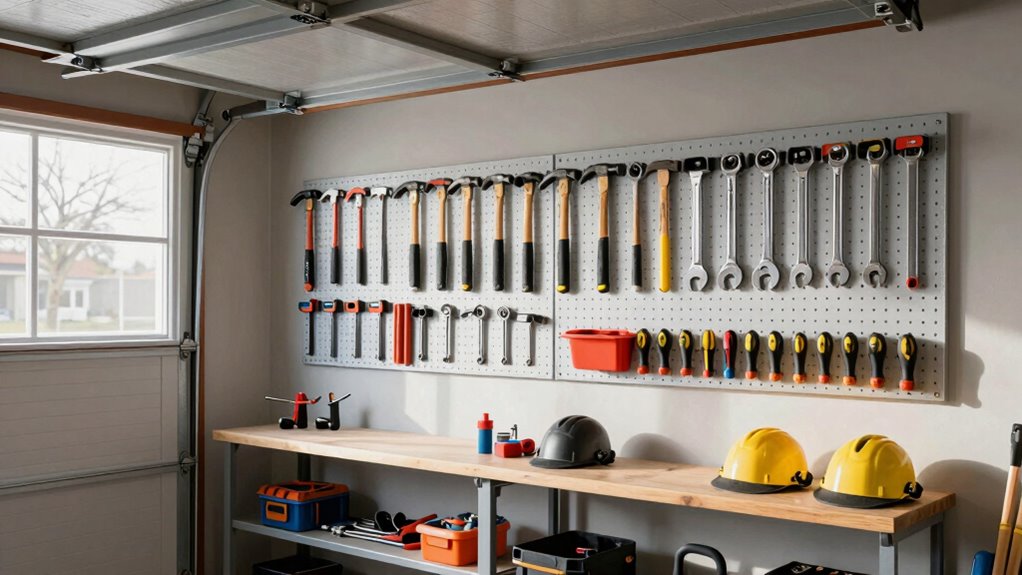
Choose the Perfect Wall Space for Your Tools
Finding the right wall to host your tool wall is essential for maximizing space and accessibility. Look for a wall with enough wall space to accommodate your tools comfortably without feeling cramped. Consider high-traffic areas where you frequently work, as easy access encourages consistent tool placement. Avoid walls near heat sources, water, or direct sunlight, which could damage your tools over time. Guarantee the wall is sturdy enough to support the weight of your tools and hardware. Keep in mind how your tools will be arranged—vertical or horizontal placement—to make sure everything is within reach. A well-chosen wall space streamlines your workflow, keeps tools organized, and makes maintenance simple. Proper placement is the foundation of a functional, lasting tool wall, and selecting a wall with appropriate supportive infrastructure ensures your setup remains durable over time. Additionally, assessing the load-bearing capacity of the wall helps prevent structural issues as your collection of tools grows. Using a wall with adequate structural support can significantly prolong the life of your entire setup. Moreover, considering wall reinforcement options can help accommodate heavier or more extensive tool collections over time.
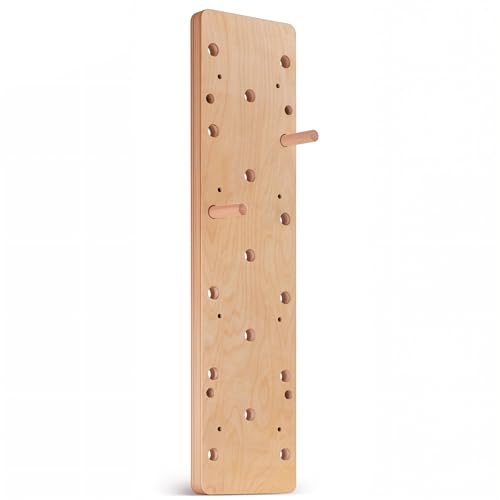
ironvib Extra-Thick Birch Climbing Peg Board for Wall Mounting, Heavy-Duty Wooden Climbing Board with Beech Grips & Rock Climbing Hold Inserts for Indoor Home Gym
Extra-Thick Solid Birch Plywood Climbing Board – Made from pure multi-layer birch plywood with a 5 cm thick…
As an affiliate, we earn on qualifying purchases.
As an affiliate, we earn on qualifying purchases.
Pick Durable Materials and Hardware
Choosing durable materials and hardware is essential because your tool wall needs to withstand daily use and the weight of your tools. Select sturdy, high-quality materials like thick plywood or metal for the main structure to guarantee longevity. When it comes to hardware selection, opt for heavy-duty hooks, brackets, and fasteners that can support the weight of your tools without bending or breaking. Avoid cheap or flimsy hardware that might fail over time, risking damage or accidents. Consider rust-resistant finishes for metal hardware to prevent corrosion. Using durable materials and reliable hardware assures your tool wall remains secure and functional, even with frequent use. Investing in quality components upfront saves you time and frustration in the long run. Proper hardware selection is crucial to ensure your setup remains safe and efficient over time. Additionally, choosing hardware with high load capacity ensures your tools stay securely stored and your wall remains stable during everyday use. To further enhance durability, consider corrosion-resistant finishes that extend the lifespan of metal hardware in various environments. Incorporating weatherproof hardware can also help protect your tools if your space is exposed to outdoor elements. Furthermore, selecting corrosion-resistant hardware can significantly extend the lifespan of your setup in humid or outdoor conditions.

90 PCS Magnetic Toolbox Labels – 3.5"x1" Large Tool Box Stickers,Strong Magnets for Tools Chest Drawer Organization – Fits U.S. General Tool Box Accessories & All Steel Tools Cabinets
Foolproof Organization:Toolbox magnetic labels are easy to read from any angle—no more guessing or opening every drawer. Quickly…
As an affiliate, we earn on qualifying purchases.
As an affiliate, we earn on qualifying purchases.
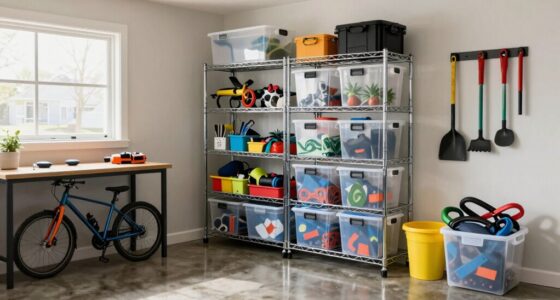
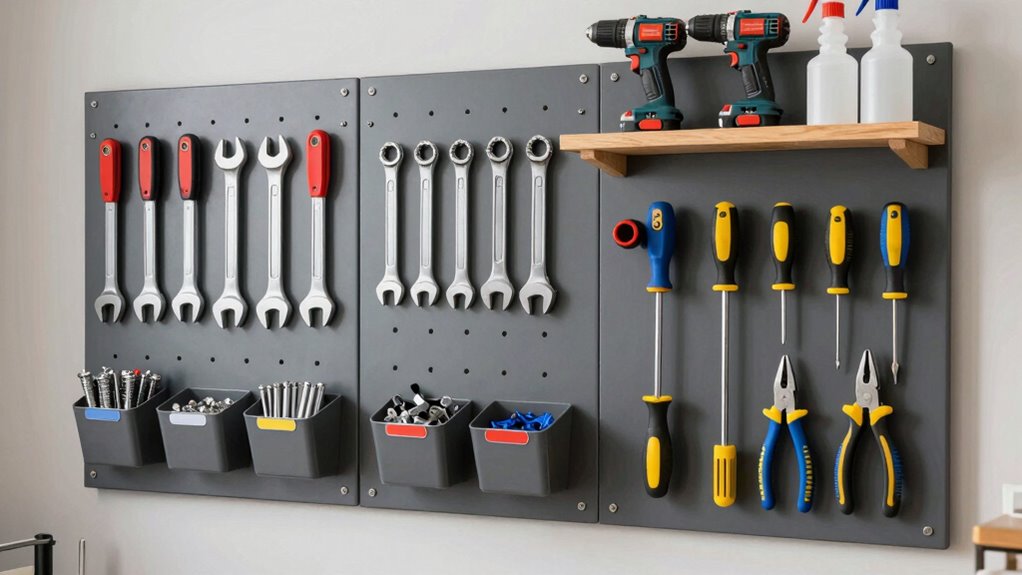
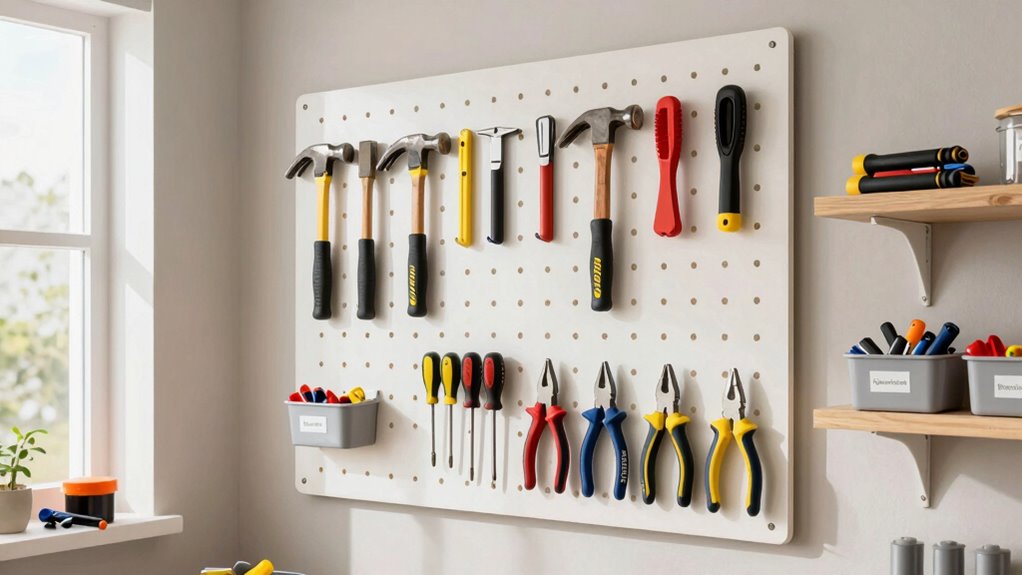
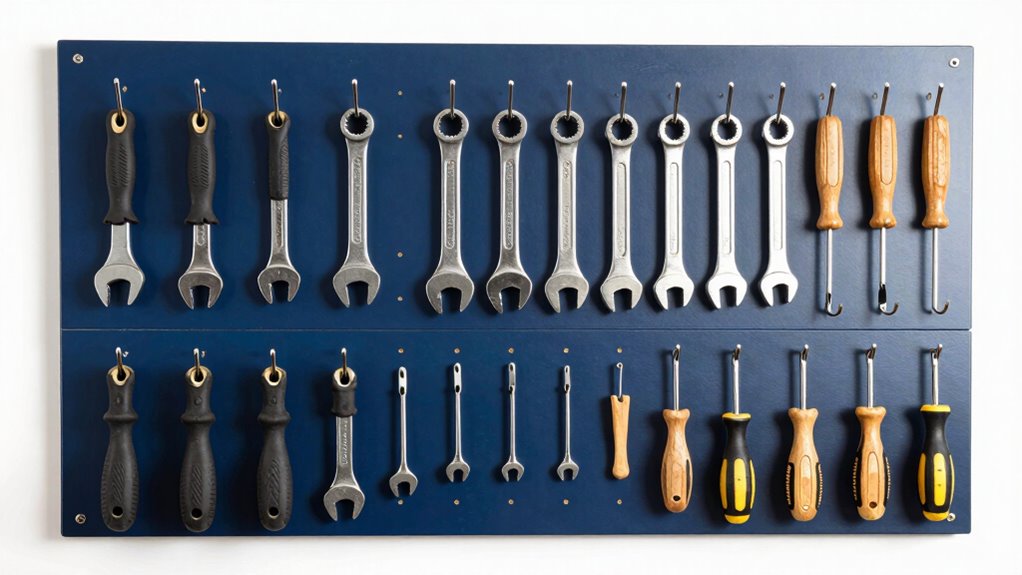
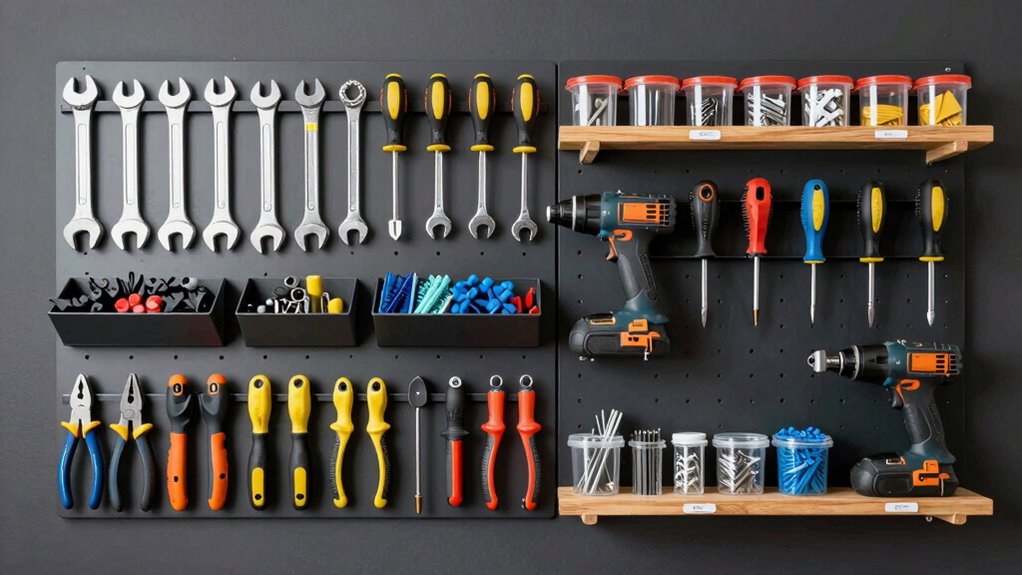
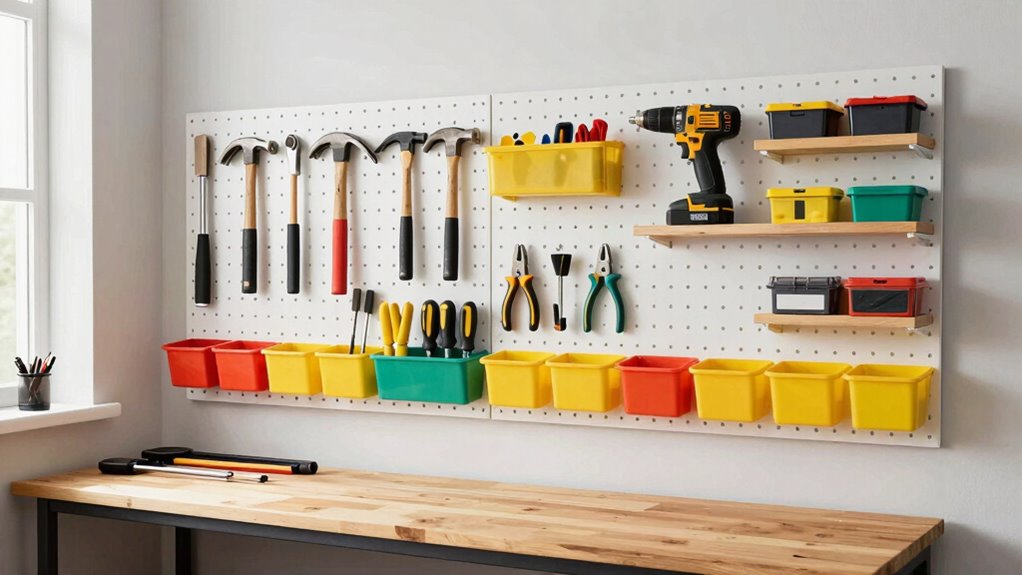
Organize Tools by Type, Size, and Usage
Organizing your tools by type, size, and usage helps create a more efficient and accessible tool wall. Proper tool categorization guarantees you can quickly find what you need, reducing search time and frustration. Group similar tools together—for example, hammers, screwdrivers, and pliers—so each category is easy to locate. Arrange larger tools separately from smaller ones to maximize storage efficiency and prevent clutter. Consider how often you use specific tools; keep frequently used items within easy reach. By thoughtfully categorizing and sizing tools, you streamline your workspace and make maintenance simpler. Implementing a consistent categorization system also helps maintain order over time. Additionally, understanding the airflow and ventilation needs of your workspace can improve overall efficiency and comfort, especially if your projects generate dust or fumes. Adequate ventilation not only promotes a healthier environment but also preserves your tools from moisture-related damage. Incorporating proper storage solutions can further enhance organization and protect your tools from potential damage. Proper tool maintenance is essential for ensuring your tools stay in good condition and last longer. This approach not only saves time but also keeps your tools in better condition, ready for your next project. Effective organization lays the foundation for a functional, long-lasting tool wall.
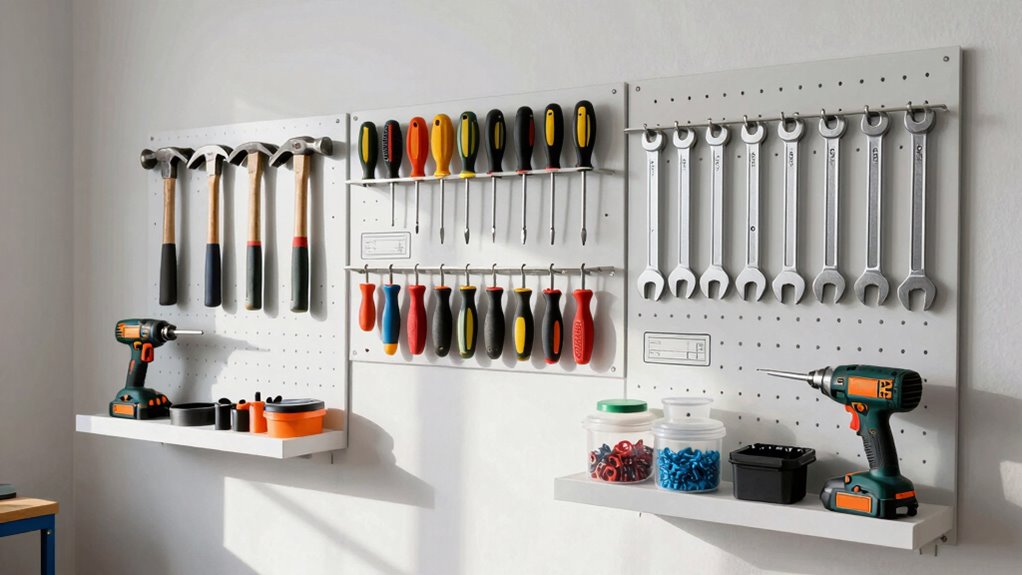
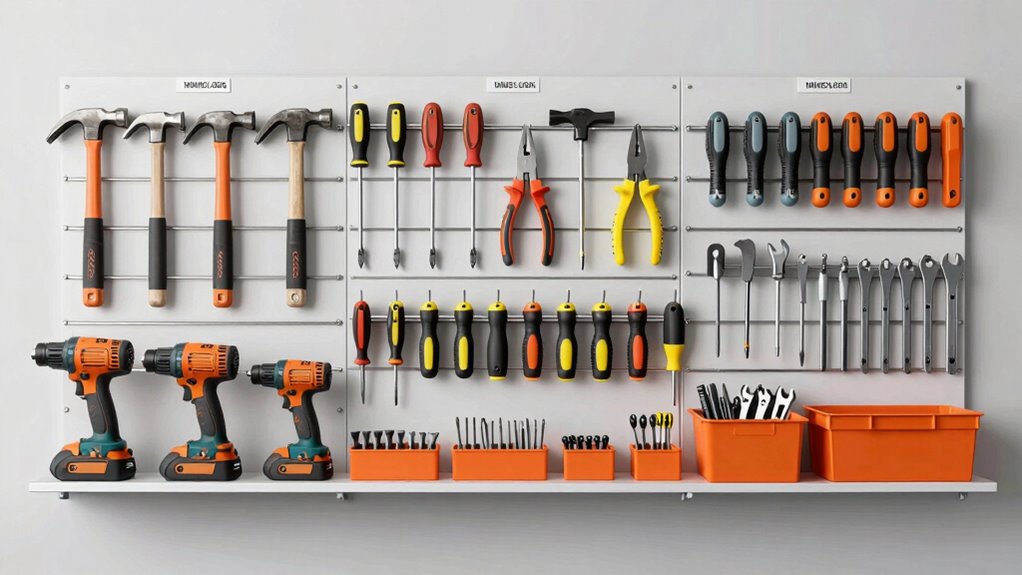
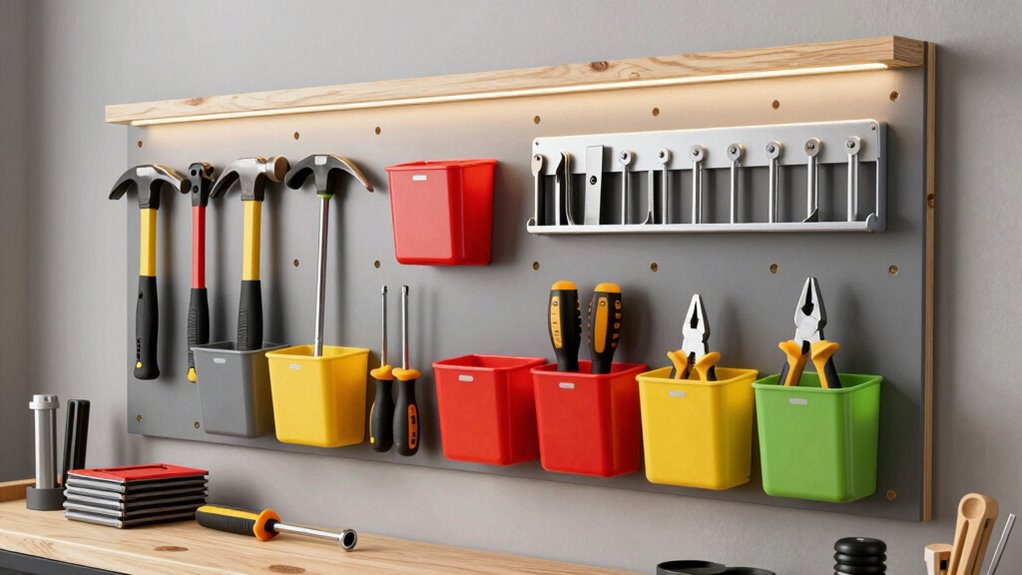
Design a Functional and Attractive Tool Wall
To make your tool wall both functional and attractive, focus on placing frequently used tools within easy reach. Clear labeling helps you quickly identify what you need, saving time and reducing frustration. Prioritizing accessibility and clarity guarantees your workspace stays organized and efficient. Incorporating landscaping elements around your workspace can also create a more inviting and inspiring environment. Additionally, using organization techniques inspired by efficient workspace design can enhance your overall productivity and ensure your tools are always easy to find. Implementing storage solutions like modular racks or magnetic strips can further improve accessibility and keep your tools secure.
Prioritize Easy Access
Ever wondered how to make your tool wall truly work for you? The key is prioritizing easy access. You want your most-used tools to be within arm’s reach, so you can grab them quickly without searching. Arrange tools based on storage efficiency, placing the essentials at eye level or in designated zones for efficiency. Focus on tool accessibility—think about how smoothly you can retrieve and return items. Storage convenience matters, too; use hooks, bins, or magnetic strips to keep tools organized and visible. Avoid clutter by grouping similar tools together, which reduces frustration and saves time. A well-designed layout minimizes movement and effort, making your projects smoother and more enjoyable. Ultimately, a thoughtfully organized tool wall keeps you productive and motivated.
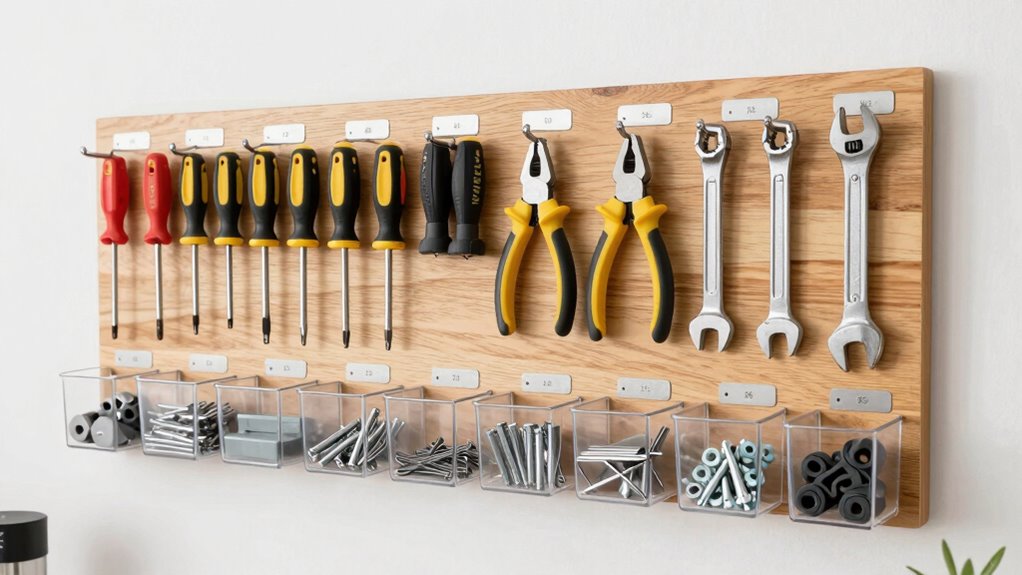
Use Clear Labeling
Clear labeling transforms a cluttered tool wall into an efficient workspace. When you focus on labeling clarity, you make it easy to find and return tools quickly. Use clear, legible labels that everyone can read at a glance. Incorporate visual signage, like icons or color-coded labels, to enhance understanding and speed up identification. Stick to consistent labeling styles to avoid confusion. Place labels directly on tools, bins, or shelves to keep everything organized and accessible. This not only improves functionality but also makes your wall look neat and professional. Consider using visual signage like icons or color schemes inspired by farmhouse design to add a charming touch. Clear labeling reduces frustration and saves time, encouraging you to keep your tool wall tidy and well-maintained. Ultimately, effective visual signage and labeling clarity create a workspace you’ll enjoy using every day.
Install Your Tool Wall Safely and Efficiently
Before mounting your tool wall, it’s essential to plan carefully to guarantee safety and efficiency. Begin by evaluating the wall surface and verifying it can support the weight of your tools. Follow safety precautions like wearing protective gear and turning off power if working near electrical outlets. When selecting hardware, choose strong, durable anchors and screws designed for your wall material, whether drywall, wood, or concrete. Measure and mark the mounting points precisely to avoid misalignment. Use a level to confirm your wall is straight, and double-check your hardware’s weight capacity. Proper hardware selection and careful installation prevent accidents and damage. Take your time during this process to make certain your tool wall is securely mounted, safe to use, and organized for long-term use.
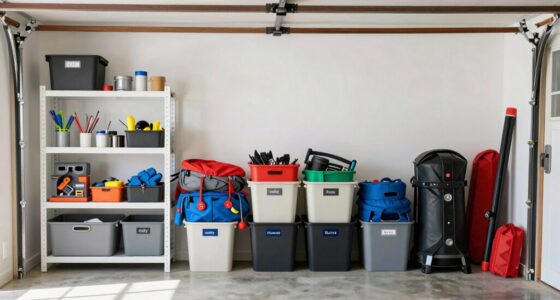
Keep Your Tool Wall Organized Over Time
To keep your tool wall organized over time, you need to regularly reassess your setup and make adjustments as your collection grows or changes. Implement easy-access storage solutions so you can find tools quickly and put them back in place without hassle. Staying proactive about organization guarantees your workspace remains efficient and clutter-free.
Regularly Reassess Organization System
Regularly reassessing your organization system is essential to keep your tool wall functional and tidy. Over time, tools shift or get misplaced, which can compromise tool safety and efficiency. Check your storage containers and verify they still serve their purpose; replace or upgrade damaged or inefficient ones. Review your tool placement—if you find yourself reaching for the same tools repeatedly, consider reorganizing for better accessibility. Remove tools you no longer use to reduce clutter. Consistent evaluation helps you spot potential safety hazards, like sharp or loose tools, and address them promptly. Staying proactive with your organization ensures your tool wall remains a reliable, safe workspace, saving you time and effort during your projects.
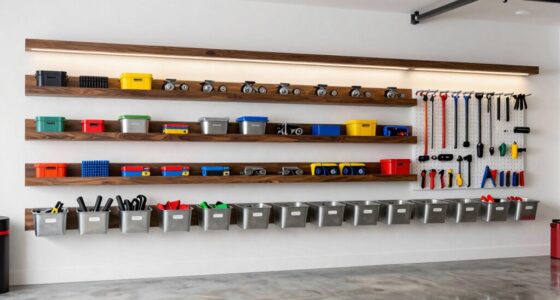
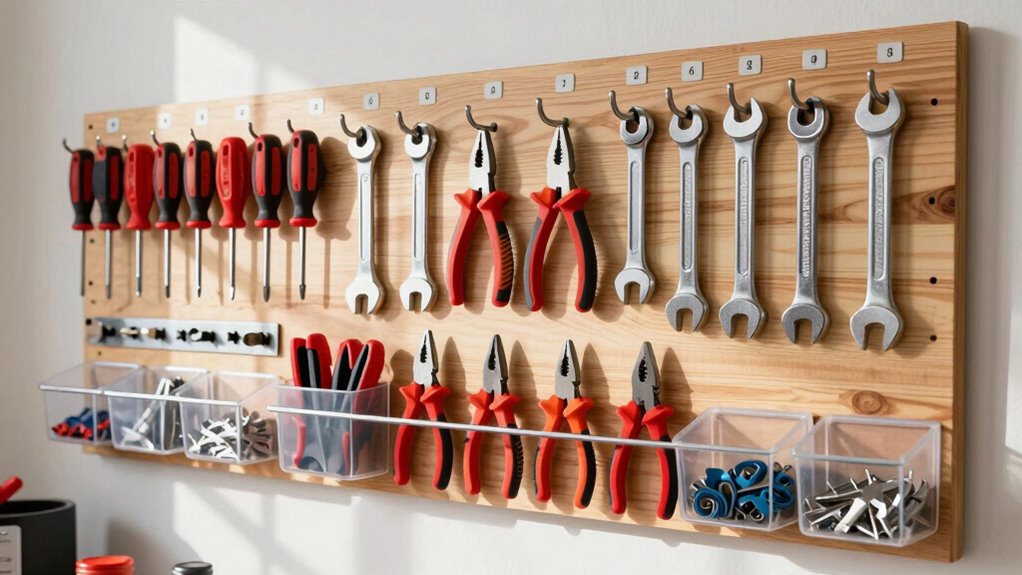
Implement Easy-Access Storage Solutions
Have you ever struggled to find the right tool quickly because your storage isn’t easily accessible? To keep your tool wall organized over time, implement easy-access storage solutions like magnetic strips and pegboard systems. Magnetic strips hold metal tools securely and allow you to see and grab what you need instantly. Pegboard systems offer versatile organization, letting you hang tools in custom arrangements and easily swap them out as needed. Position these solutions at eye level or within arm’s reach to streamline your workflow. Regularly check and adjust the placement of tools, ensuring everything remains visible and accessible. By using magnetic strips and pegboard systems effectively, you’ll keep your tool wall tidy, prevent clutter, and make tool retrieval quick and effortless.
Troubleshoot Common Tool Wall Problems
Even with careful planning, tool walls can develop issues that hinder their effectiveness. Common problems include tools falling short on compatibility, cluttered layouts, or limited storage capacity. If your tools don’t fit or hang securely, it’s frustrating and unsafe. Overcrowding can make it hard to find what you need quickly, wasting time and energy.
To troubleshoot:
- Check for incompatible tools that don’t fit your hooks or slots.
- Reassess storage capacity to ensure it matches your collection.
- Organize tools by frequency of use for efficiency.
- Clear clutter to improve accessibility.
- Reinforce or replace weak mounting points to prevent falling tools.
Addressing these issues keeps your tool wall functional, safe, and inspiring to use.
Customize and Expand Your Tool Wall as Needed
As your tool collection grows or changes, customizing and expanding your tool wall guarantees it continues to meet your needs efficiently. Regularly assess tool compatibility to confirm new tools fit existing storage solutions or require adjustments. When adding or rearranging tools, prioritize safety precautions—secure heavier tools properly and avoid clutter that could cause accidents. Use versatile hooks, shelves, and bins to accommodate different sizes and shapes, making future updates easier. Keep frequently used tools at eye level or in accessible spots, and label sections for quick identification. As your projects evolve, don’t hesitate to modify your setup—this keeps your workspace organized, safe, and tailored to your workflow. An adaptable tool wall enhances safety and ensures you’re always ready to tackle your next project.
Wrap Up: Tips for Long-Term Tool Organization Success
To keep your tool wall organized over time, establish a regular maintenance routine to guarantee everything in its place. Be prepared to make adjustments as your collection grows or your needs change. Staying proactive ensures your system remains efficient and easy to use.
Regular Maintenance Routine
Maintaining your tool wall regularly is essential to guarantee it stays organized and functional over time. Consistent tool maintenance and cleaning routines prevent clutter buildup and ensure your tools stay in top condition. Schedule weekly checks to reassess tool placement and identify any wear or damage early. Incorporate simple cleaning routines like wiping down tools after use and inspecting for rust or dirt. This proactive approach keeps your workspace safe and efficient.
- Feel pride in a tidy, well-organized space
- Experience confidence when finding tools quickly
- Avoid frustration caused by misplaced or damaged tools
- Keep your tools in prime condition for longer life
- Enjoy the satisfaction of a streamlined, productive workflow
Adjustments for Growth
Since your tool wall evolves with your skills and projects, it’s important to regularly reassess and adjust your setup to accommodate growth. As you gain experience, your tool needs may change, requiring you to expand or reorganize your wall for better efficiency. Maintaining organizational flexibility ensures you can easily add new tools or modify placements without clutter. Consider using adjustable hooks, modular shelves, or labeled storage solutions that adapt to your tool growth. Periodically review your setup, removing seldom-used items and reallocating space for frequently used tools. This ongoing process keeps your tool wall functional and tailored to your evolving needs, helping you stay organized and productive over the long term. Flexibility is key to sustaining a tool organization system that grows with you.
Frequently Asked Questions
How Often Should I Reassess My Tool Storage Needs?
You should reassess your tool storage needs every 6 to 12 months to maintain effective tool organization and storage optimization. Regular check-ins help you identify clutter, missing tools, or new equipment needing storage solutions. As your projects evolve, your storage needs change, so staying proactive guarantees your tool wall remains functional and efficient. Consistent reassessment keeps your workspace tidy, saves time, and makes tool access effortless.
Can I Incorporate Electrical Outlets Into My Tool Wall?
Yes, you can incorporate electrical outlets into your tool wall for better power integration. Plan your wall layout to include outlets at convenient spots, ensuring safe wiring and compliance with electrical codes. Use weatherproof or surge-protected outlets if needed, and consider installing a power strip or dedicated circuit for larger tools. This setup keeps your workspace organized, reduces clutter, and allows easy access to power when working on projects.
What Are the Best Ways to Prevent Rust on Stored Tools?
Did you know rust can reduce your tools’ lifespan by up to 50%? To prevent rust, focus on proper storage organization and use rust inhibitors or silica gel packs in your tool container. Regularly clean and dry your tools before storing, and consider applying a light coat of oil for added protection. These simple rust prevention tips can keep your tools in top shape and extend their usability.
How Do I Handle Limited Wall Space for a Large Tool Collection?
When space is limited, prioritize tool wall organization by using vertical storage solutions like pegboards or slatwalls, which maximize your wall material options. Opt for versatile, multi-purpose hooks and shelves to keep your collection accessible without clutter. Consider installing adjustable or modular panels, so you can customize your setup over time. This approach guarantees your large tool collection stays organized, even in tight spaces, making tools easy to find and use efficiently.
What Maintenance Is Required to Keep My Tool Wall in Top Condition?
Surprisingly, maintaining your tool wall isn’t rocket science—just regular wall mounting care. You’ll want to periodically check for loose hooks and tighten or replace them. Wipe down tools and the wall to prevent dust buildup that can tarnish your tool organization. Keep an eye out for rust or damage, and promptly address issues. This simple maintenance guarantees your wall stays functional, organized, and looking sharp—because even tools deserve some love.
Conclusion
With your new tool wall, you’ve crafted a sturdy backbone for your workshop’s heartbeat. Like a well-tuned orchestra, it keeps everything in harmony, ready to play its part whenever you need. Stick to your organization routine, and watch your space transform into a seamless symphony of efficiency. Remember, this wall isn’t just a storage spot — it’s your trusty sidekick, standing by to tackle any project with confidence and style.